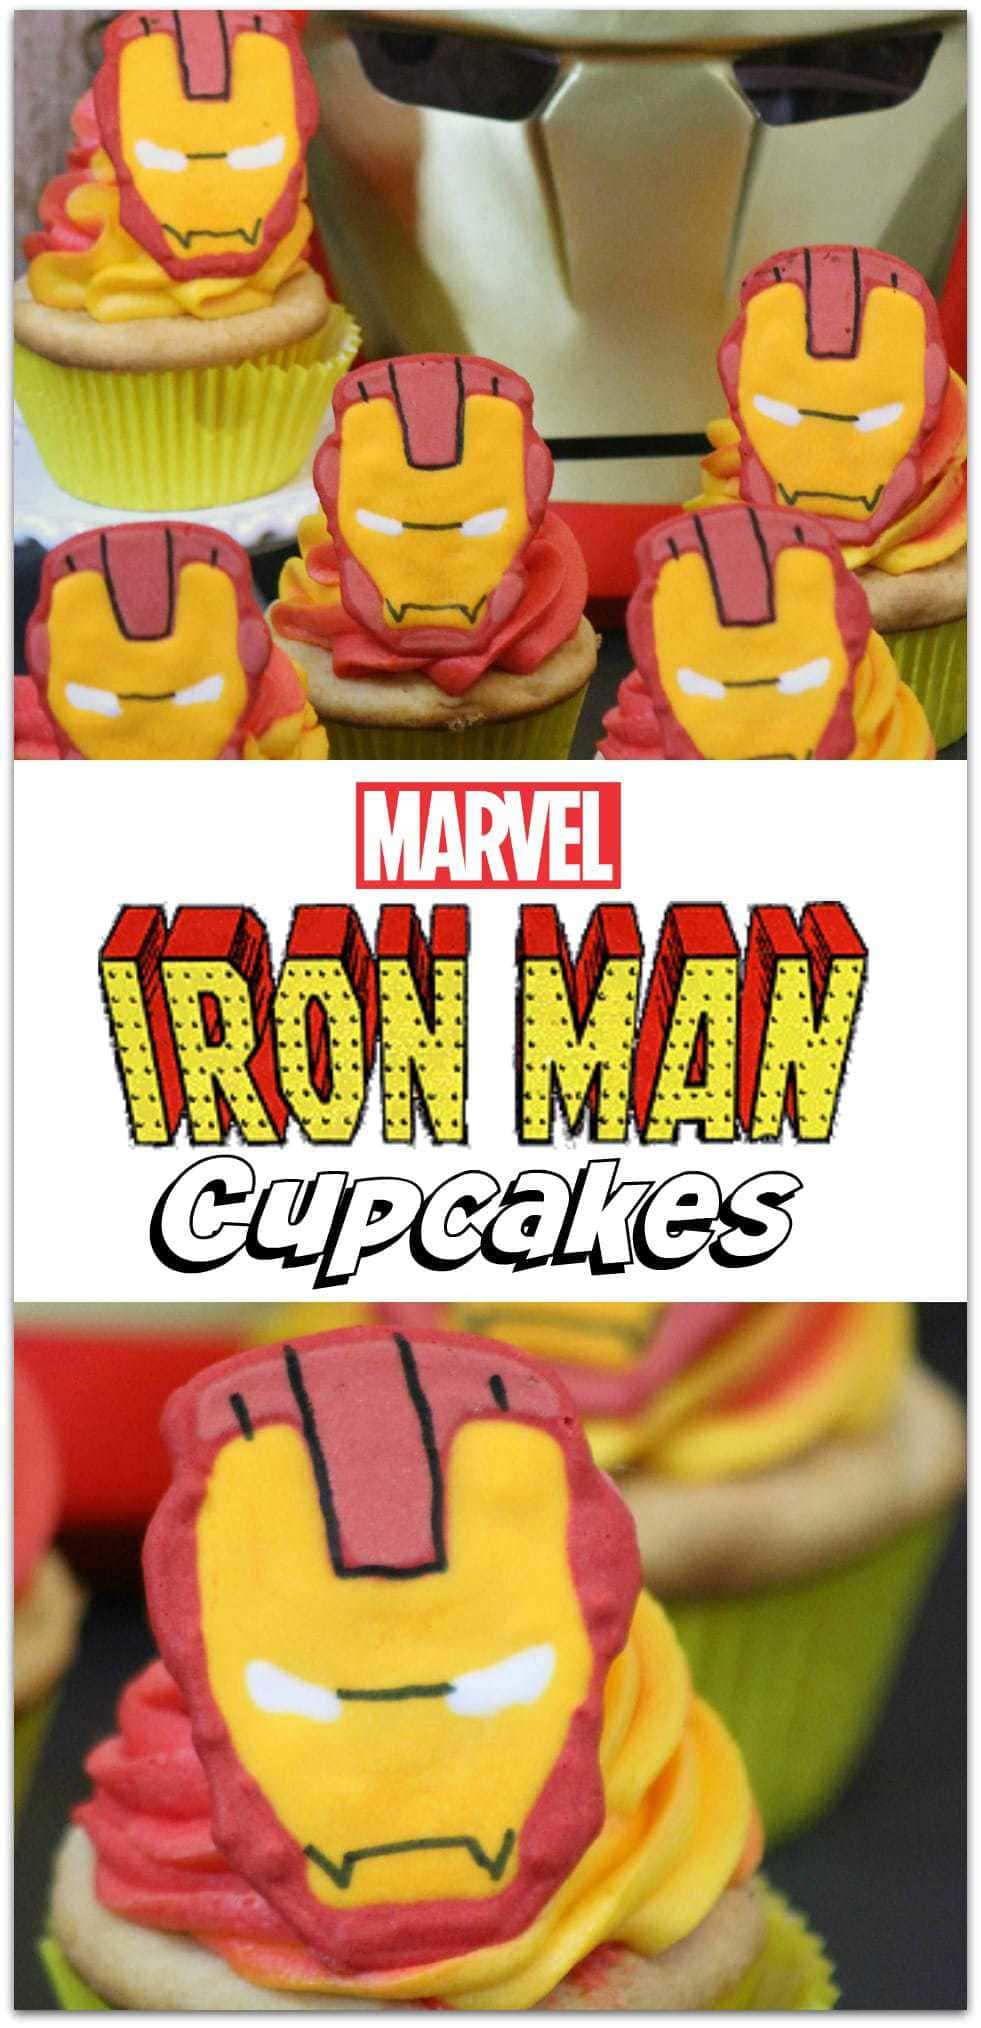
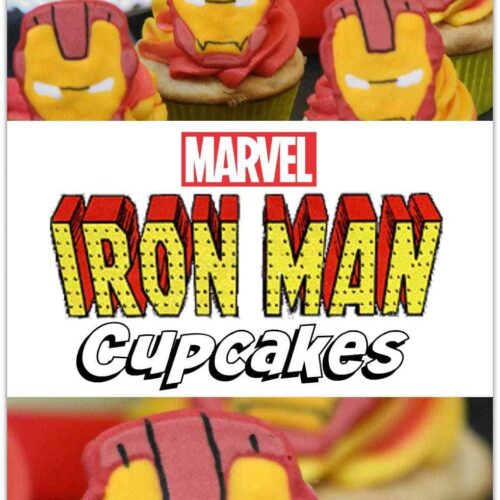
Iron Man Cupcakes
Who’s ready for these Iron Man Cupcakes? Have you decided who you’re going to support in Captain America: Civil War? I know which team I’m on, but I’m going to share these amazing cupcakes with you anyway.
Just about every kid wants to be a superhero at some point in their life. There is something very magical about having superpowers.
As Chris Hemsworth said in the first Thor movie, “Our ancestors called it magic but you call it science. I come from a land where they are one and the same.”
I say let them dream, let them pretend, and watch them soar. Everyone is a superhero to someone. Oh, and let them eat cake!
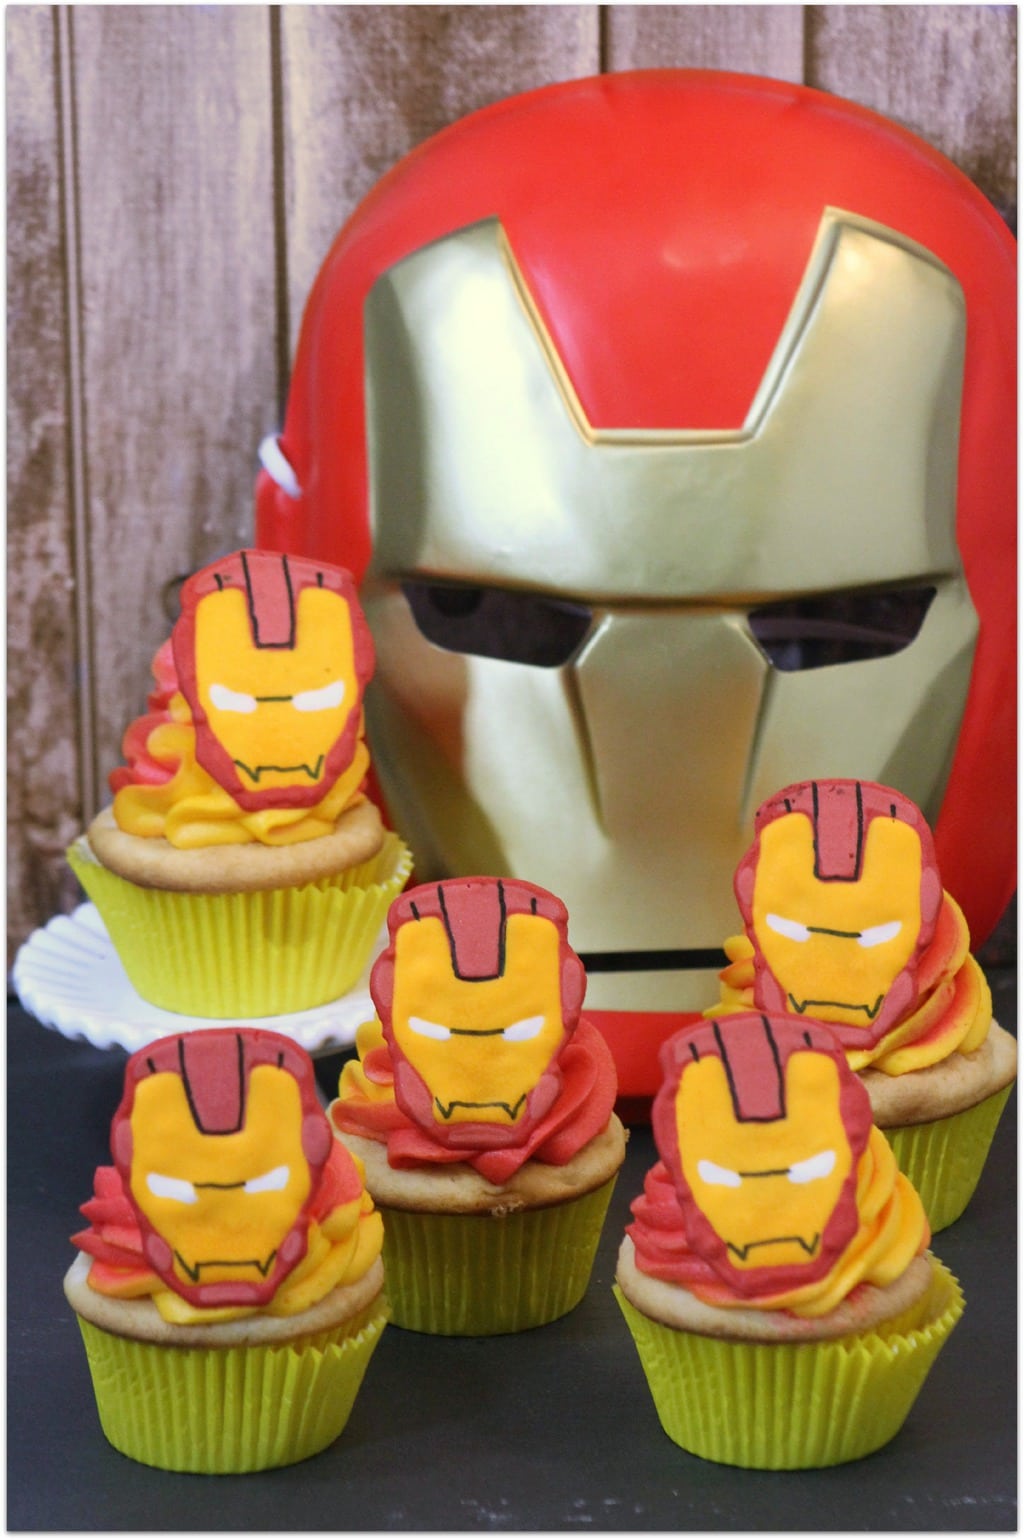
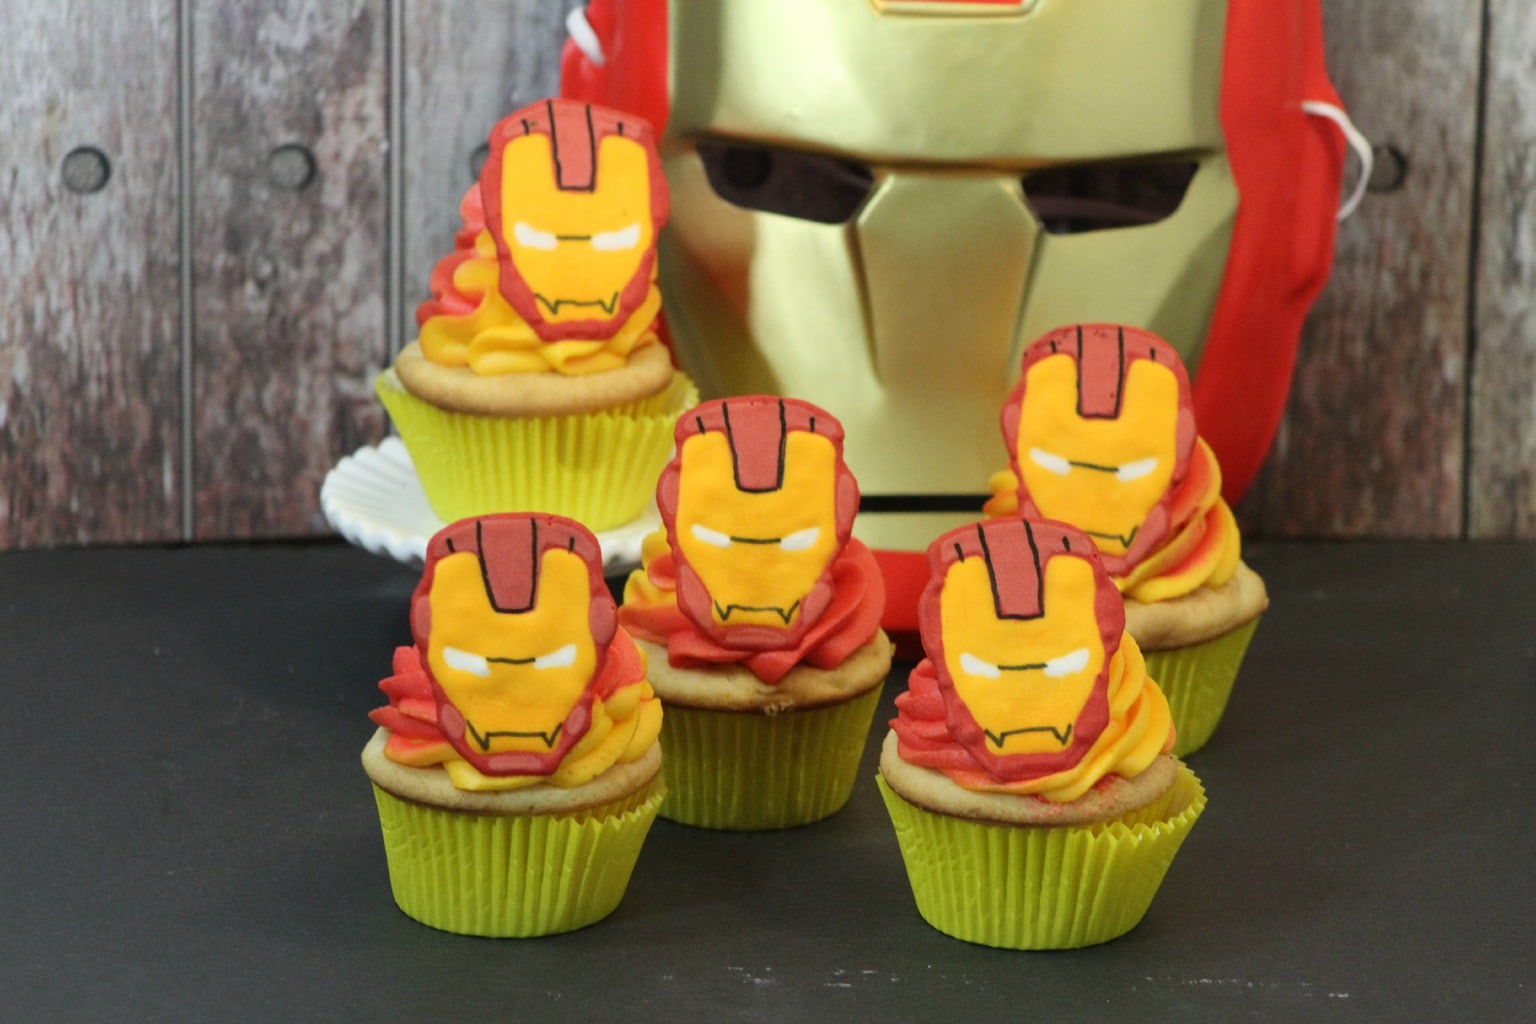
These Iron Man Cupcakes are perfect for celebrating a new Marvel movie, or for a kids superhero party.
You have seen Iron Man, right? Now if you’re not caught up and you’re planning to watch Falcon and the Winter Soldier, you might want to make note of what you need to watch first.
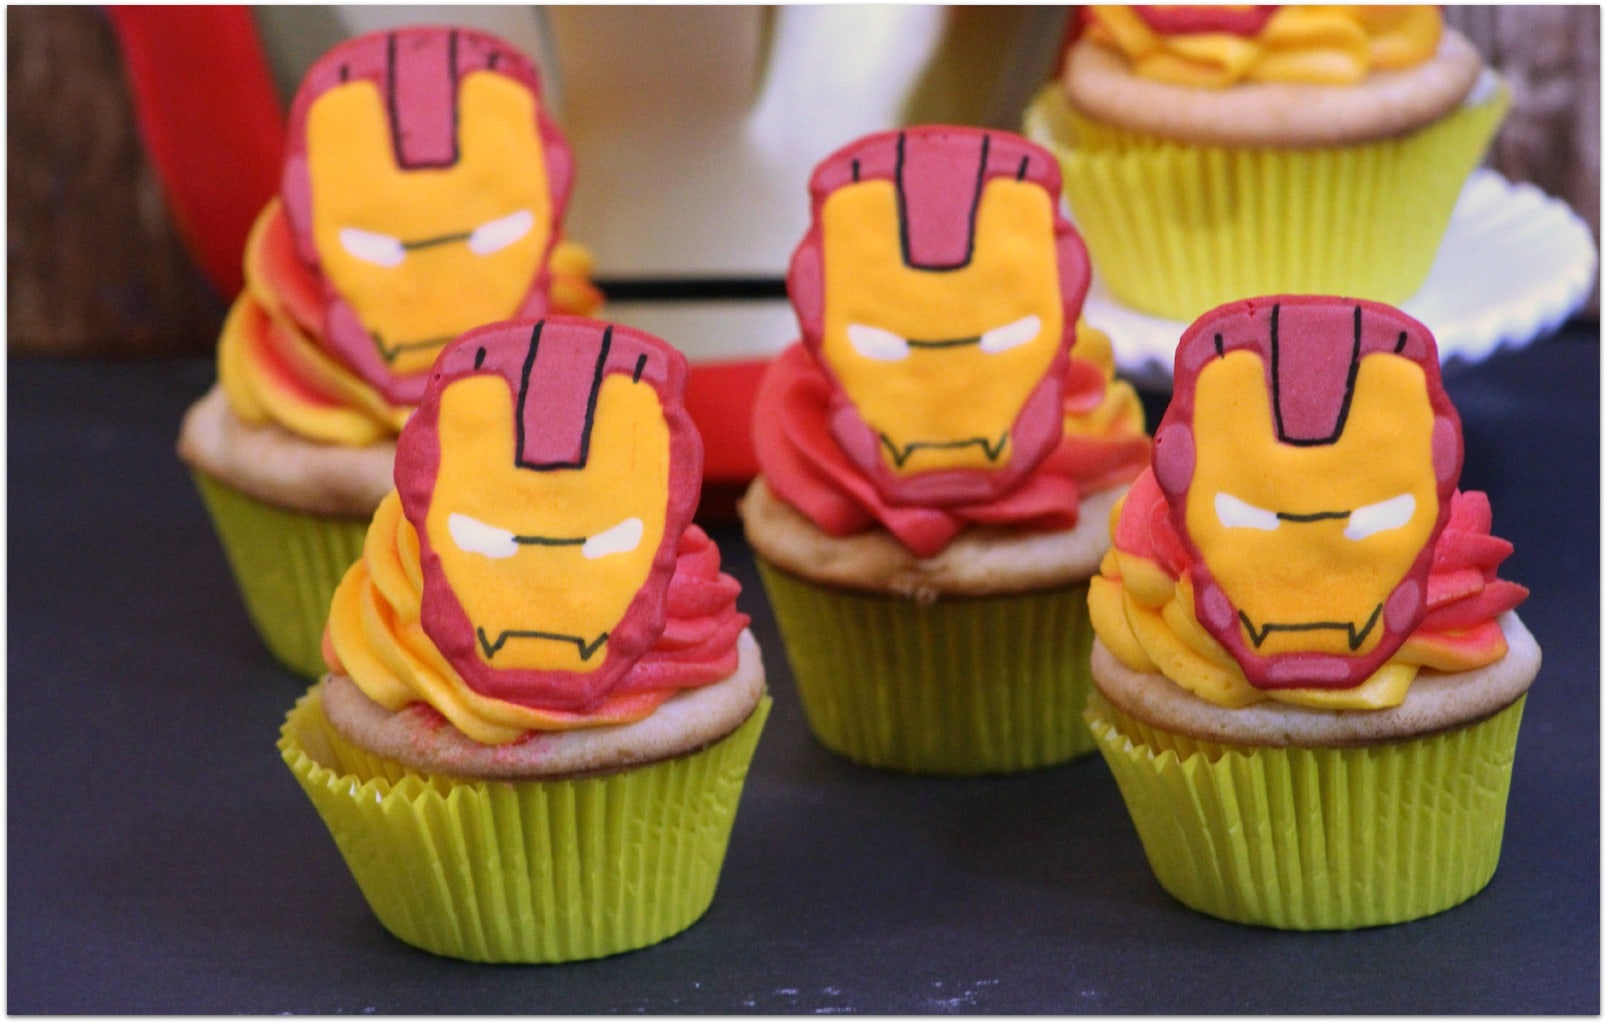
These Iron Man cupcakes are perfect for your superhero’s birthday or class party. Regardless of where you serve them, everyone will love them. Except maybe those on the side of Captain America!
These cupcakes do take a little time, but it will be worth it! The mask will have to dry for 5-10 hours, so make them ahead of time so they will be ready to place on the cupcakes.
How to Make Iron Man Cupcakes
Make sure you have a reference photo of Iron Man’s helmet. You will need three sets of ingredients as you can see in the recipe card below. Print it and take it to the store for exact measurements.
To make the cupcakes will need unsalted butter, egg whites, eggs, flour, baking powder, salt, baking soda, buttermilk, sugar, vanilla, and almond extract.
For the frosting, you’ll need unsalted butter, powdered sugar, heavy whipping cream, as well as red and golden gel food coloring.
Finally, the ingredients you’ll need for the helmet are egg whites, powdered sugar, cream of tartar, red and golden food coloring, and a Wilton food pen in black.

Cupcake Directions
Preheat oven to 350 degrees. Line cupcake tins with paper liners.
Sift flour, baking powder, salt, and baking soda.
On medium-high, beat the butter for 30 seconds.
Add the sugar, vanilla, and almond extract to the butter and mix to combine.
Beat after each addition of the egg whites and eggs, one at a time.
Add the flour mixture and buttermilk alternating each one to the butter mixture on low.
Scoop the batter till 3/4 filled in the lined cupcake tins.
Bake at 350 degrees for 20-25 minutes.
Allow the cupcakes to cool for 10 minutes before removing from the cupcake tin.
Place on a wire rack to cool completely.
Frosting Directions
Cream the butter and powdered sugar until it looks light and creamy.
If the consistency doesn’t seem right, add several drops of the heavy whipping cream until it’s creamy.
Test to see if the frosting can form and hold a stiff peak by taking a spoonful of frosting and turning the spoon upside down. If the frosting stays on the spoon it is ready. If not, add more powdered sugar, about a half cup at a time, mixing well.
Divide the frosting equally into two bowls.
In the first bowl add several drops of red gel food coloring. Mix well.
In the second bowl, add several drops of golden yellow gel food coloring. Stir to blend the colors.
When ready, scoop the red frosting first into a pastry bag, adding the golden yellow frosting into the same bag with a large tip. You will want them side by side in the bag.
Twist the open end of the pastry bag to push the frosting to the tip.
Test to make sure that both colors come to the tip at the same time.
Start the frosting on the outside edge of the cupcake working to the center of the cupcake.
Icing Directions
Combine all ingredients except the food coloring in a mixing bowl mixing on medium speed for 4 minutes.
If icing is not stiff enough add a quarter cup of powdered sugar.
Spoon the icing into a bowl.
Take out 2 tablespoons of icing, leaving it white.
Divide the icing into two bowls.
Add red gel food coloring to the first bowl, stir to mix.
For the second bowl, add golden yellow gel food coloring, stirring to mix.
To Make the Iron Man Mask
Locate a picture of Iron Man‘s Mask and print the page in color with several small images of the mask on it.
Tape a sheet of wax paper, covering the copies of the mask, to the cookie sheet.
Using a small pastry bag filled with the red royal icing and a #2 tip, start outlining the mask.
Fill in the outline of the mask following the printed example with the red icing. Allow this to dry for 30 seconds to prevent the colors from bleeding.
Using a small pastry bag filled with the white royal icing and a #2 tip, fill in the eyes on the mask with the white icing. Allow this to dry for 30 seconds.
Using a small pastry bag filled with the golden yellow royal icing and a #2 tip, start by outlining the inner part of the mask. Once outlined, fill in the outline of the inner mask with the golden yellow icing. Allow it to dry for several minutes.
Following the picture use the Wilton Foodwriter to make the black marks on the mask.
At this point, you will need to let this dry for 5-10 hours.
To ensure the mask is dry, gently touch one of them with your finger. If it allows you to push in on the icing, give it a little more time to dry. If the mask is dry, it will feel hard to the touch.
Cut the wax paper holding the completed masks into squares surrounding the completed design.
Once the masks are dry, carefully peel the wax paper off of the back of the images and place on the frosted Iron Man cupcakes.
Enjoy your next Avengers movie night by combining these Iron Man Cupcakes with these Captain America Cupcakes!
Iron Man Cupcakes
Ingredients
White Cupcakes Ingredients
- 1/2 C unsalted butter room temperature
- 2 egg whites
- 2 eggs room temperature
- 2 C flour
- 1 t baking powder
- 1/2 t salt
- 1/4 t baking soda
- 3/4 C buttermilk
- 1 1/2 C sugar
- 1 t vanilla
- 1/2 t almond extract
Frosting Ingredients
- 1 C unsalted butter softened
- 4 C powdered sugar plus a little extra
- 4 T heavy whipping cream
- red gel food coloring
- golden yellow gel food coloring
Royal Icing Ingredients
- 2 egg whites
- 1 C powdered sugar
- 1/2 t cream of tartar
- red gel food coloring
- golden yellow gel food coloring
- Wilton food pen, black
Instructions
To Make the Cupcakes
- Preheat oven to 350 degrees.
- Line cupcake tins with paper liners.
- Sift flour, baking powder, salt, and baking soda.
- On medium high, beat the butter for 30 seconds.
- Add the sugar, vanilla, and almond extract to the butter and mix to combine.
- Beat after each addition of the egg whites and eggs, one at a time.-
- Add the flour mixture and buttermilk alternating each one to the butter mixture on low.
- Scoop the batter till 3/4 filled in the lined cupcake tins.
- Bake at 350 degrees for 20-25 minutes.
- Allow the cupcakes to cool for 10 minutes before removing from the cupcake tin.
- Place on a wire rack to cool completely.
To Make the Frosting
- Cream the butter and powdered sugar until it looks light and creamy. If it doesn't cream add several drops of the heavy whipping cream until it does.
- Test to see if the frosting can form and hold a stiff peak by taking a spoonful of frosting and turning the spoon upside down. If the frosting stays on the spoon it is ready. If not, add more powdered sugar 1/2 C at a time, mixing well.
- Divide the frosting equally into two bowls. In the first bowl add several drops of red gel food coloring and mix well.
- In the second bowl, add several drops of golden yellow gel food coloring. Stir to blend the color.
- When ready, scoop the red frosting first into a pastry bag, adding the golden yellow frosting into the same bag with a large tip. You will want them side by side in the bag.
- Twist the open end of the pastry bag to push the frosting to the tip, testing to make sure that both colors come to the tip at the same time.
- Start the frosting on the outside edge of the cupcake working to the center of the cupcake.
To Make the Icing
- Combine all ingredients except for food coloring in a mixing bowl mixing on medium speed for 4 minutes.
- If icing is not stiff enough add 1/4 C powdered sugar.
- Spoon the icing into a bowl.
- Take out 2 tablespoons of icing and leave it white.
- Divide the rest of the icing into two bowls.
- To the first bowl, add red gel food coloring, stirring to mix.
- To the second bowl, add golden yellow gel food coloring, stirring to mix.
Making the helmet
- Locate a picture of Iron Man's Mask. Print the mask in color with several small images of it. Place it on a cookie sheet.
- Tape wax paper, over the photo of the masks, to the cookie sheet.
- Using a small pastry bag filled with the red royal icing and a #2 tip, start outlining the mask.
- Fill in the outline of the mask following the printed example with the red icing. Allow this to dry for 30 seconds to prevent the colors from bleeding.
- Using a small pastry bag filled with the white royal icing and a #2 tip, fill in the eyes on the mask with the white icing. Allow this to dry for 30 seconds.
- Using a small pastry bag filled with the golden yellow royal icing and a #2 tip, start by outlining the inner part of the mask. Fill in the outline of the inner mask with the golden yellow icing. Allow this to dry for several minutes.
- Following the picture use the Wilton Foodwriter to make the black marks on the mask, and allow to dry for 5-10 hours.
- To ensure the mask is dry, gently touch one of them with your finger. If it allows you to push in on the icing, give it a little more time to dry. If the mask is dry, it will feel hard to the touch.
- Cut the wax paper holding the completed masks into squares surrounding the completed design.
- Once the masks are dry, carefully peel the wax paper off of the back of the images and place on the frosted cupcake.