Raspberry and Chocolate Cookies
These raspberry and chocolate cookies are simple to prepare, but the flavor is extraordinary! Raspberry and chocolate is a perfect pairing.

Make these for your family or to take to book club or a party and everyone will thank you for being such a talented cook. You’re welcome!
Knowing how much everyone loves these chocolate covered OREOs and these no bake cookie dough bites, we’re keeping with the chocolate theme. You’re going to love these sandwich cookies!
If you came for the raspberries, you’ll want to try these Linzer Tart cookies, German raspberry crumble sheet cake, raspberry tart, and this Chantilly cake with raspberry mousse, too.
Why We Love These Cookies
These treats make a delicious dessert for Valentine’s Day and they’re pretty for the holiday season, too! But who needs a celebration to make dessert? Not me!
I love having these small cookies to grab with a cup of tea after dinner. They are just enough to satisfy that sweet tooth.
On top of being so pretty and scrumptious, these cookies are made with fresh fruit and dates! What’s not to love about that?
What Goes Into This Recipe
Key Ingredients
Raspberries – we used frozen, so you can make these any time of year!
Dates – yes, dates! They give these cookies wonderful sweetness and a gooey texture.
Chocolate – because who doesn’t love it?
Scroll down to the printable recipe card for a complete list of ingredients, directions, and nutritional information.
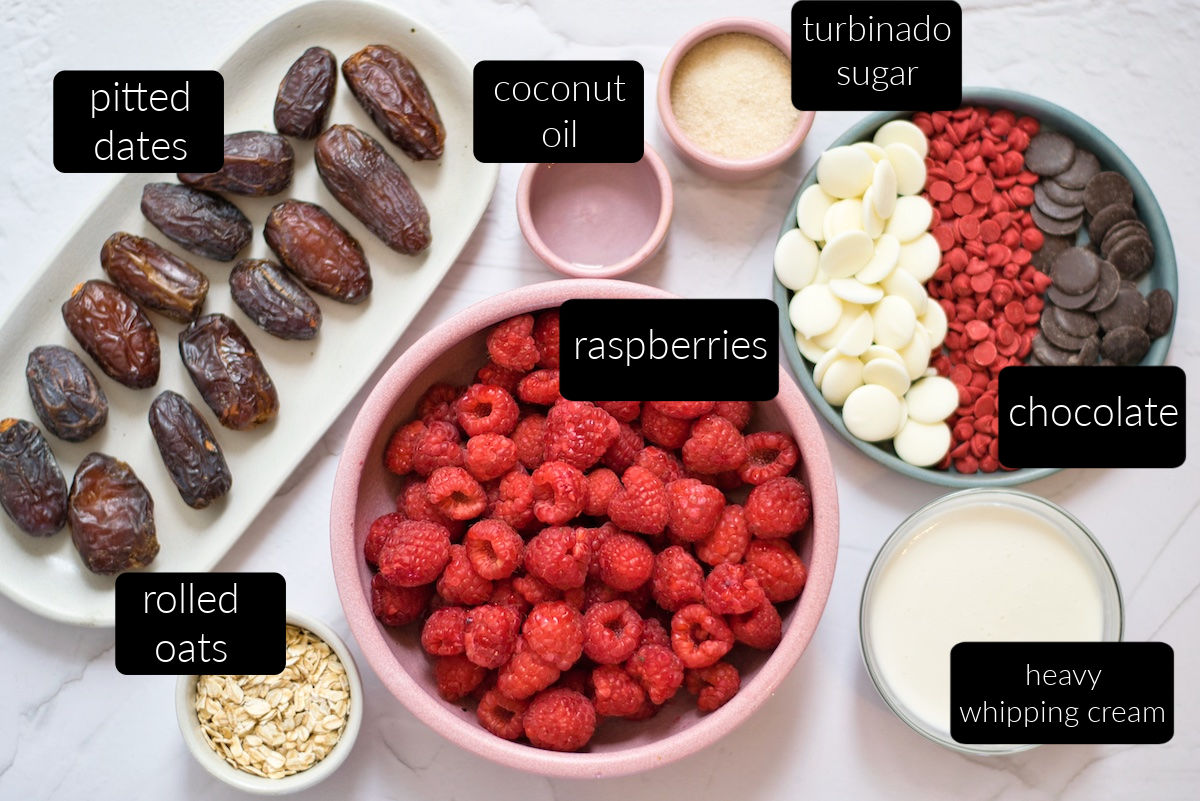
How to Make these Raspberry Cookies
Begin by washing the raspberries in cool water. Drain and set aside to dry. Even if your berries are organic, it’s best to wash all produce before using.
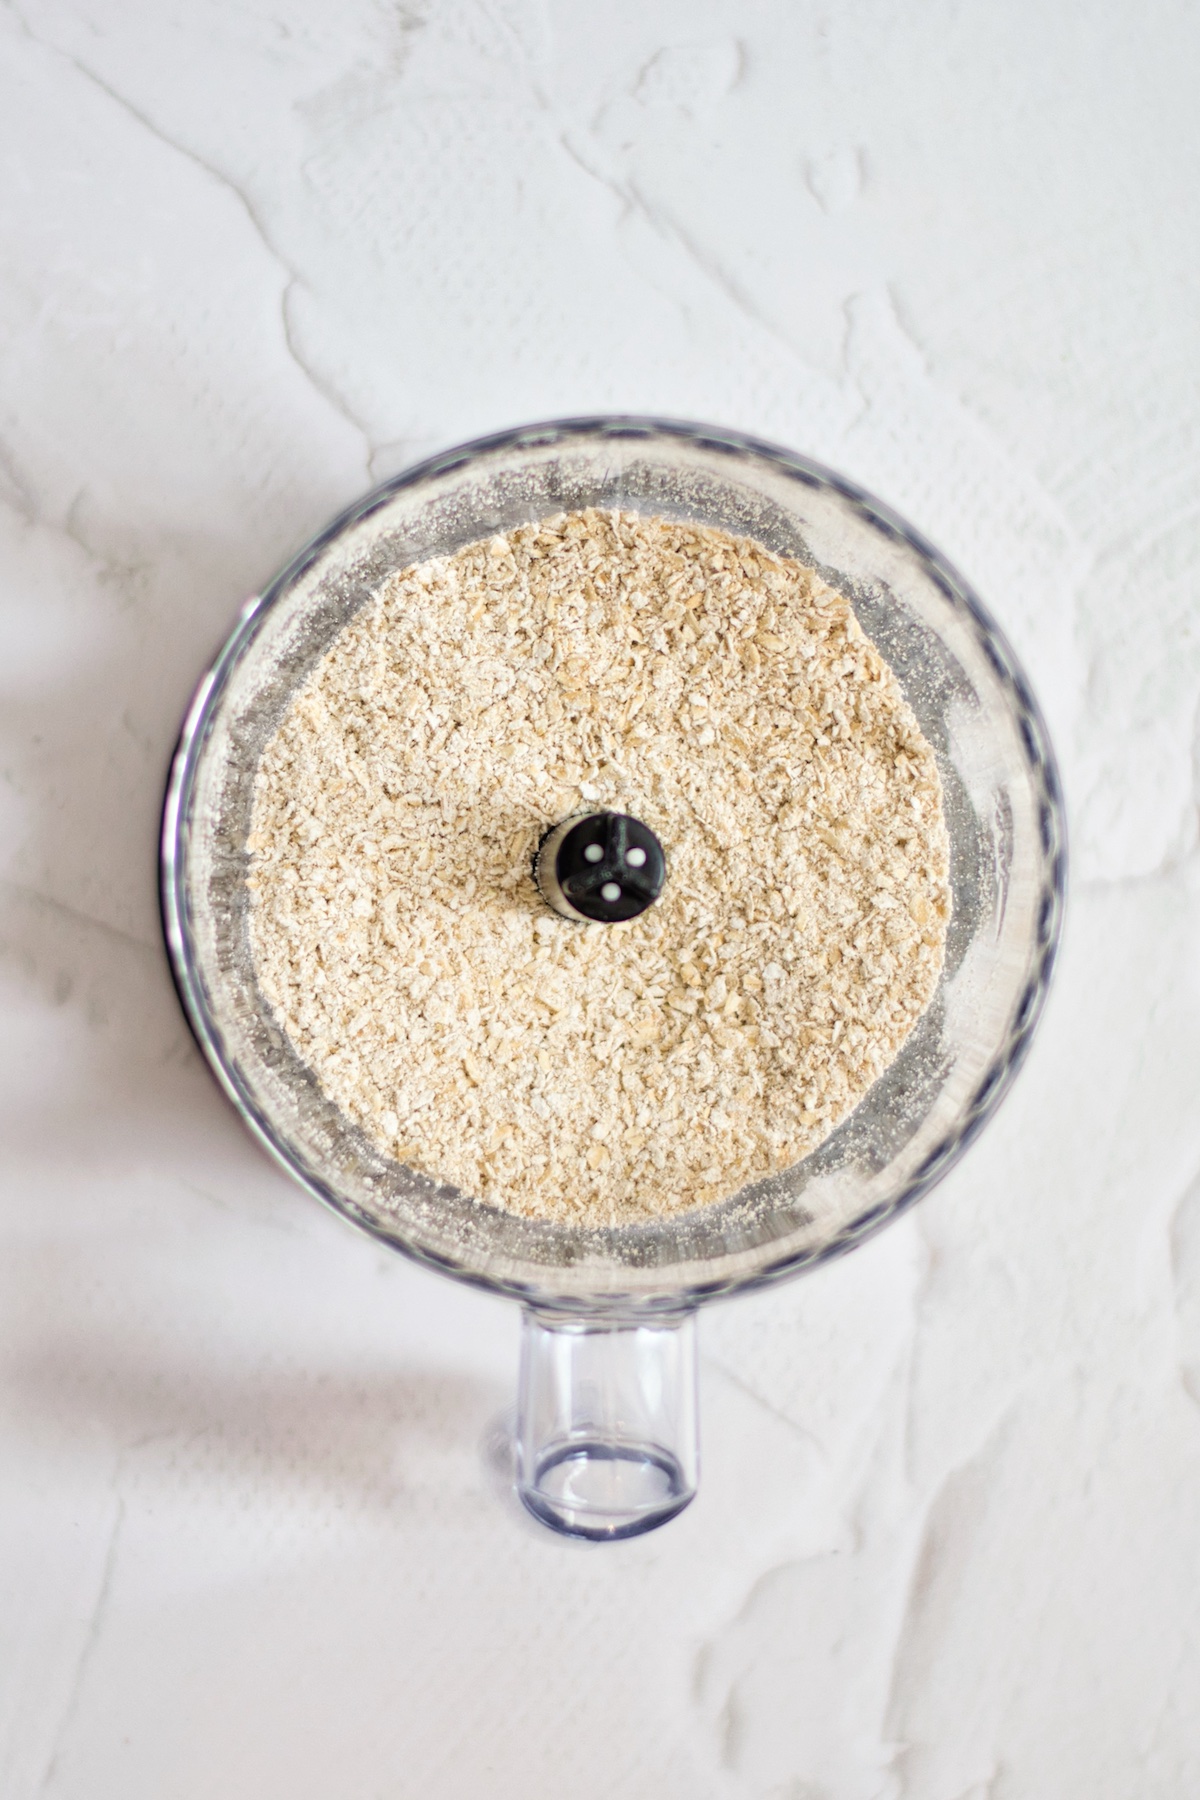
Add the oats into a food processor and run it for a few seconds to make an oat flour.
Add the dates to a medium bowl and pour hot water over them. Let them soak for a couple of minutes.
When taking the dates out of the water, reserve about a half cup of the water.
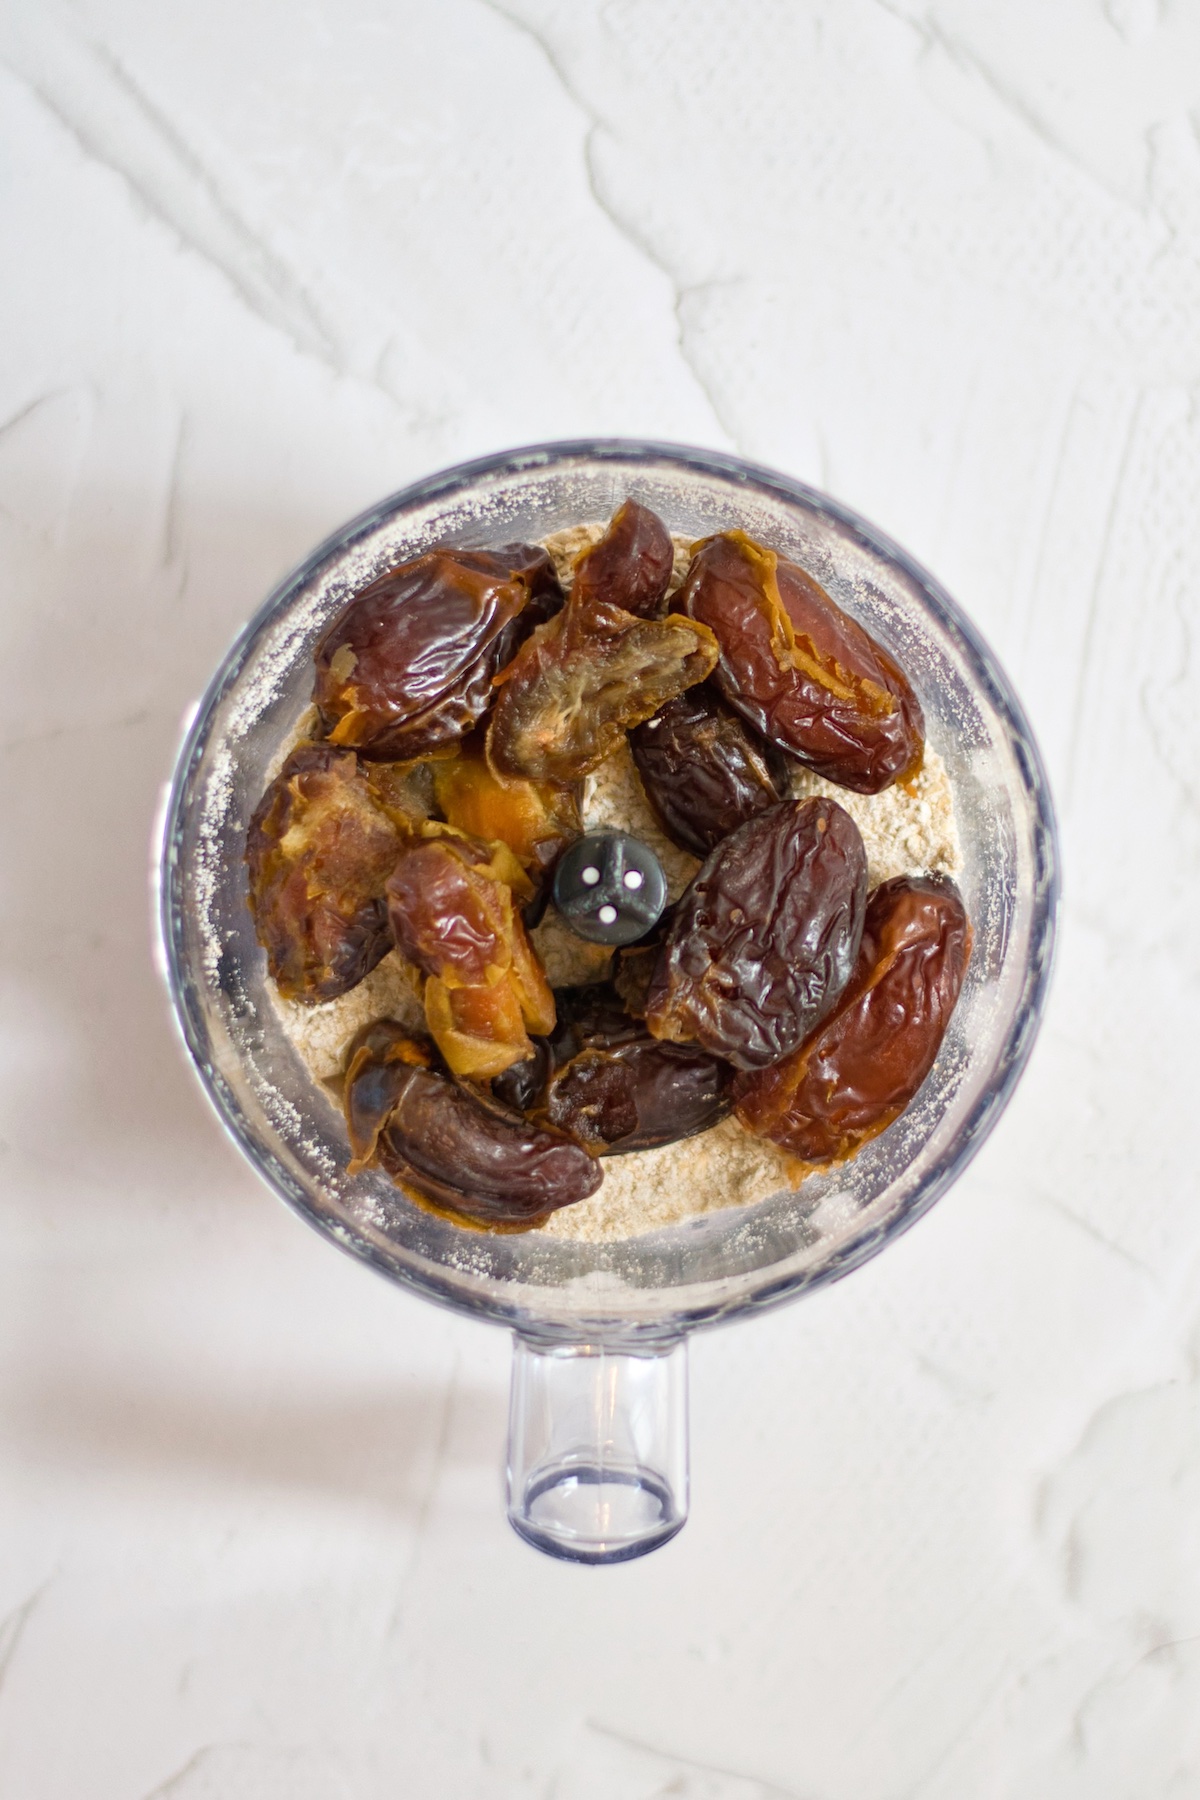
Add the dates and the coconut oil into the food processor, running it until a dough-like mixture forms. If the mixture is too dry, you can add a little of the water from soaking the dates. Once the dough is mixed well, wrap dough in plastic wrap and store it in the fridge to firm up.
Add raspberries to the clean food processor on medium speed and run until it becomes a paste. Pour the raspberry paste through a sieve to remove seeds.
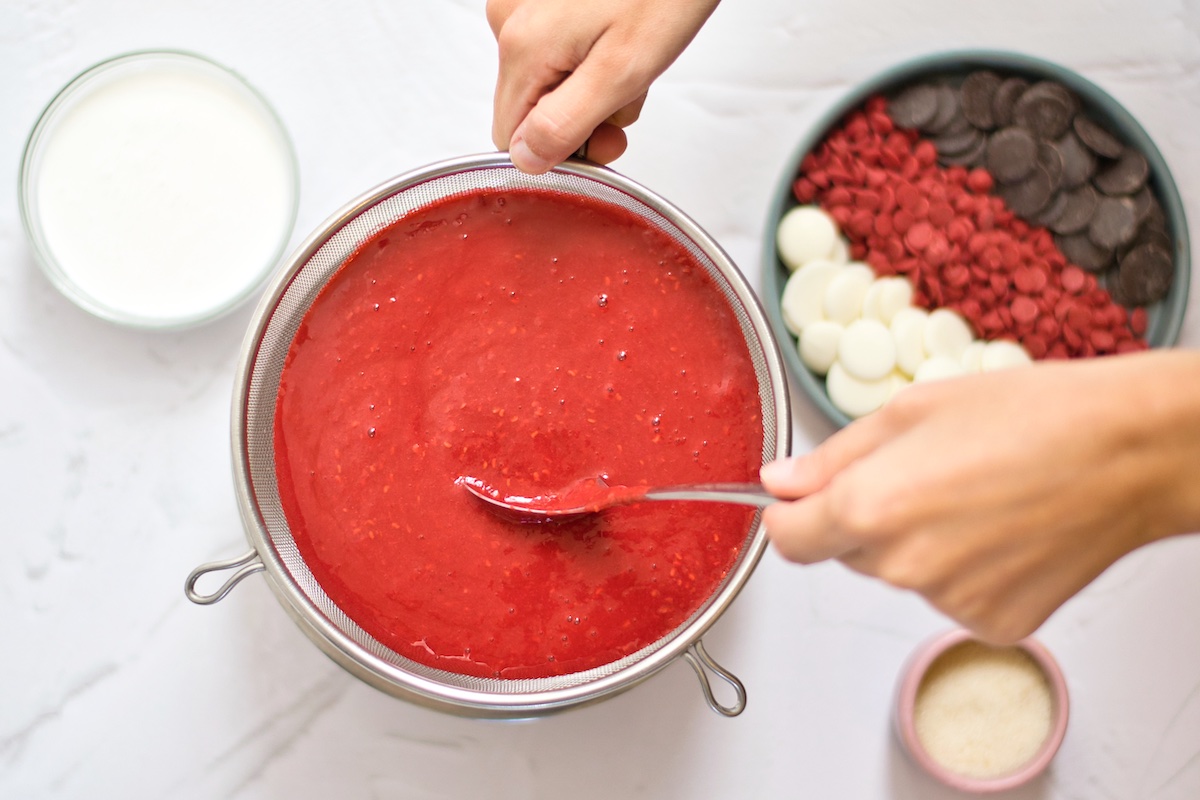
Add the raspberry mixture to a pot over medium-low heat. Taste the berries. If they are sweet enough, continue on with the recipe.
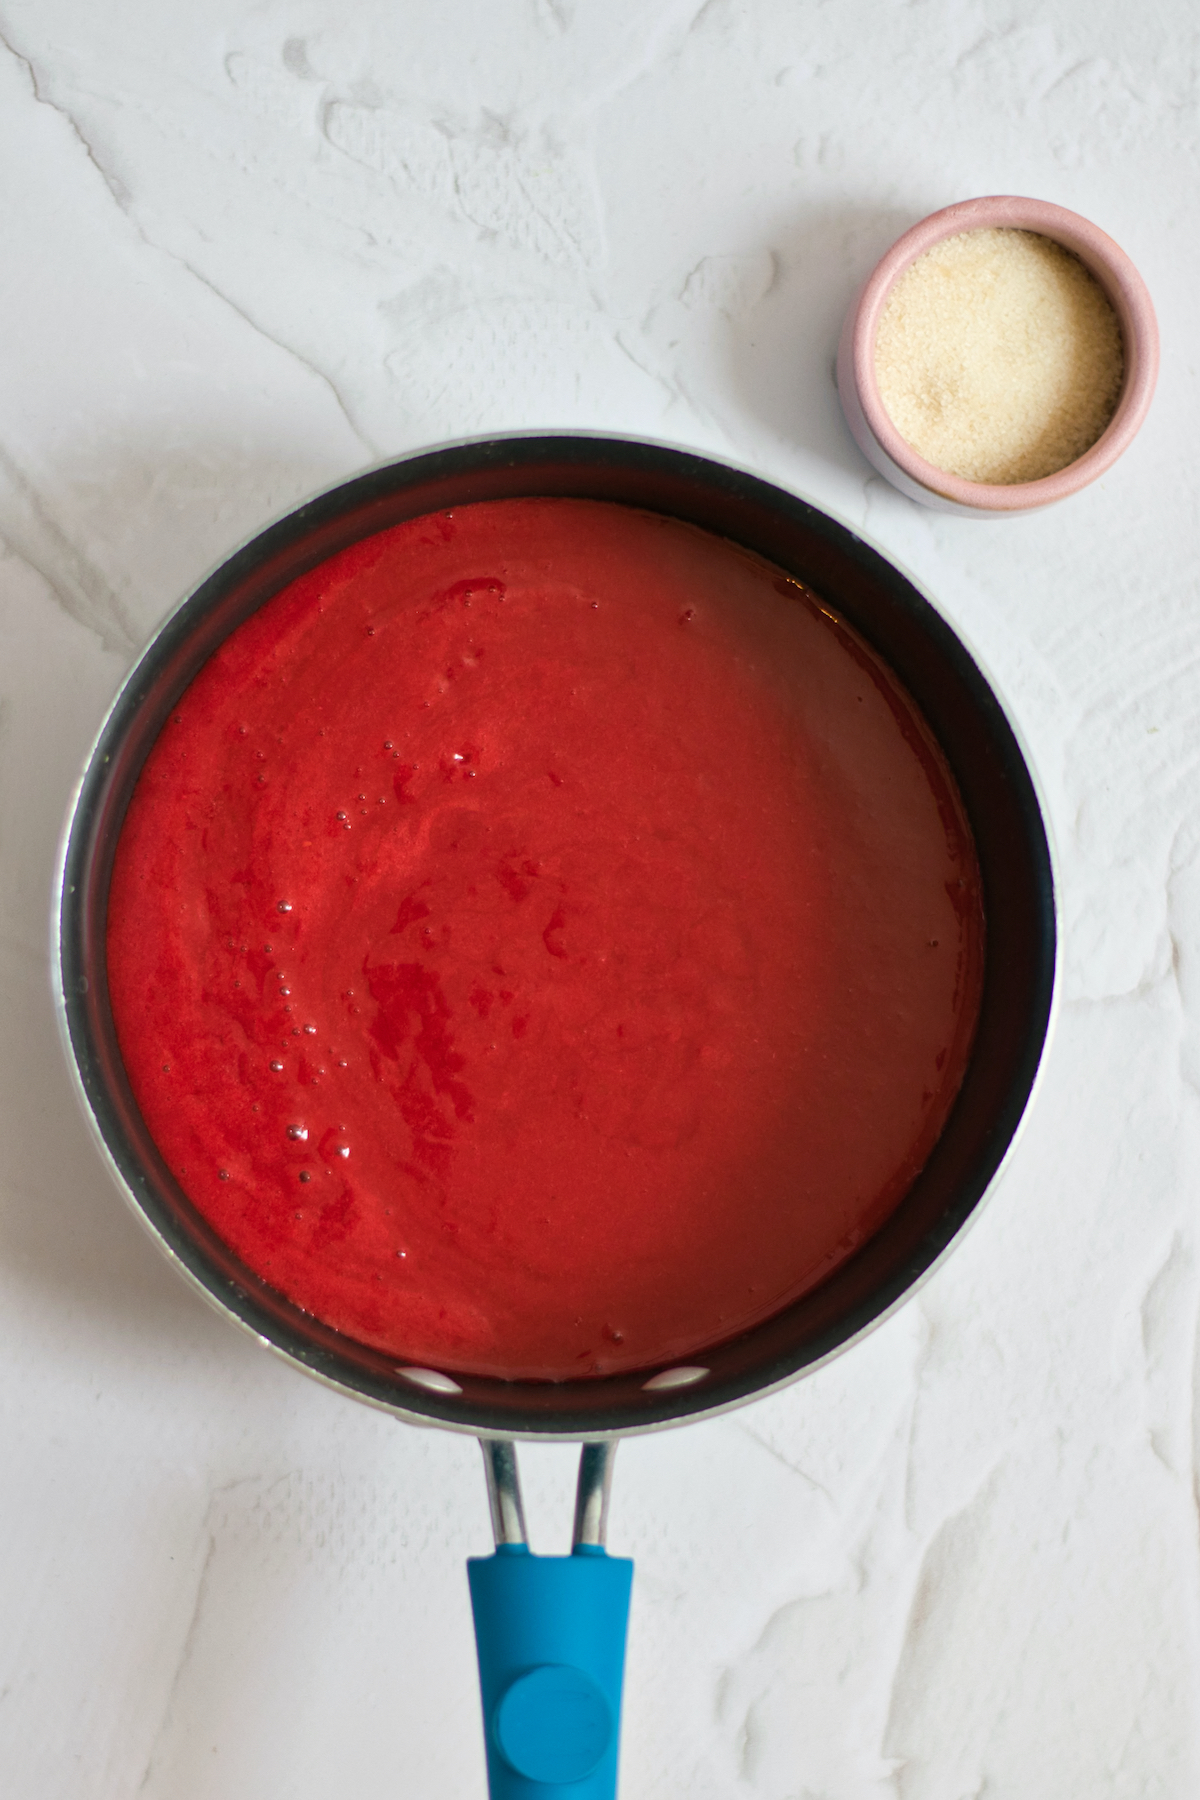
If the berries are tart, add some of the turbinado sugar until they are sweet enough for your taste. The more ripe the berries, the less sugar you will probably need.
Add the whipping cream and heat the mixture for around 8-10 minutes.
Prepare a double boiler and melt the white chocolate. You can also melt the chocolate in 15 second increments in the microwave, stirring in between melts.
Once the chocolate is smooth, mix it well with the raspberry paste and set it aside.
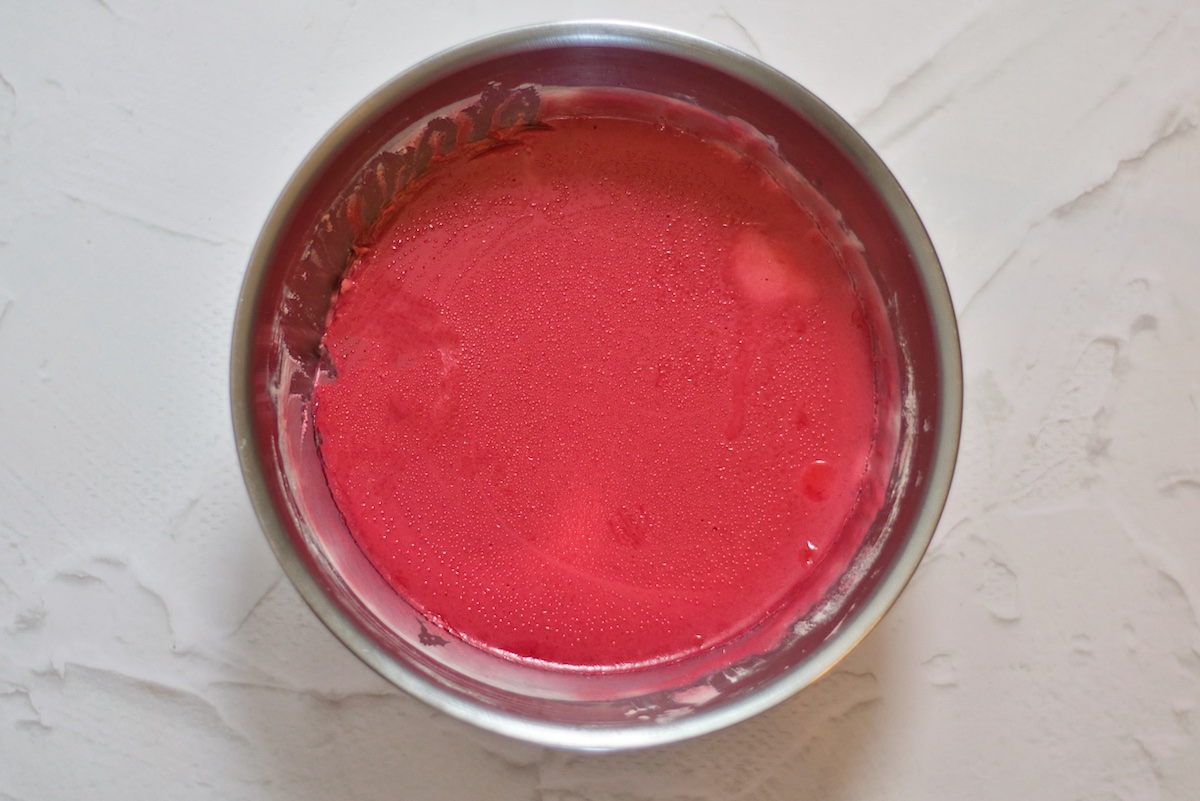
Remove dough from the refrigerator and place it between 2 sheets of parchment or wax paper.
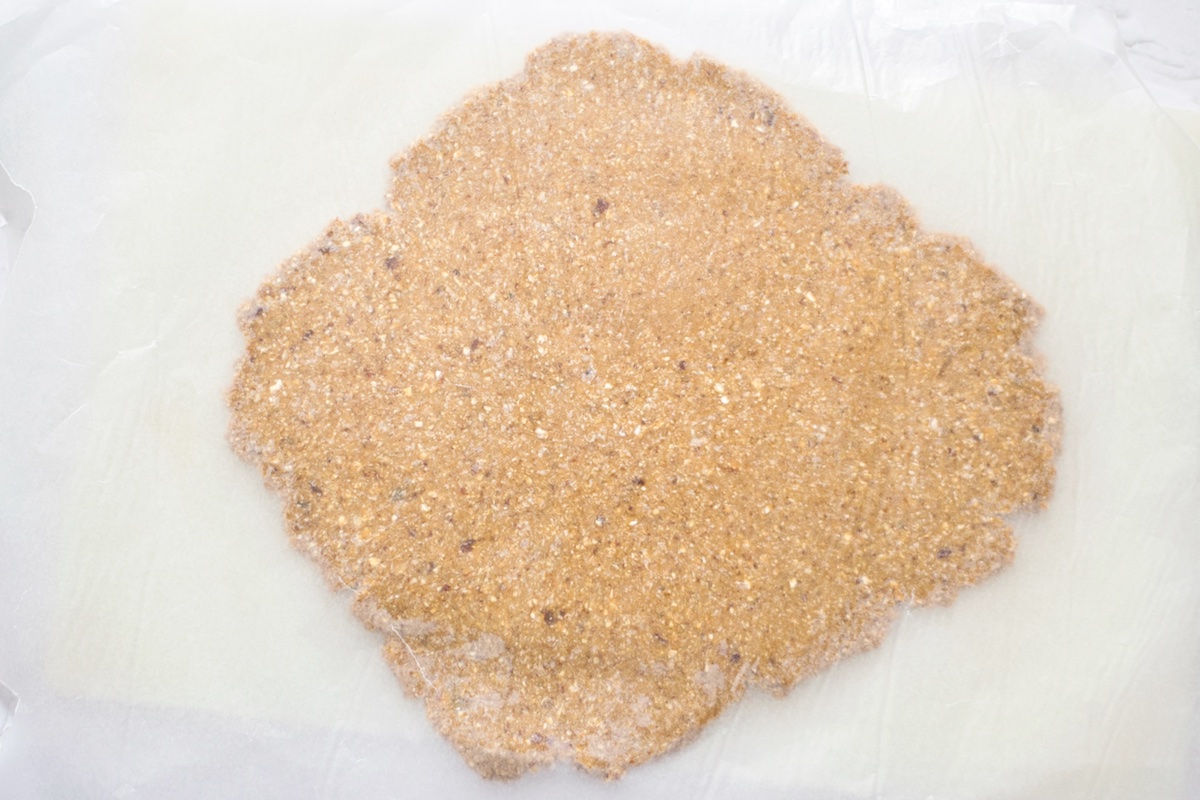
Using a rolling pin, roll dough to about 1/2 inch in thickness.
Use a 2 -inch cookie cutter and cut dough into as many cookies as you can, using up all the dough. You should be able to get around 20 cookies (10 tops and 10 bottoms.)
Set aside on a cutting board or cookie sheet lined with parchment paper.
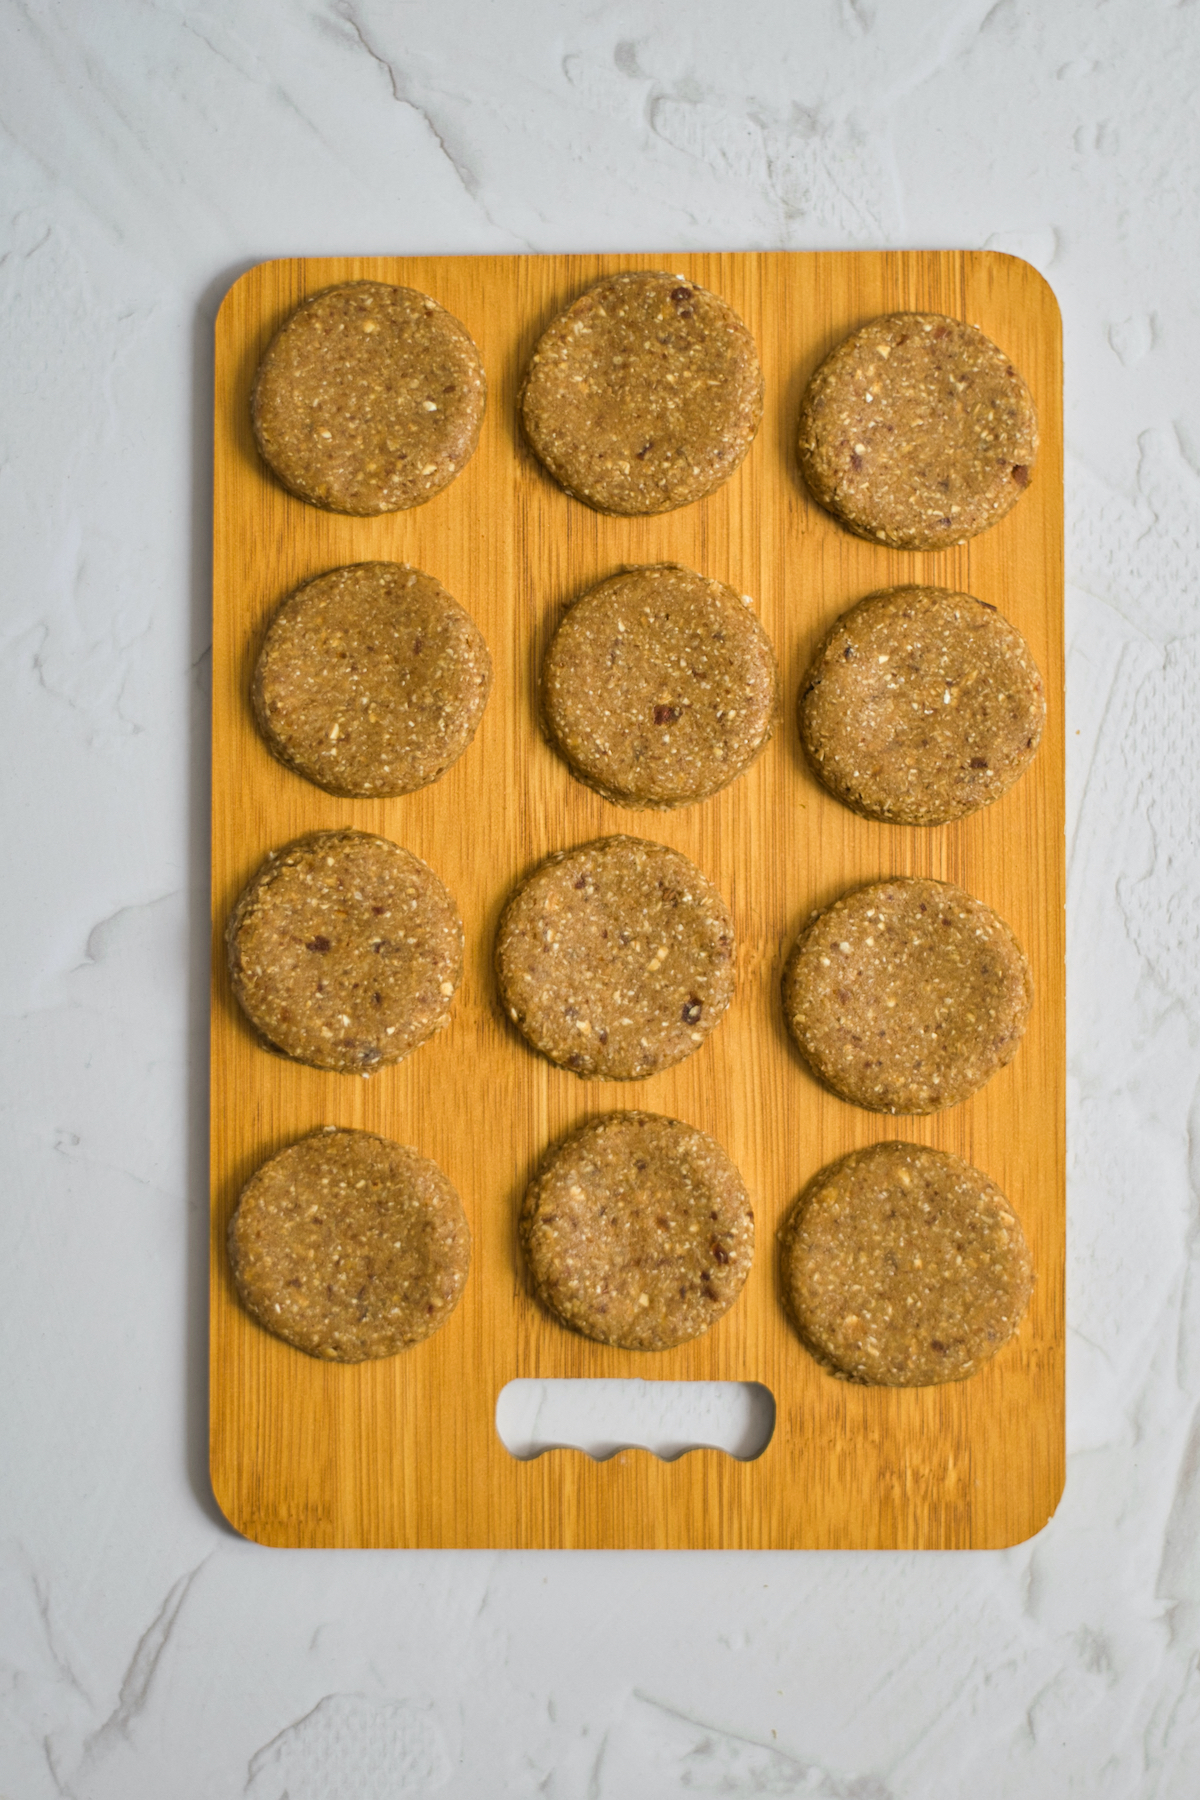
Next, separate the cookies into pairs. Add raspberry filling to the centers of half the cookies. Set aside.
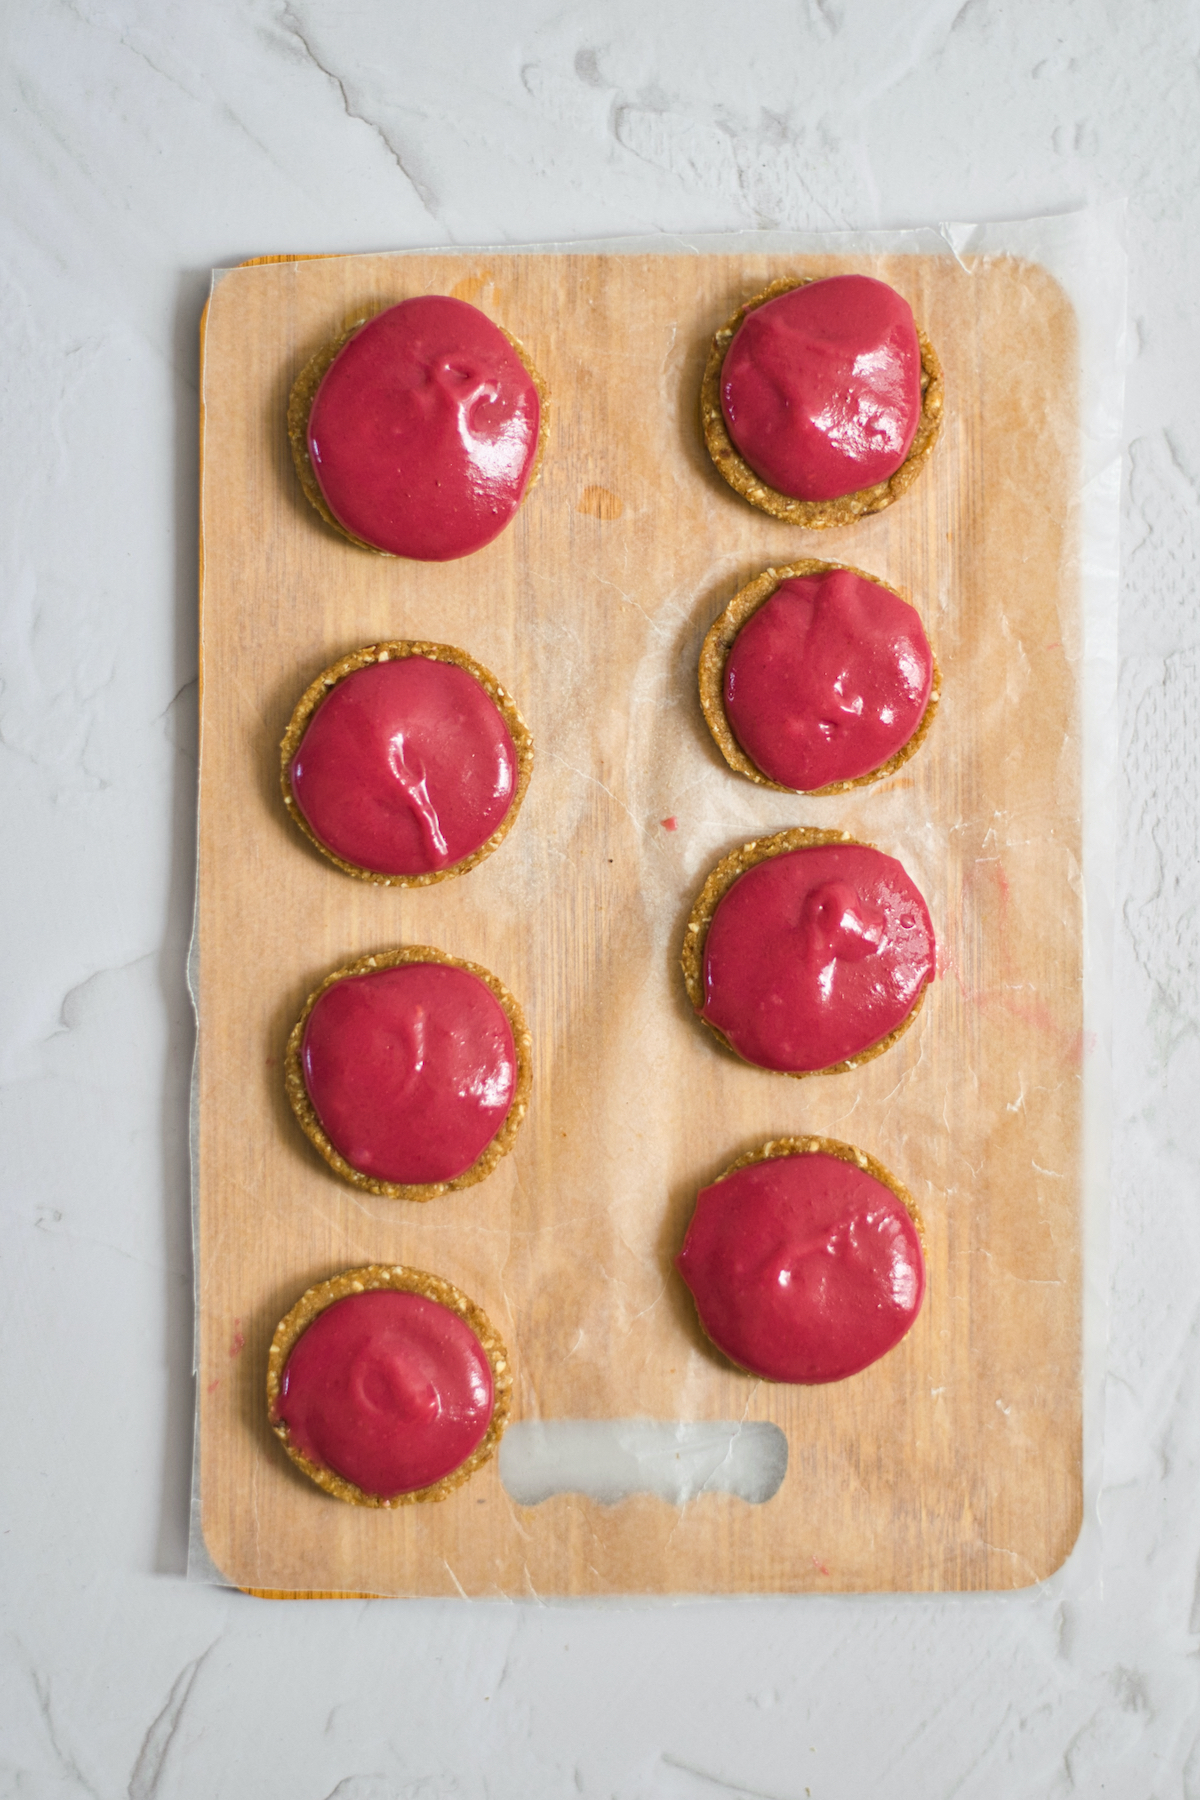
For the chocolate coating, melt the dark chocolate in a double boiler as before or in the microwave in a small bowl.
Once melted, carefully dip what will be the top of each cookie in chocolate by placing the cookie on a small spoon and immersing it in the melted chocolate.
Let the chocolate drip off spoon, and using a small knife, gently push the cookie onto the cookie sheet to dry.
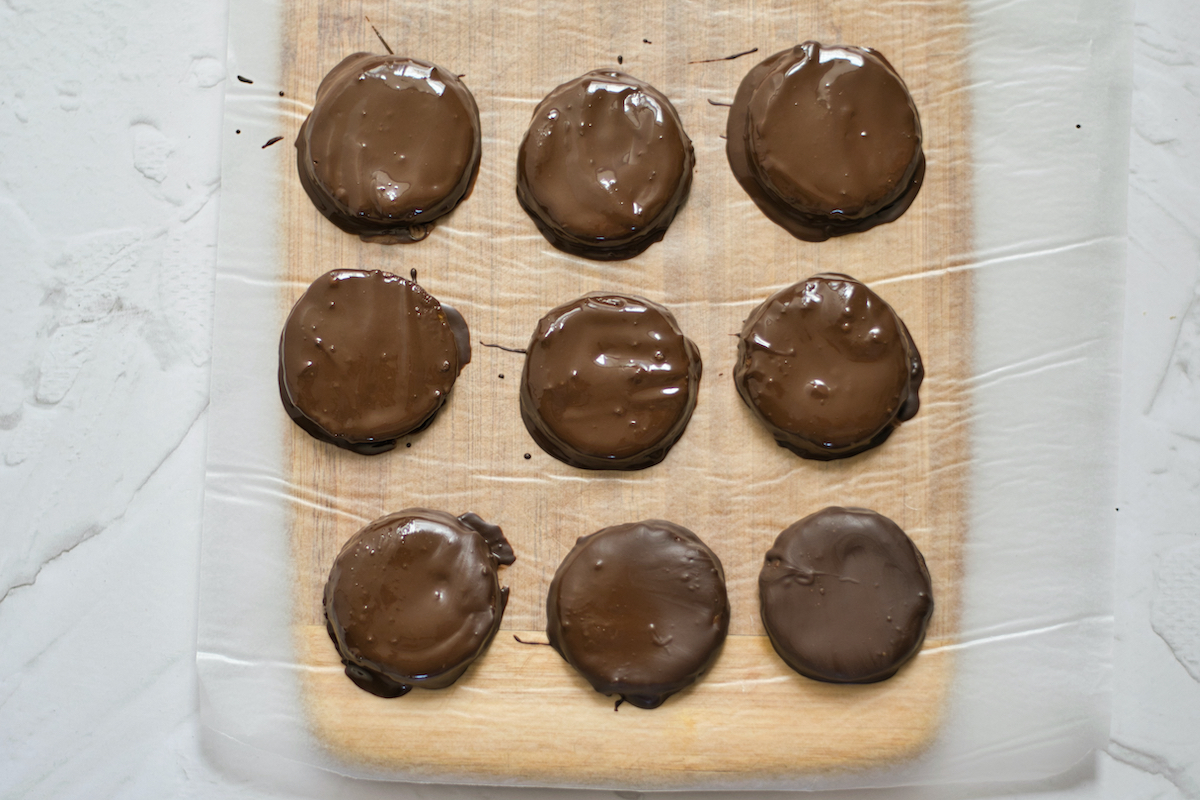
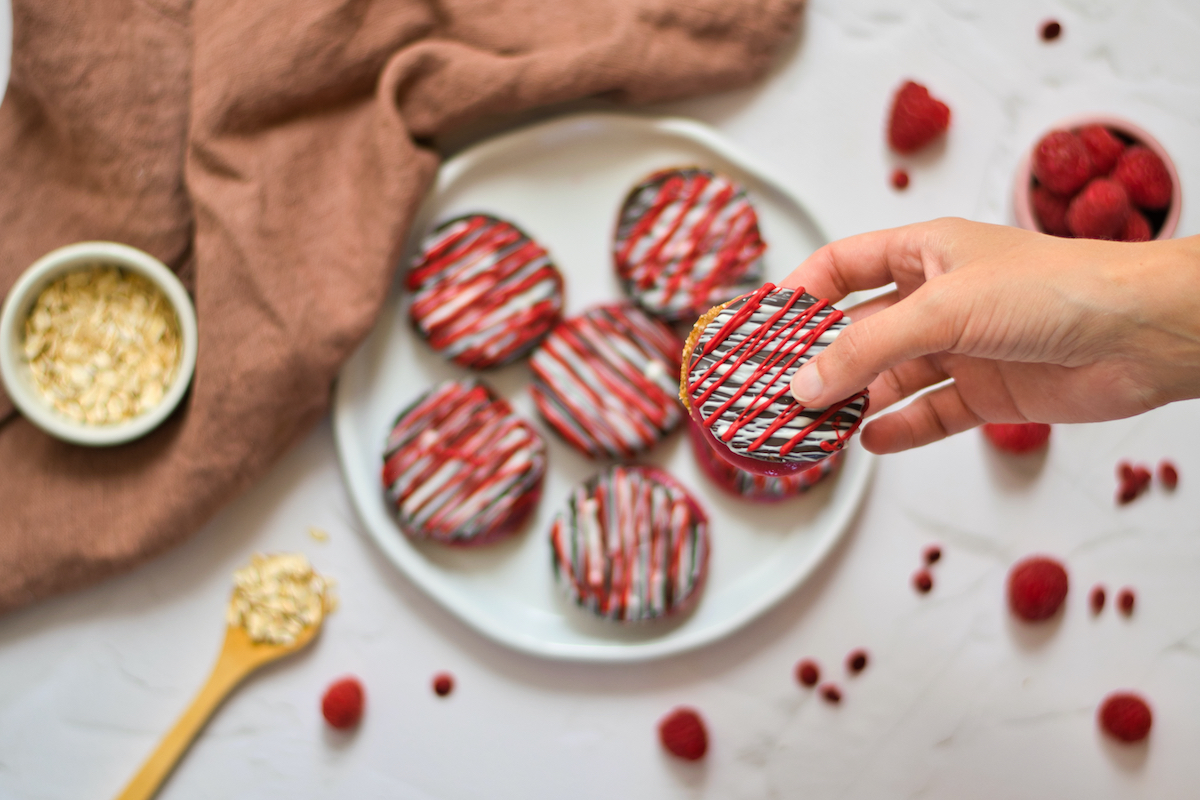
Once the cookie tops are completely dry, melt more white chocolate. Using a pastry bag, drizzle white chocolate to decorate the top of the cookies.
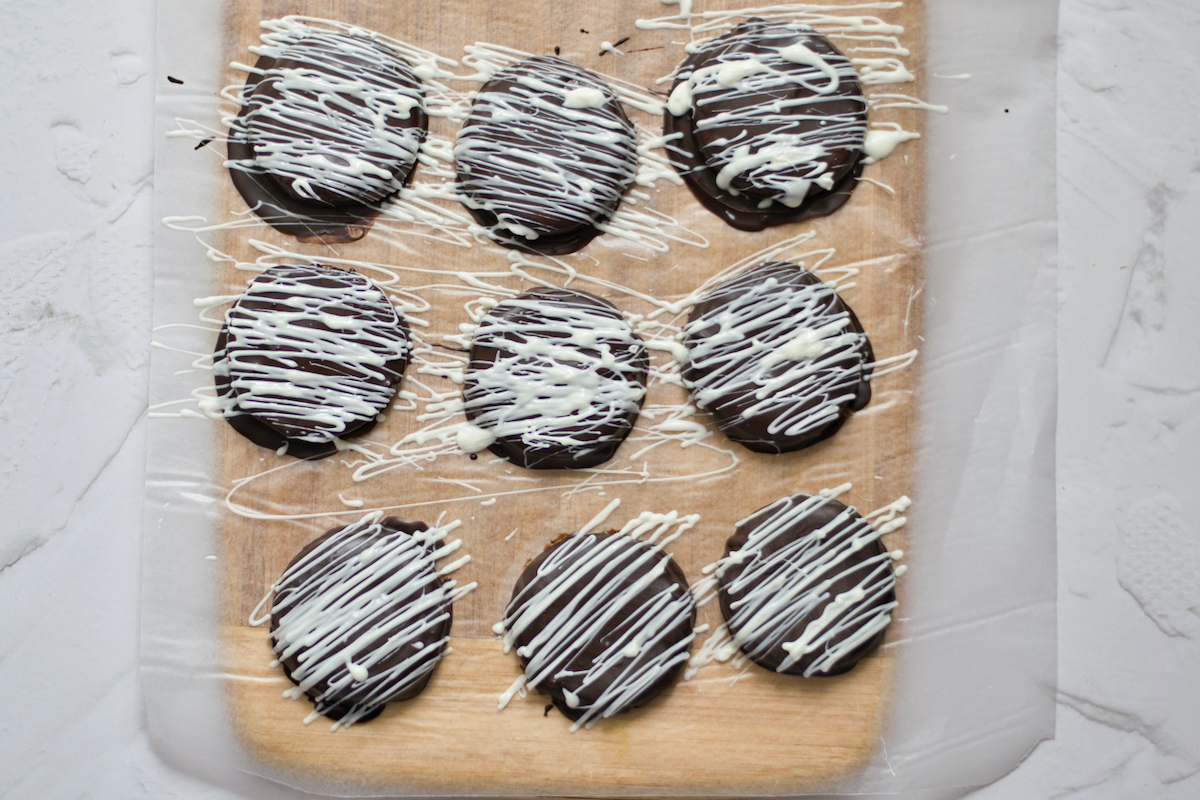
Let the cookies dry for about 20-30 minutes.
Once they are dry, repeat the same process with red chocolate. If you have trouble finding red chocolate, just use a little food dye to color the white chocolate. Try these cherry chocolate chips to add a hint of cherry flavor!
Once the tops of the cookies harden, assemble your raspberry sandwich cookies.
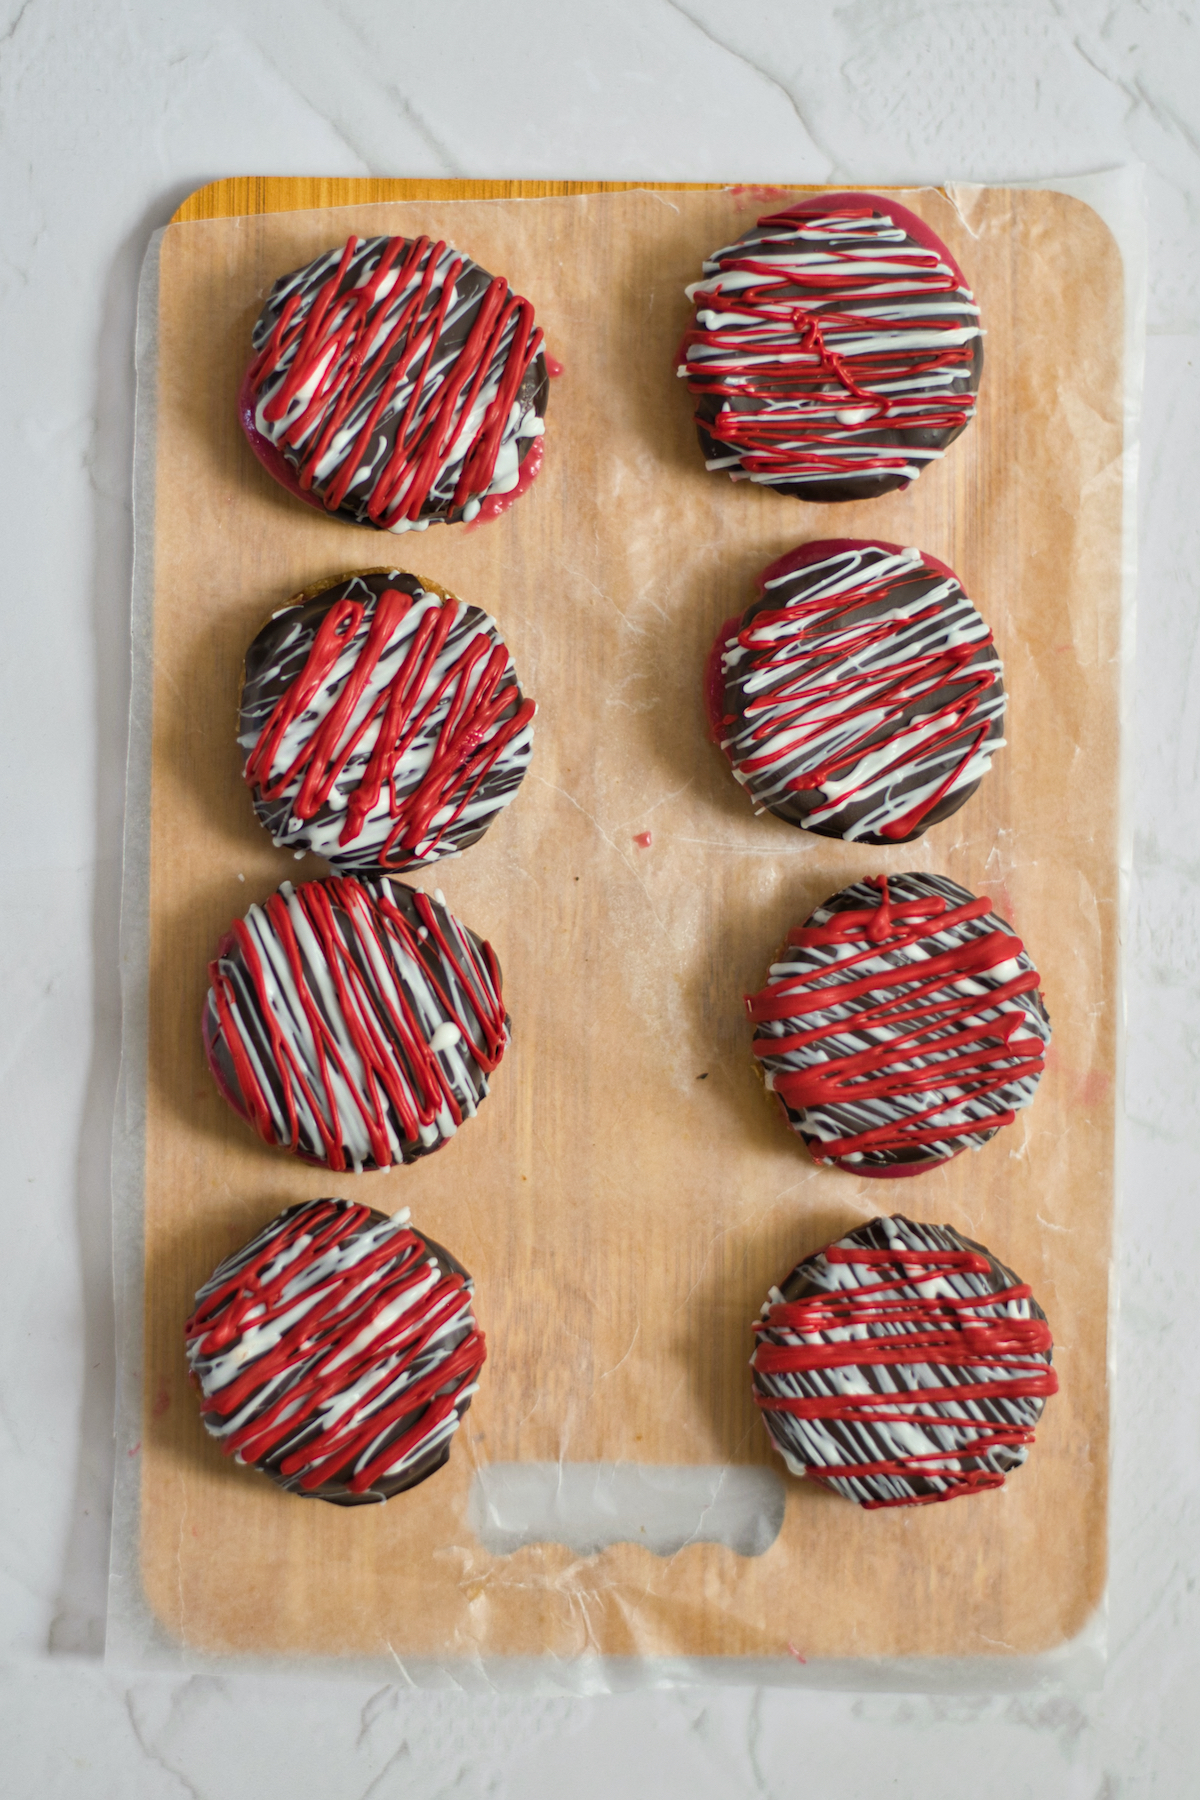
Aren’t they pretty?

I know you’re going to love these cookies. Chocolate lovers will want to check out our double chocolate chip cookies and this chocolate macaroon pie!
Top Tips
Chocolate can be very temperamental, especially when you’re adding food coloring. Be sure to stir the chocolate constantly on the stove or between meltings if you’re doing it in the microwave. Otherwise, you may end up with a mess you can’t use. I have saved chocolate many times by adding a couple of teaspoons of coconut oil and stirring well.
Remember, the utensils you are using need to be completely dry. Stirring chocolate with a utensil that has droplets of water on it can ruin the chocolate.
Drizzling chocolate is an art you can master easily. If you don’t have a pastry bag, use a fork or knife and dip it in the melted chocolate, moving it back and forth over the cookie. Start with small amounts and be patient!
Variations
This easy cookie recipe offers many variations so that you could make them over and over and change them up each time! Try one of these ideas the next time you make them:
- Use brown sugar to sweeten berries to give the filling more of a caramel flavor.
- Mix cream cheese into the raspberries instead of whipping cream for a delish new variation.
- Spread a teaspoon of jam filling in the middle of the cookies. Polaner All Fruit seedless raspberry jam is my favorite. Strawberry would be delicious, too. Try your favorite jam.
- Instead of drizzling with chocolate, you could sprinkle confectioners’ sugar on top.
- Add a teaspoon of almond extract or vanilla extract to the raspberry filling for a new flavor.
- You could even cut small holes in each cookie top so the filling shows through. Using the connecting side of the tip of the pastry bag usually works well for this.

Frequently Asked Questions
These little treats can be stored for up to a week in the fridge in an airtight container or covered with plastic wrap.
Yes! Freeze them for up to 3 months. Let them come to room temperature before serving.
You can. For best results, try to be sure the berries are ripe. If they are sour, you will need more sugar.
More Delicious Dessert Recipes
- 22 Easy Homemade Brownie Recipes
- Chocolate Rum Cake
- Chocolate Rolled Cake
- 30 Chocolate Valentine’s Day Desserts
- Brownies Bites with Buttercream Filling

Raspberry Sandwich Cookie Recipe
Equipment
- 1 2-inch cookie cutter
- Food processor
- pastry bag optional
Ingredients
For the filling
- 1 1/3 cup Frozen Raspberries
- 2 tablespoons turbinado sugar optional
- 1/3 cup Whipping Cream
- 7 ounces white chocolate
For the cookies
- 1 cup oats
- 10 medium Medjool dates pitted and halved
- 1 tablespoon Coconut oil
For the garnish
- 10 ounces Dark Chocolate
- 2 1/2 ounces Red chocolate chips
- 2 1/2 ounces White chocolate
Instructions
- Begin by washing the raspberries in cool water. Drain and set aside to dry. Even if your berries are organic, it’s best to wash all produce before using.
- Add the oats into a food processor and run it for a few seconds to make an oat flour.
- Add the dates to a medium bowl and pour hot water over them. Let them soak for a couple of minutes.
- When taking the dates out of the water, reserve about a half cup of the water.
- Add the dates and the coconut oil into the food processor, running it until it a dough-like mixture forms. If the mixture is too dry, you can add a little of the water from soaking the dates. Once the dough is mixed well, wrap dough in plastic wrap and store it in the fridge to firm up.
- Add raspberries to the clean food processor on medium speed and run until it becomes a paste. Pour the raspberry paste through a sieve to remove seeds and pulp.
- Add the raspberry mixture to a pot over medium-low heat. Taste the berries. If they are sweet enough, continue on with the recipe.
- If the berries are tart, add some of the turbinado sugar until they are sweet enough for your taste. The more ripe the berries, the less sugar you will probably need.
- Add the whipping cream and heat the mixture for around 8-10 minutes.
- Prepare a double boiler and melt the white chocolate. You can also melt the chocolate in 15 second increments in the microwave, stirring in between melts.
- Once the chocolate is smooth, mix it well with the raspberry paste and set it aside.
- Remove dough from refrigerator and place it between 2 sheets of parchment or wax paper.
- Using a rolling pin, roll dough to about 1/2 inch in thickness.
- Use a 2-inch cookie cutter and cut dough into as as many cookies as you can, using up all the dough. You should be able to get around 20 cookies. Set aside on a cookie sheet lined with parchment paper.
- Next, separate the cookies into pairs. Add raspberry filling to the centers of half the cookies. Set aside.
- For the chocolate coating, melt the dark chocolate in a double boiler as before or in the microwave in a small bowl.
- Once melted, carefully dip what will be the top of each cookie in chocolate by placing the cookie on a small spoon and immersing it in the melted chocolate. Let the chocolate drip off spoon, and using a small knife, gently push the cookie onto the cookie sheet to dry.
- Once the cookie tops are completely dry, melt more white chocolate. Using a pastry bag, drizzle white chocolate to decorate the top of the cookies.
- Let the cookies dry for about 20-30 minutes.
- Once they are dry, repeat the same process with red chocolate. If you have trouble finding red chocolate, just use a little food dye to color the white chocolate. Try this brand of cherry chocolate chips to add a hint of cherry flavor and color!
- Once the tops of the cookies harden, assemble your raspberry sandwich cookies.
Notes
Nutrition
As you may have seen, I’m excited to be one of Google’s paid early testers for their Thank with Google pilot program. Thank with Google is an experimental feature, allowing you to purchase a virtual sticker and directly show your appreciation for content on my website.
As a loyal supporter, this gives you the chance to express yourself and let me know which of my posts you enjoy the most (so I can bring you more of that!). I’ve loved seeing the variety of stickers and messages my readers have selected to date.
Remember, each time you send a paid sticker, you can add a personal message. These virtual stickers also translate into direct revenue to support the work that goes into the content that you are enjoying on my blog.
You’ll see the Thank with Google feature in multiple places on my site, including in my sidebar. If you try it out, let me know what you think! As always, thanks for your support!




These are amazing! Love that they’re vegan!