Halloween Hand Held Pies
Serving themed treats is always fun for October parties, and this recipe for Halloween hand pies couldn’t be easier. With just four ingredients and the optional powdered sugar, these are ready in no time and the kids will love them!
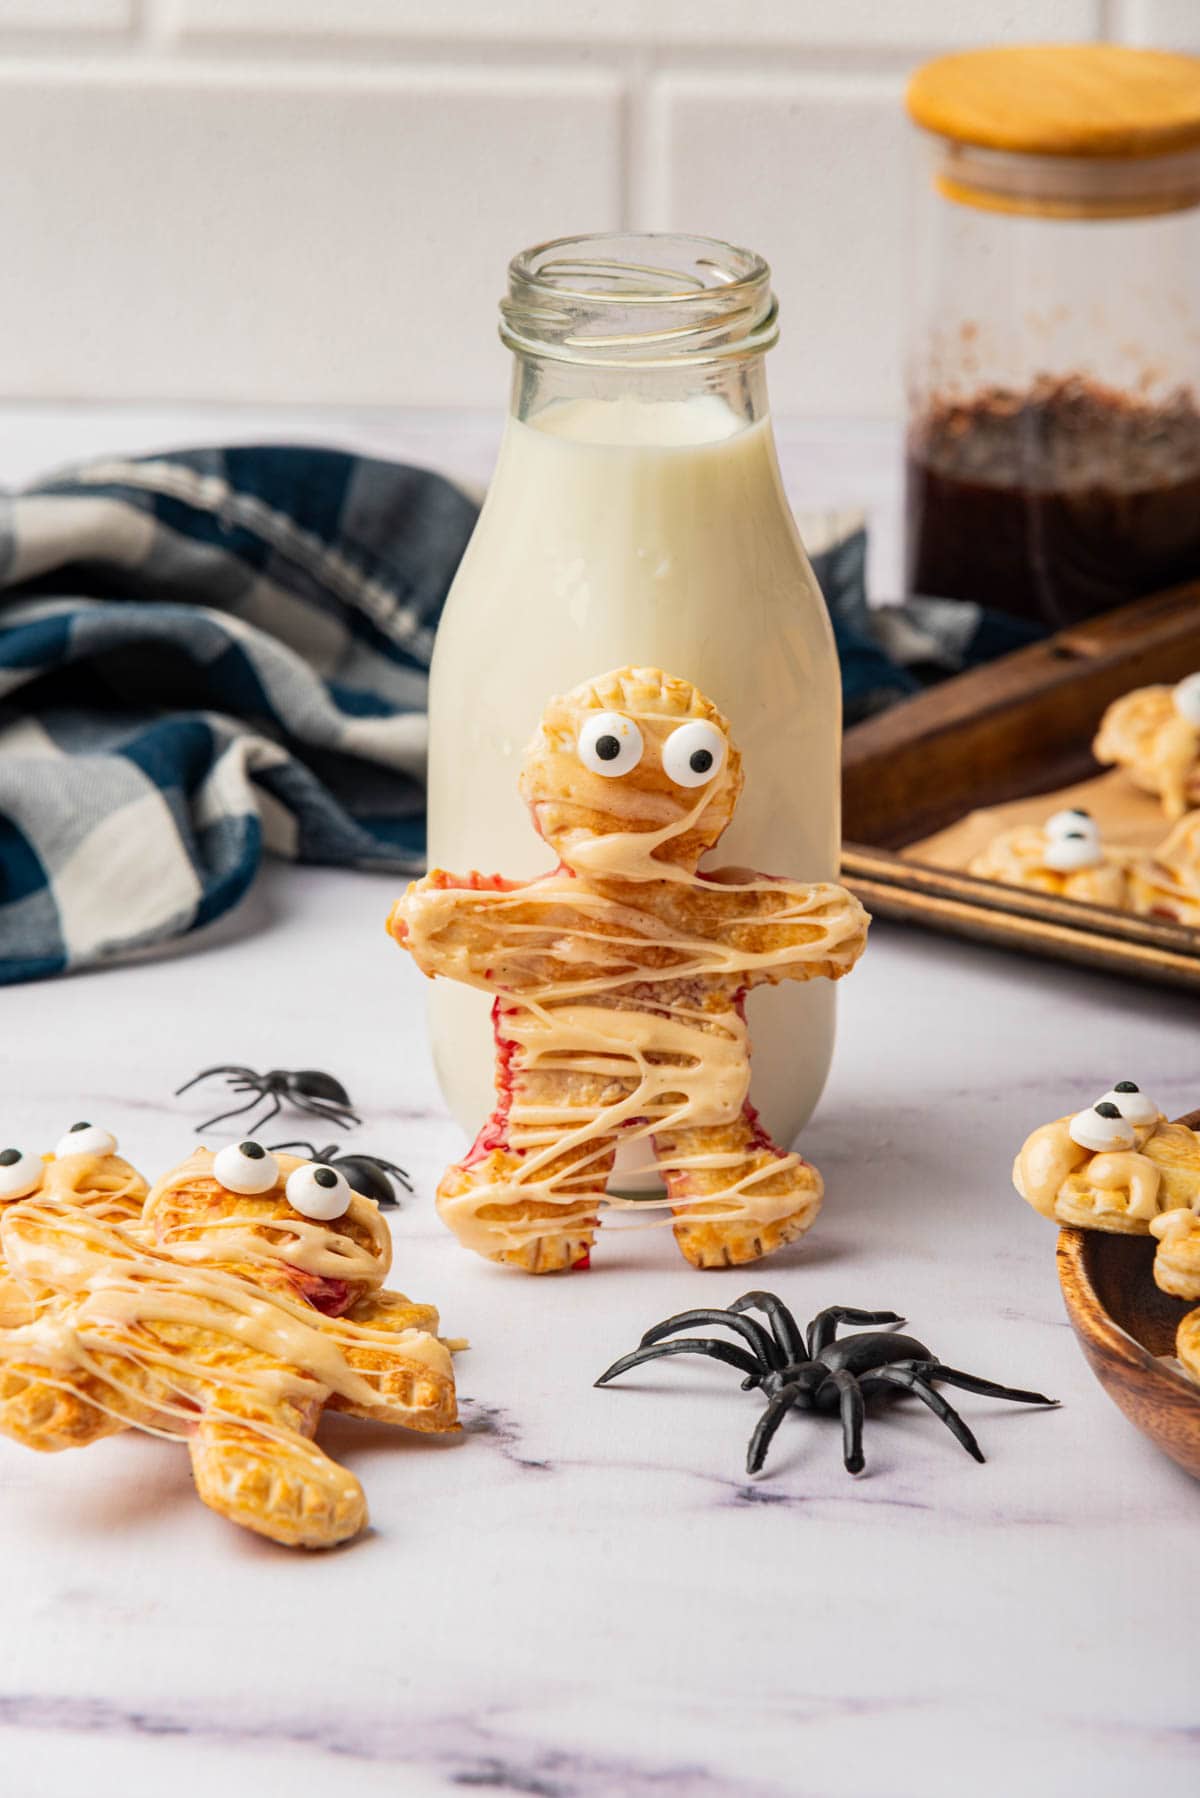
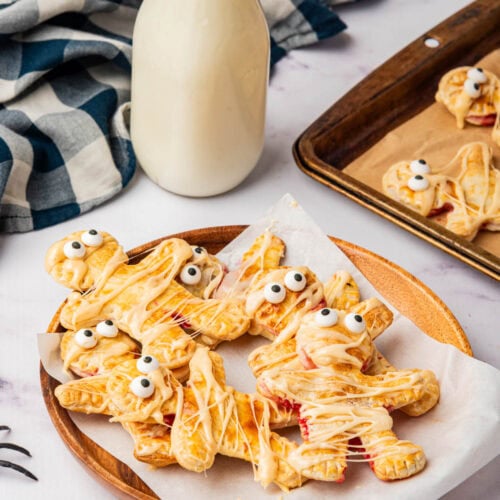
Mummy Hand Held Pies for Halloween
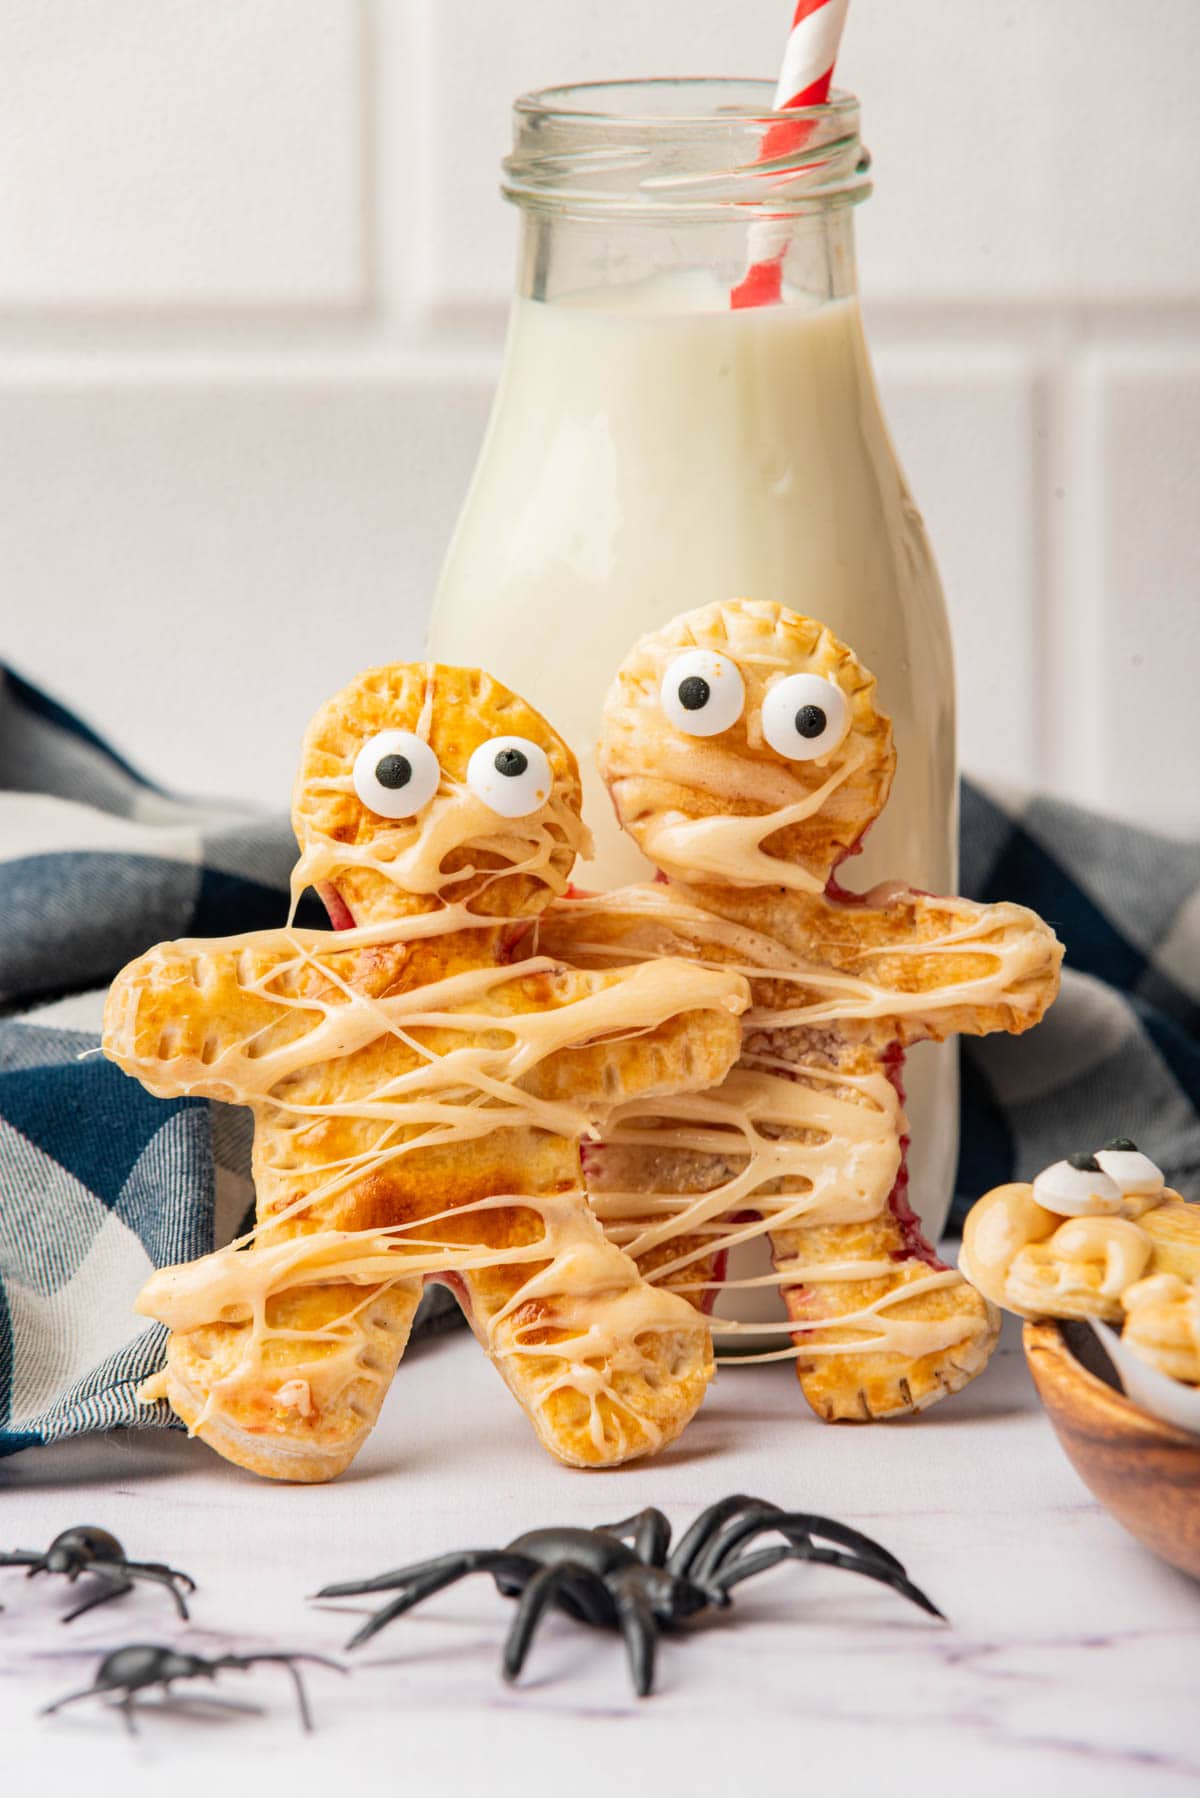
These mini pies have a buttery crust and a sweet fruit filling inside. On the top crust, you add melted marshmallows for a mummy-themed design.
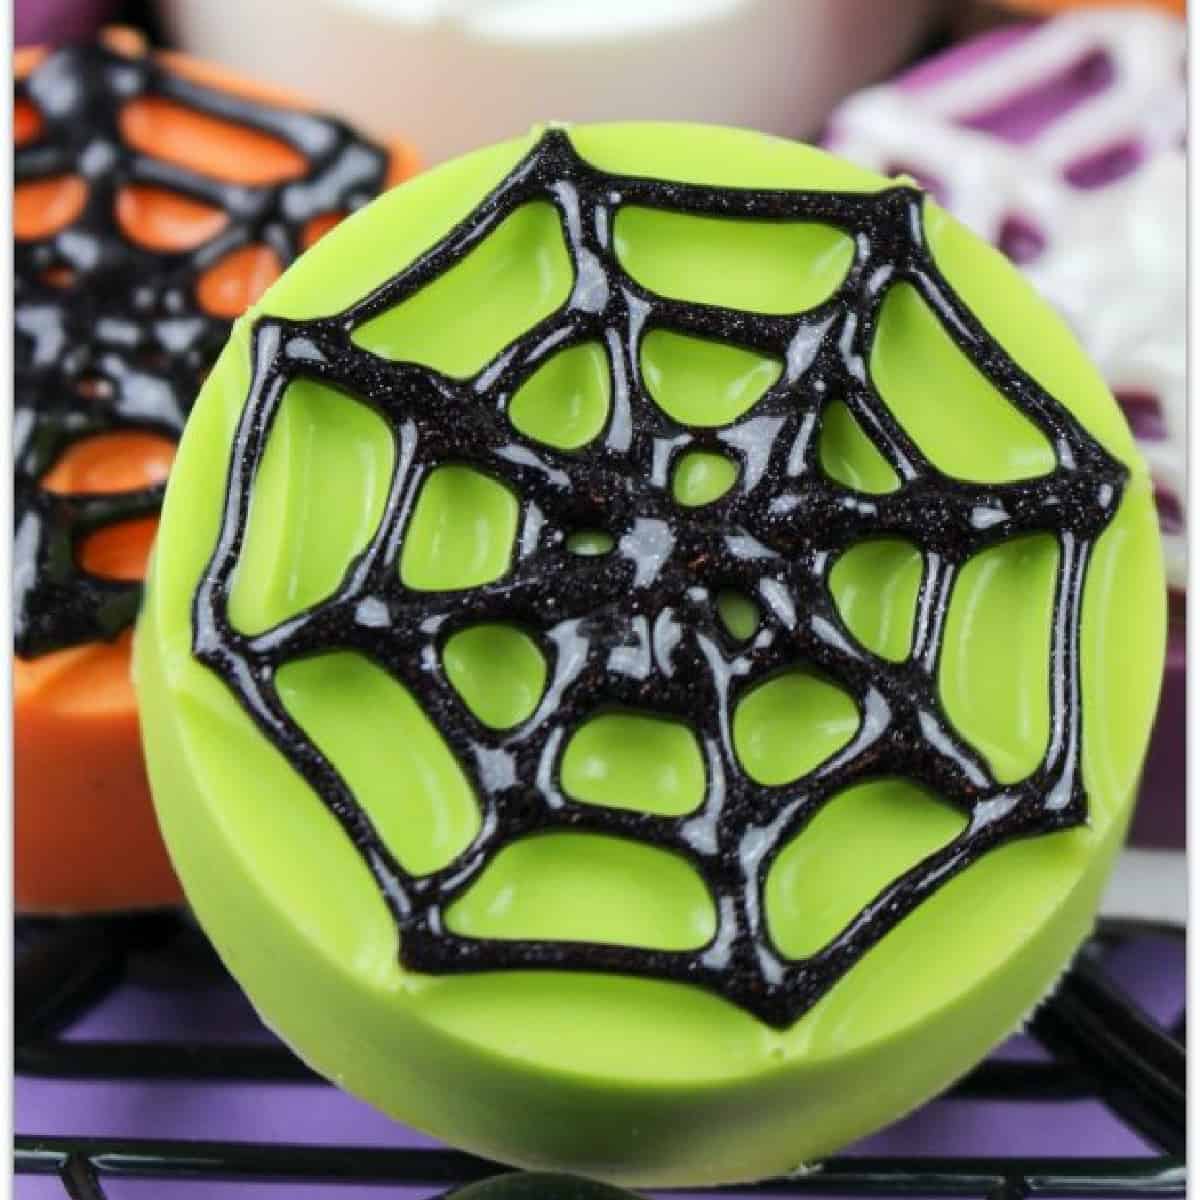
We love serving festive desserts on Halloween. You’ll have fun with these Halloween Spider Web Oreos and Halloween Brownie Bites, too.
Crimp the edges of the dough so that all the filling is hidden inside until you bite into these tasty individual pies. Kids will go nuts over these small pies and enjoy the flaky pie crust and sweet fruit filling. Happy baking.
What You Need to Make Halloween Hand Pies
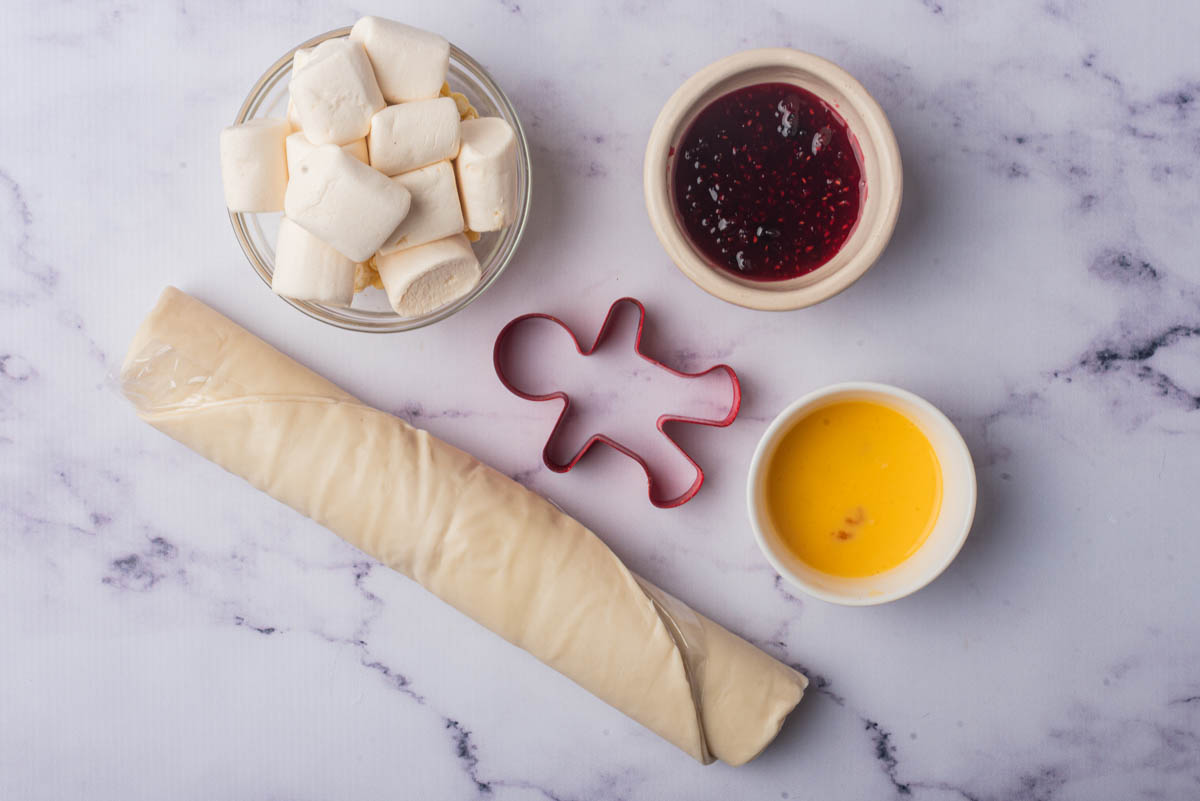
- 2 ready-made pie crusts
- 1/2 cup raspberry jam
- 1 egg yolk, beaten
- 1 cup mini marshmallows
- Powdered sugar (optional, for dusting)
Equipment:
- Gingerbread man shaped cookie cutter
- Rolling pin
- Baking sheet
- Parchment paper
- Microwave-safe bowl
- Spoon
Instructions:
Preheat the oven to 375°F.
Line a baking sheet with parchment paper.
Roll out the ready-made pie crusts on a lightly floured surface. If you have a good homemade pie crust recipe, feel free to use it!
Using the gingerbread man cookie cutter, cut out as many shapes as possible from the pie crusts. You’ll need to have an even number of shapes to use for the front and back of the hand pies.
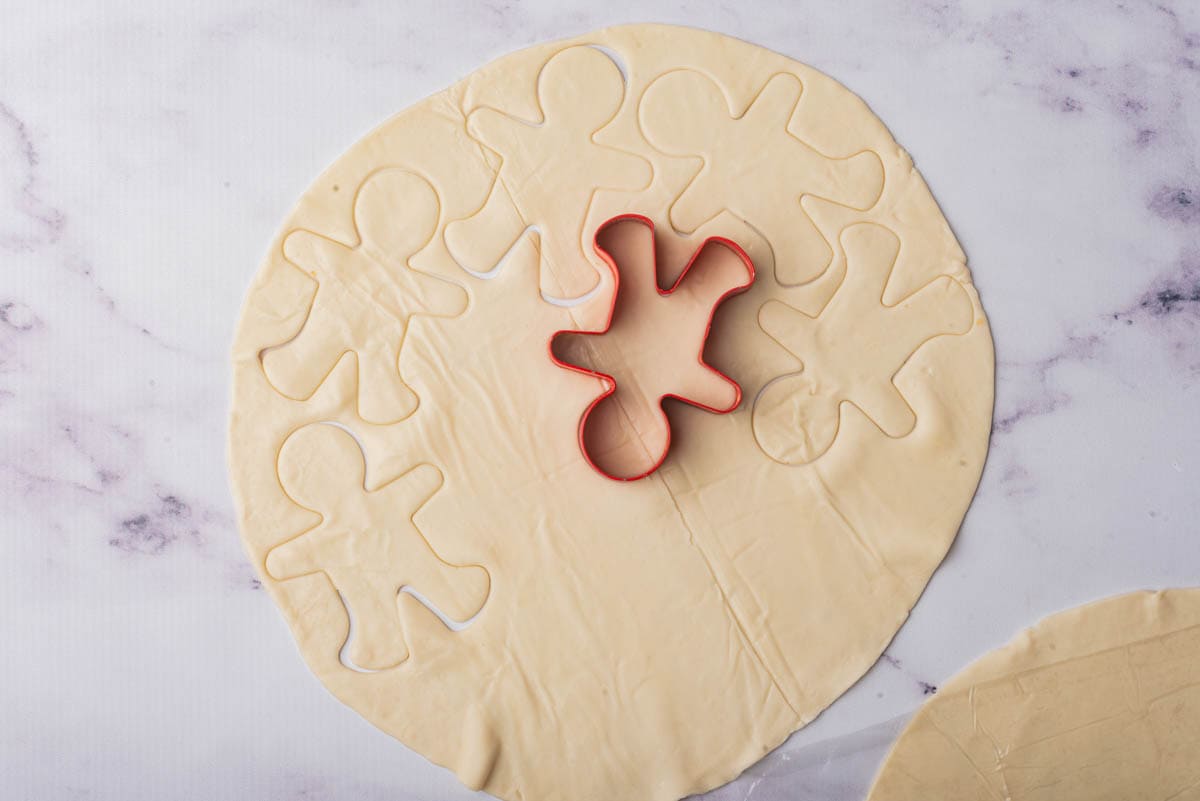
Place half of the cut-out shapes on the lined baking sheet.
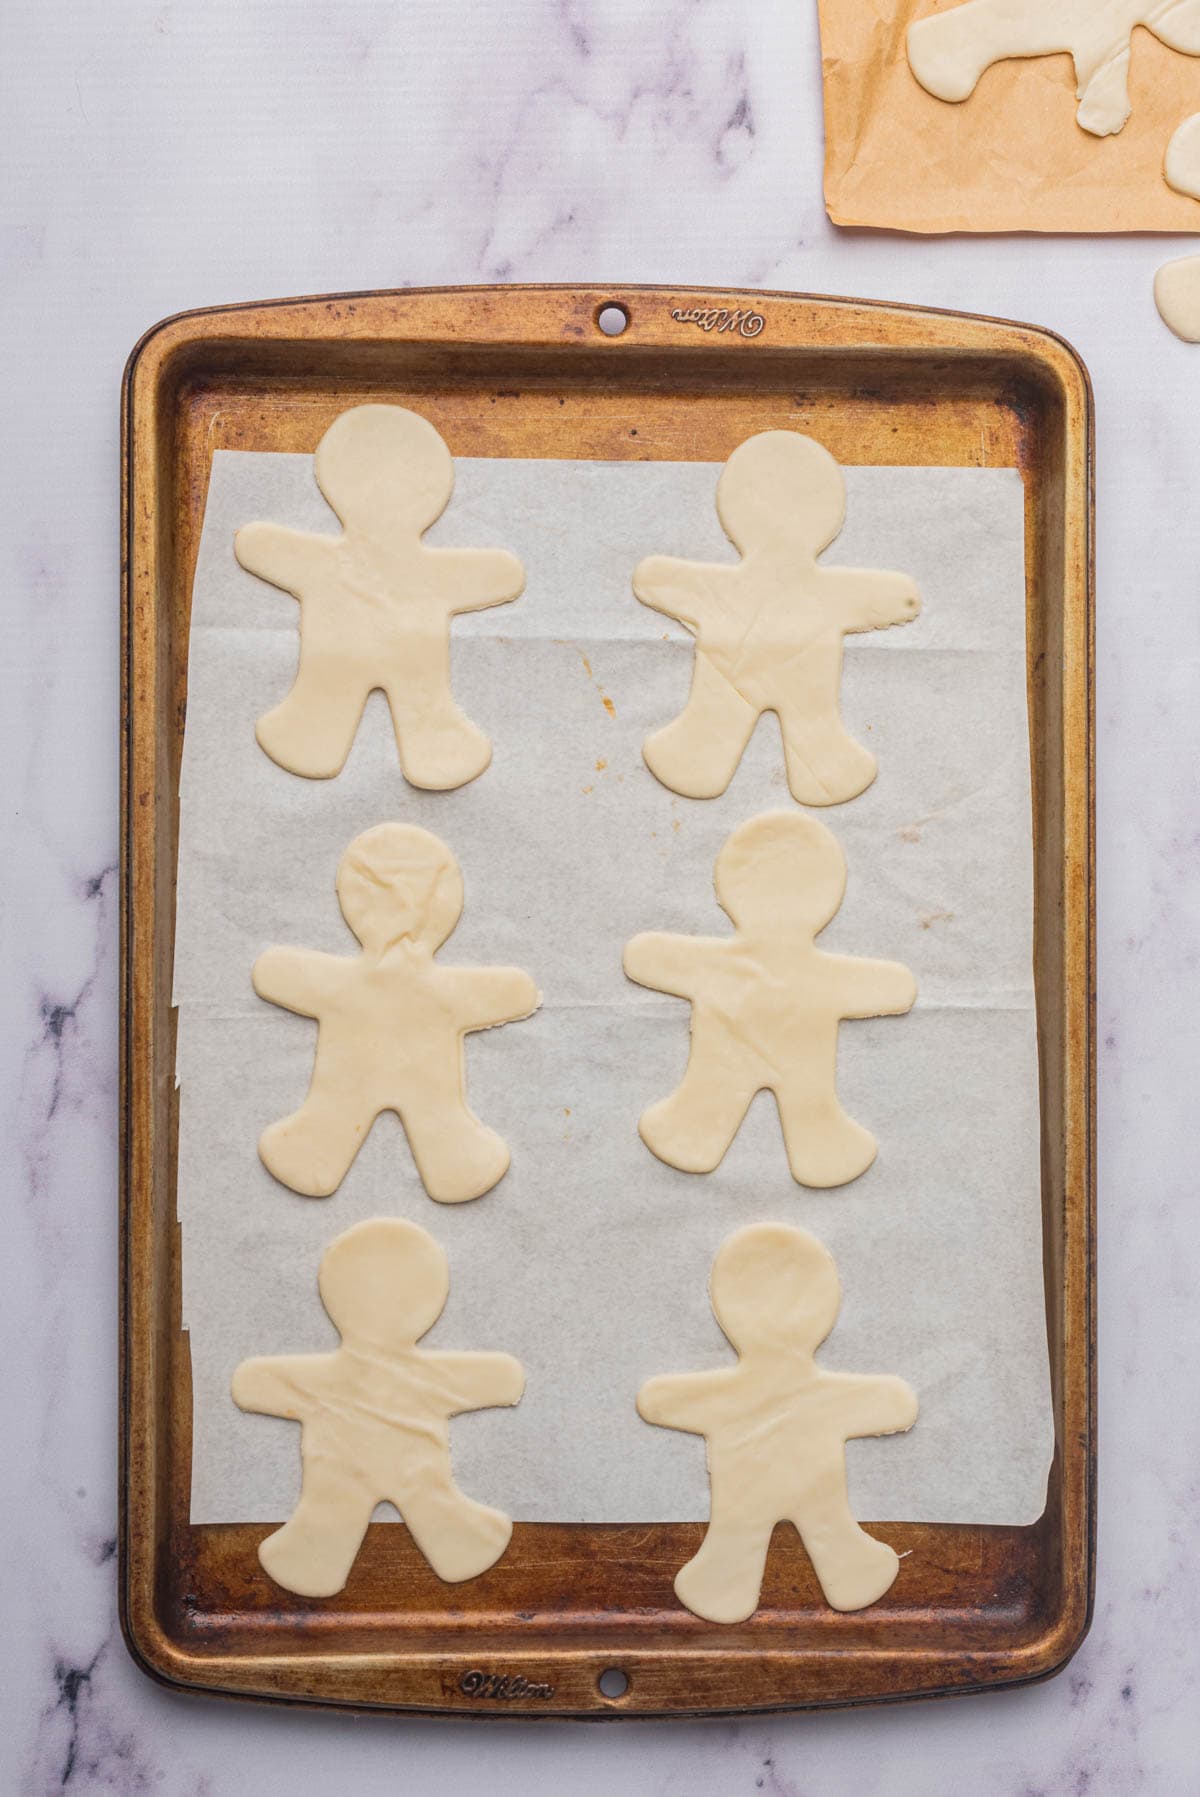
Spoon a small amount of raspberry jam in the center of each shape. Leave a small border around the edges to seal the hand pies.
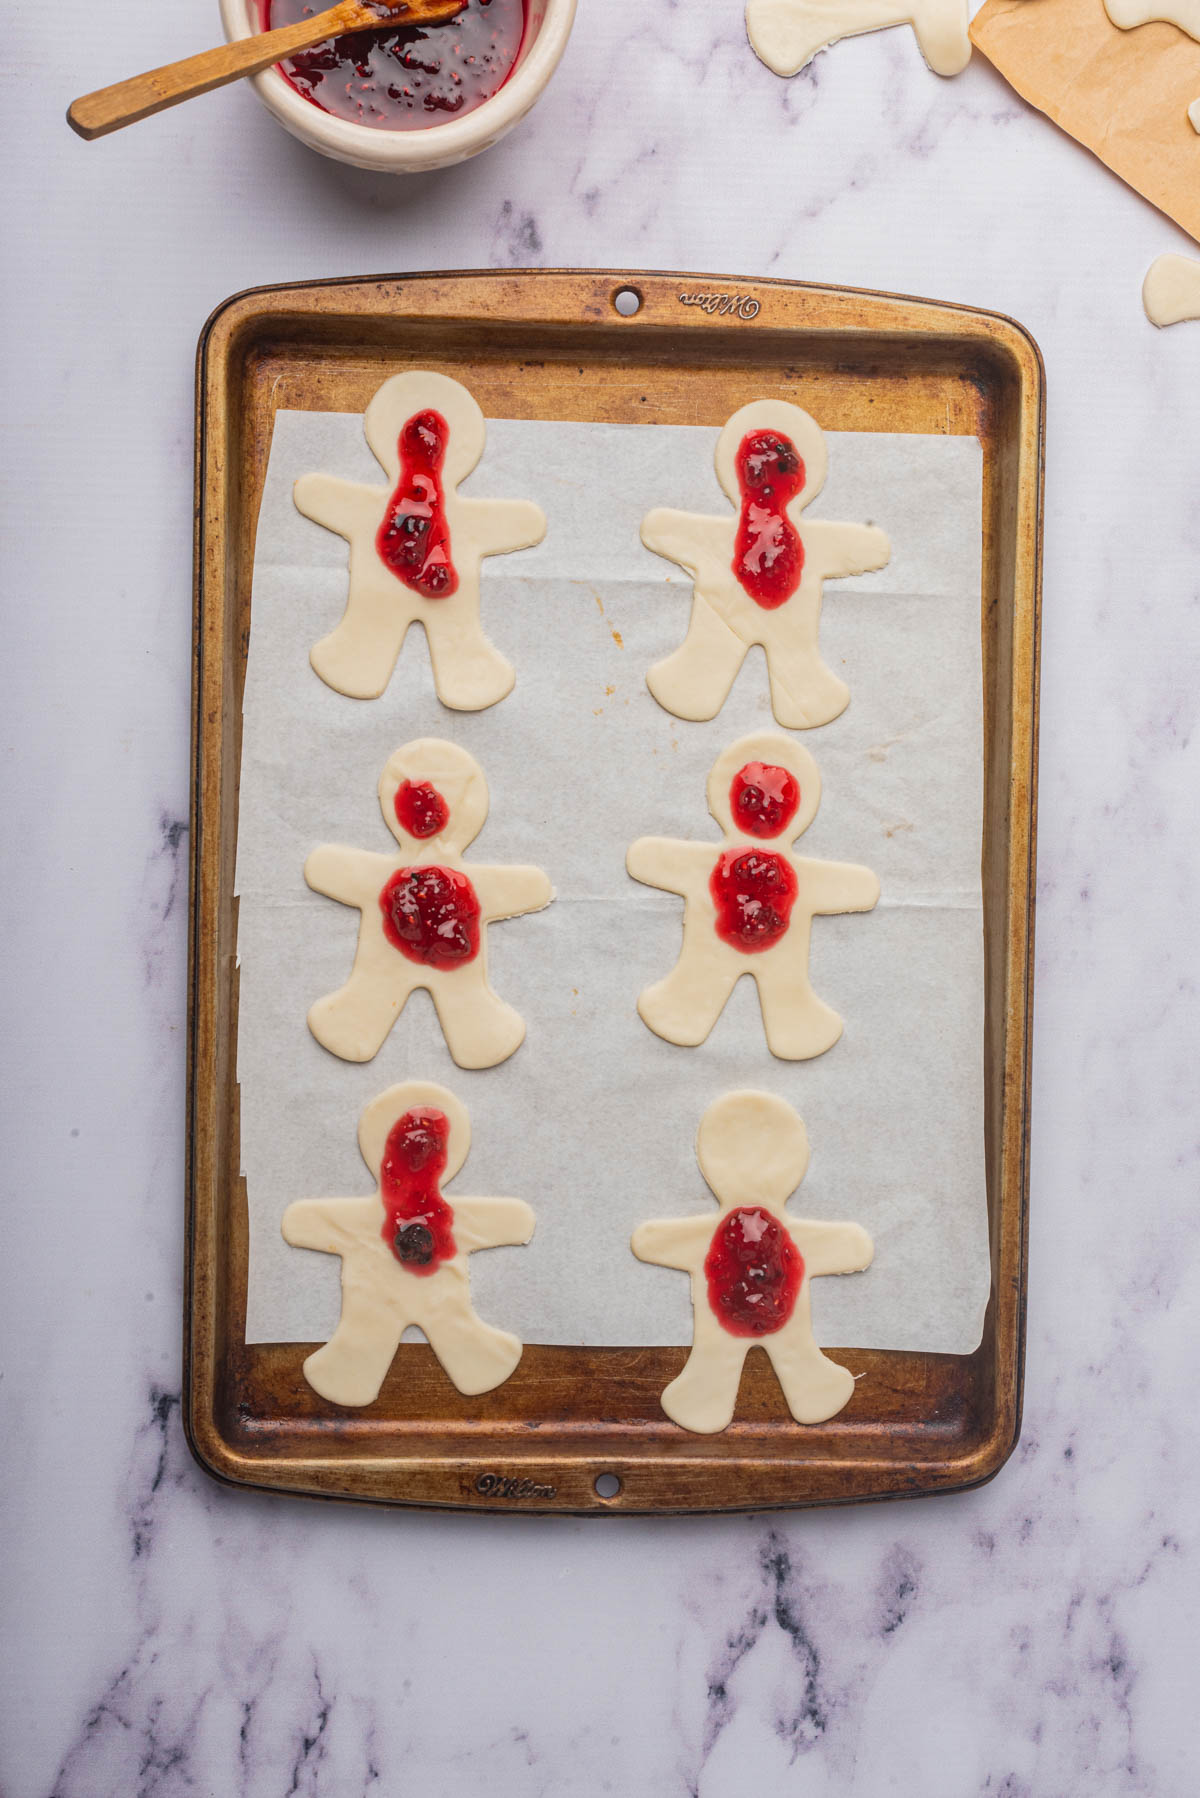
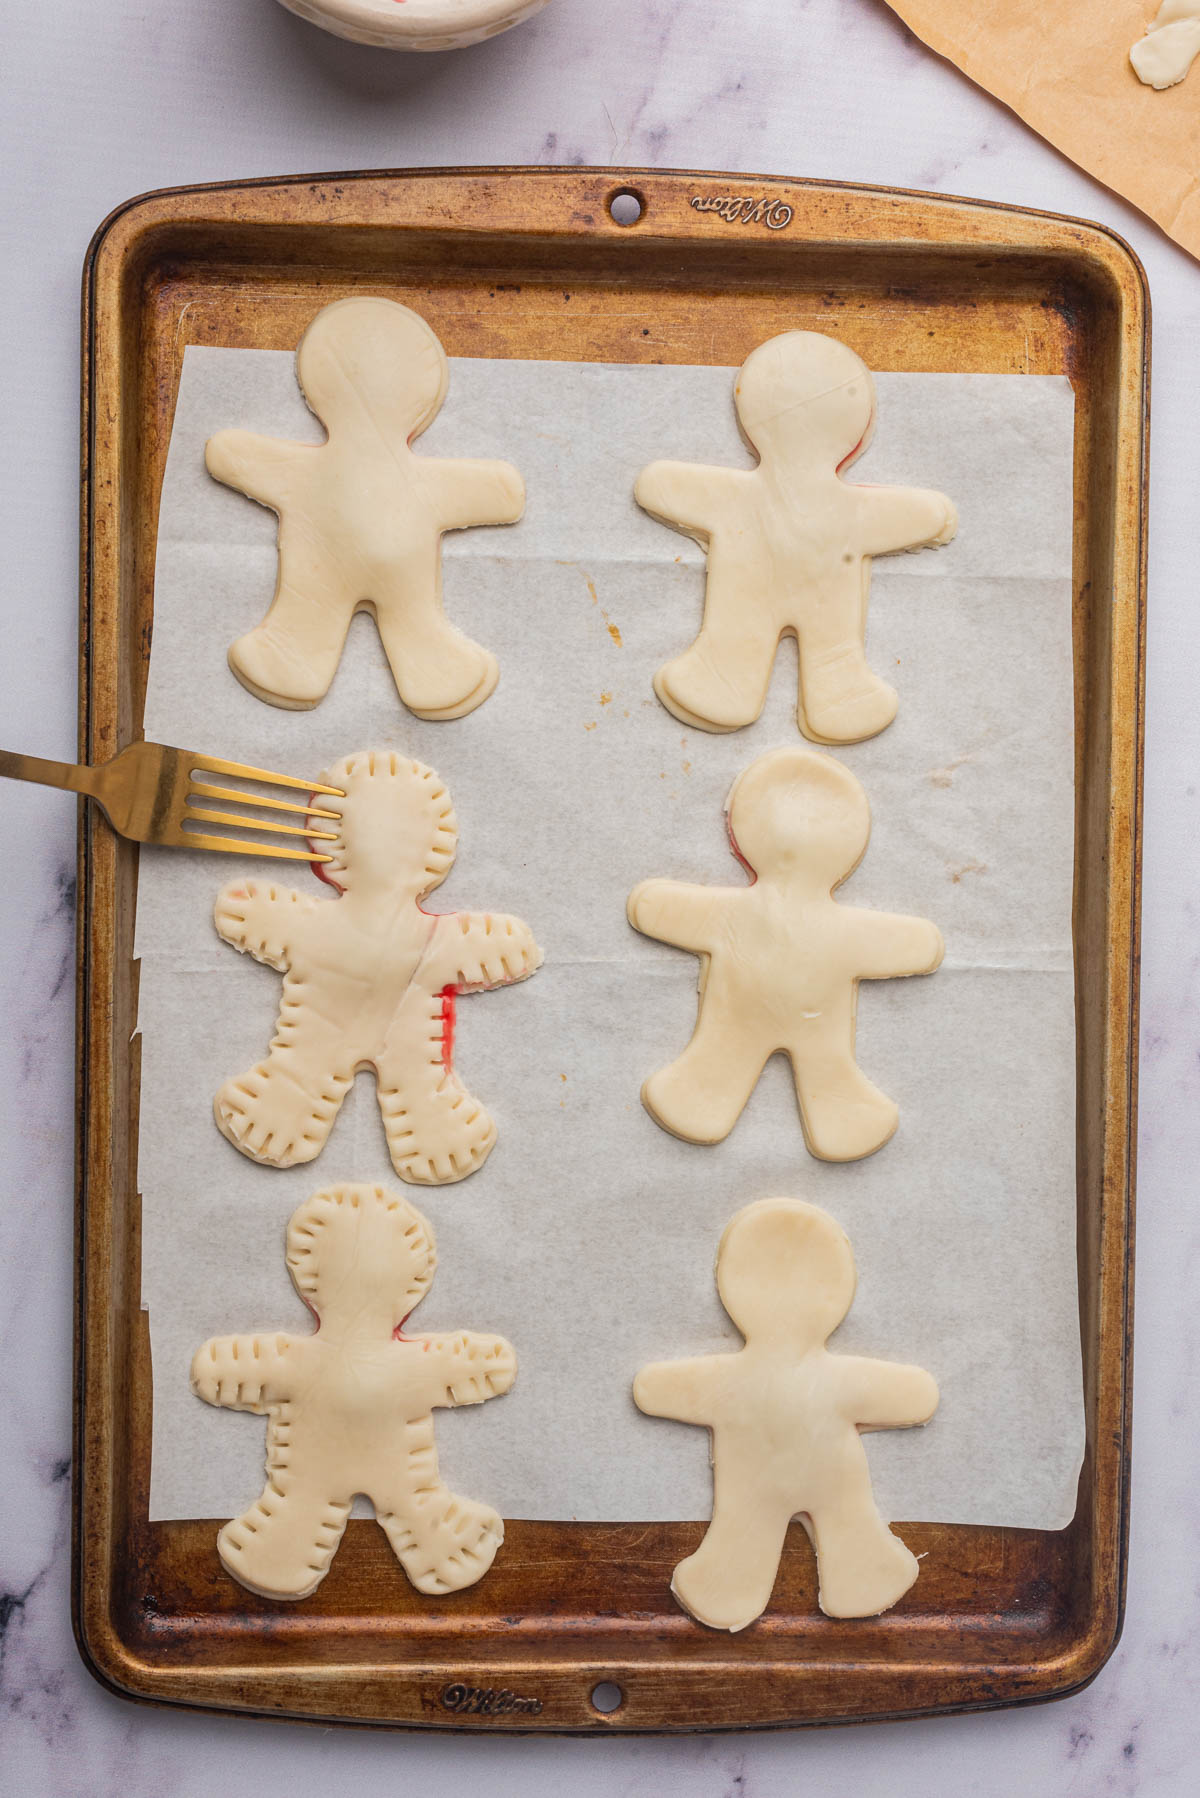
Place the tops over the jam-covered hand pies. Press the edges together using a fork to seal each one.
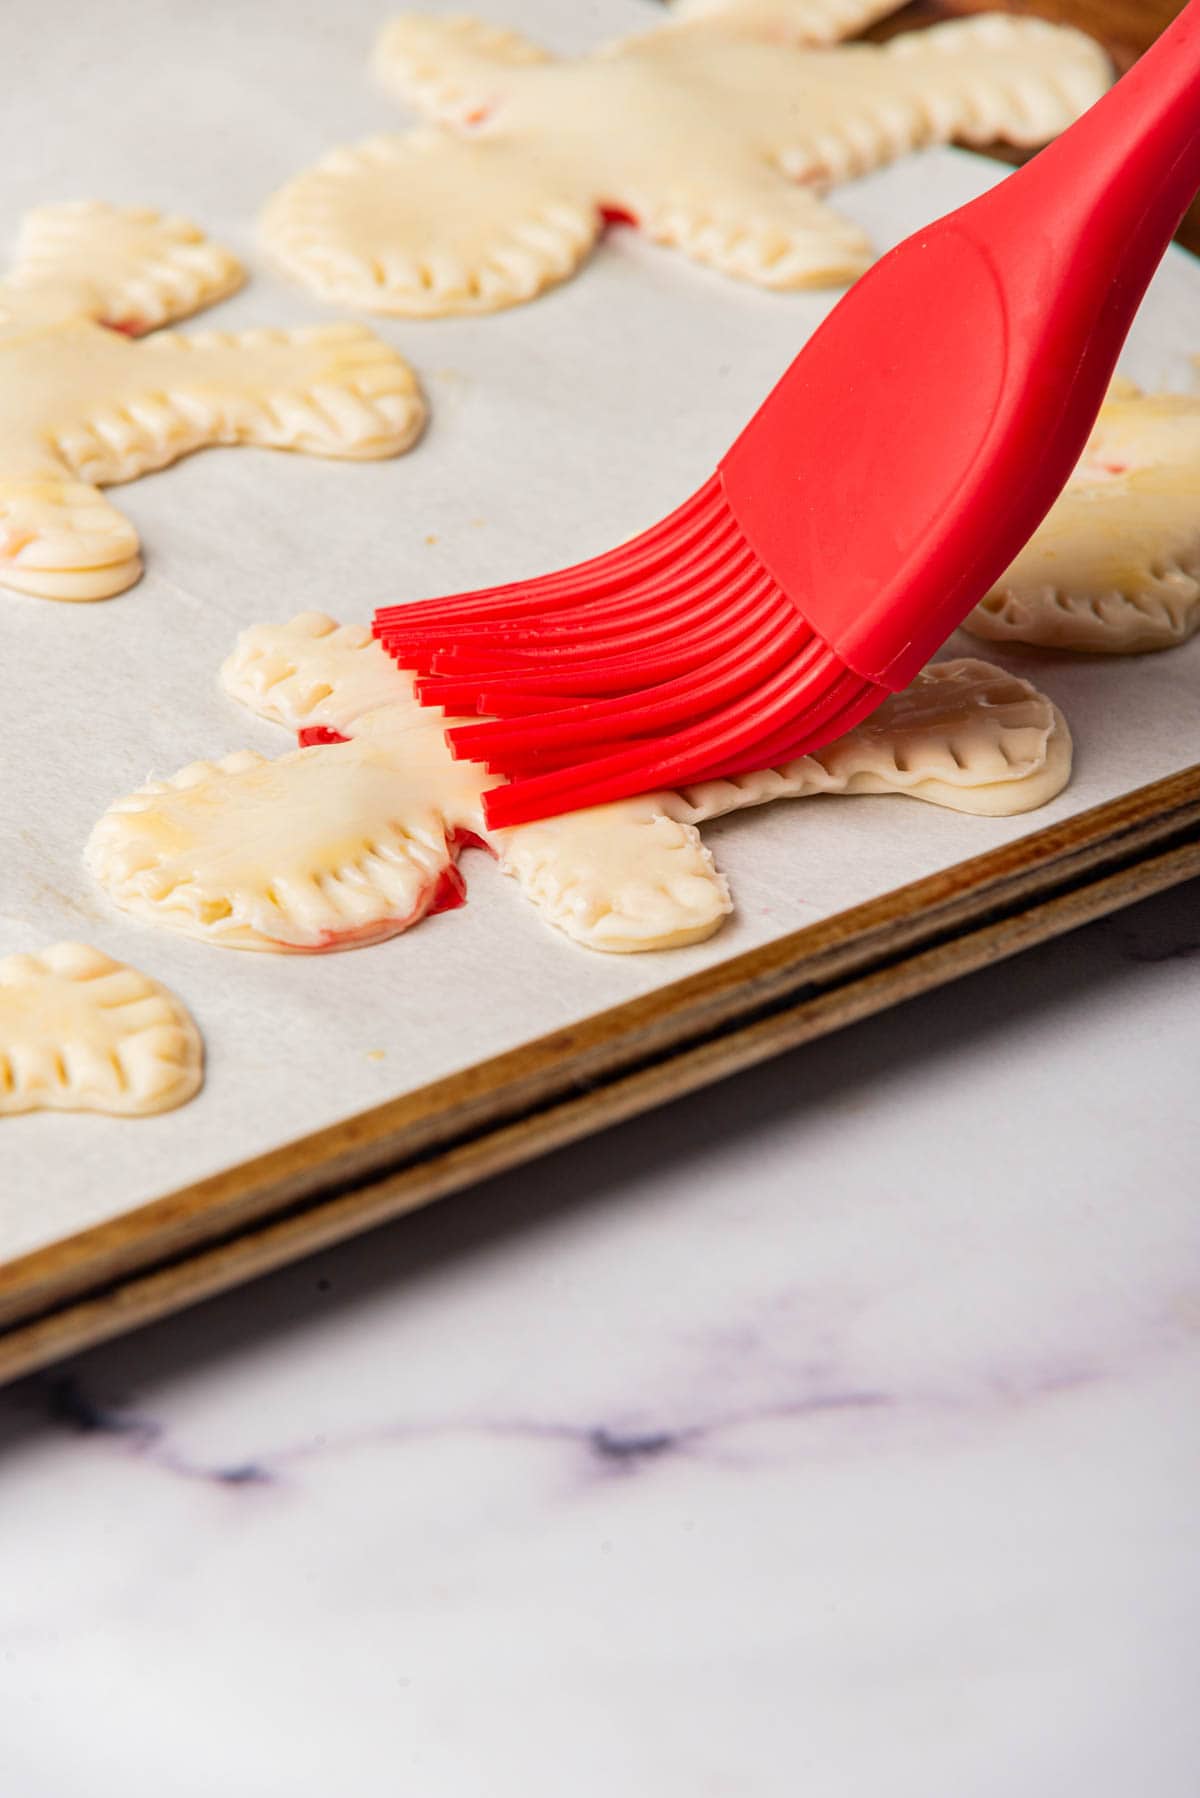
Using beaten egg yolk, brush the tops of the hand pies so they will bake with a golden crust.
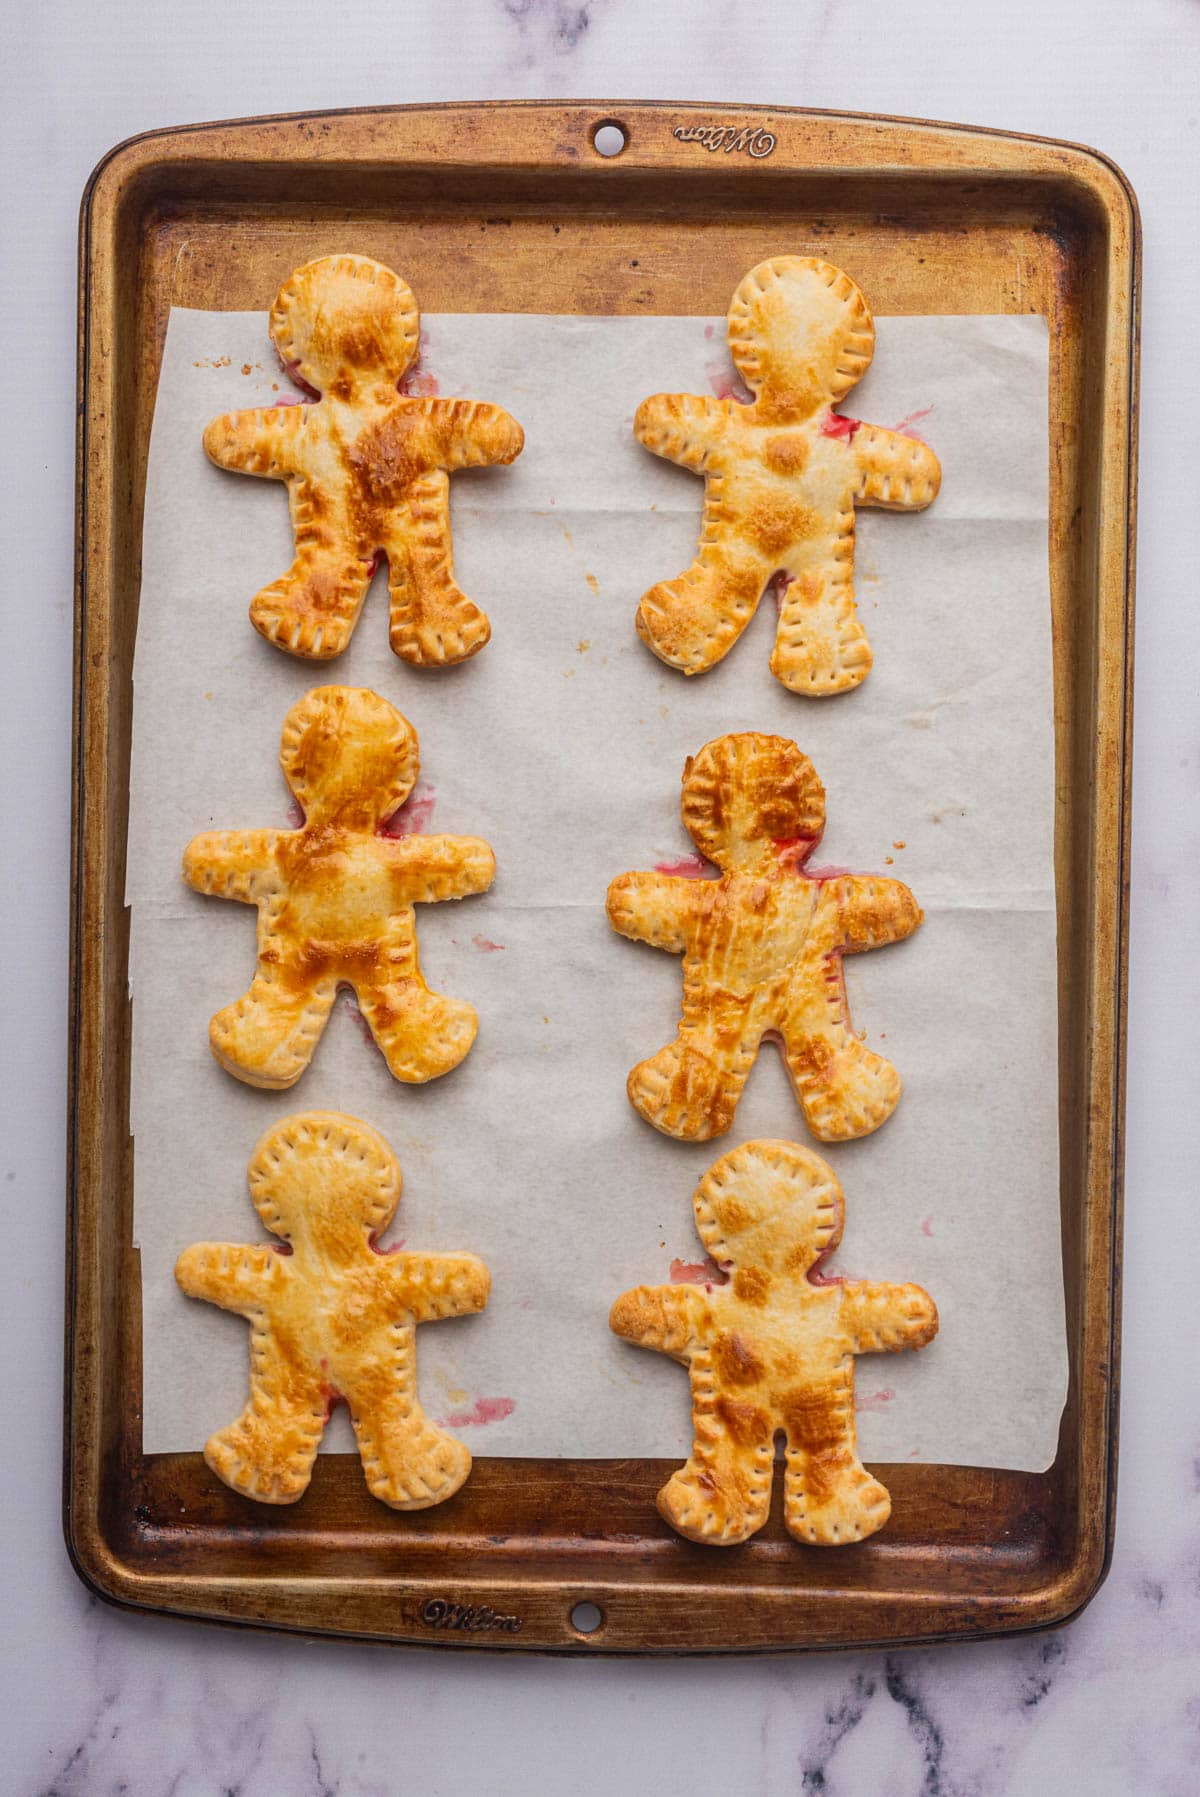
Bake the crusts for about 10 minutes, or until they are golden brown.
Remove the baking sheet from the oven. Let the pies cool on a wire rack.
Microwave the marshmallows in a microwave-safe bowl for 15-20 second intervals, stirring between each interval. Once the marshmallows are fully melted and smooth, set aside to let them cool just slightly so they are the right consistency to drizzle without being too runny. If the marshmallow is too thick to drizzle, just add warm water, a little at a time, and stir well.
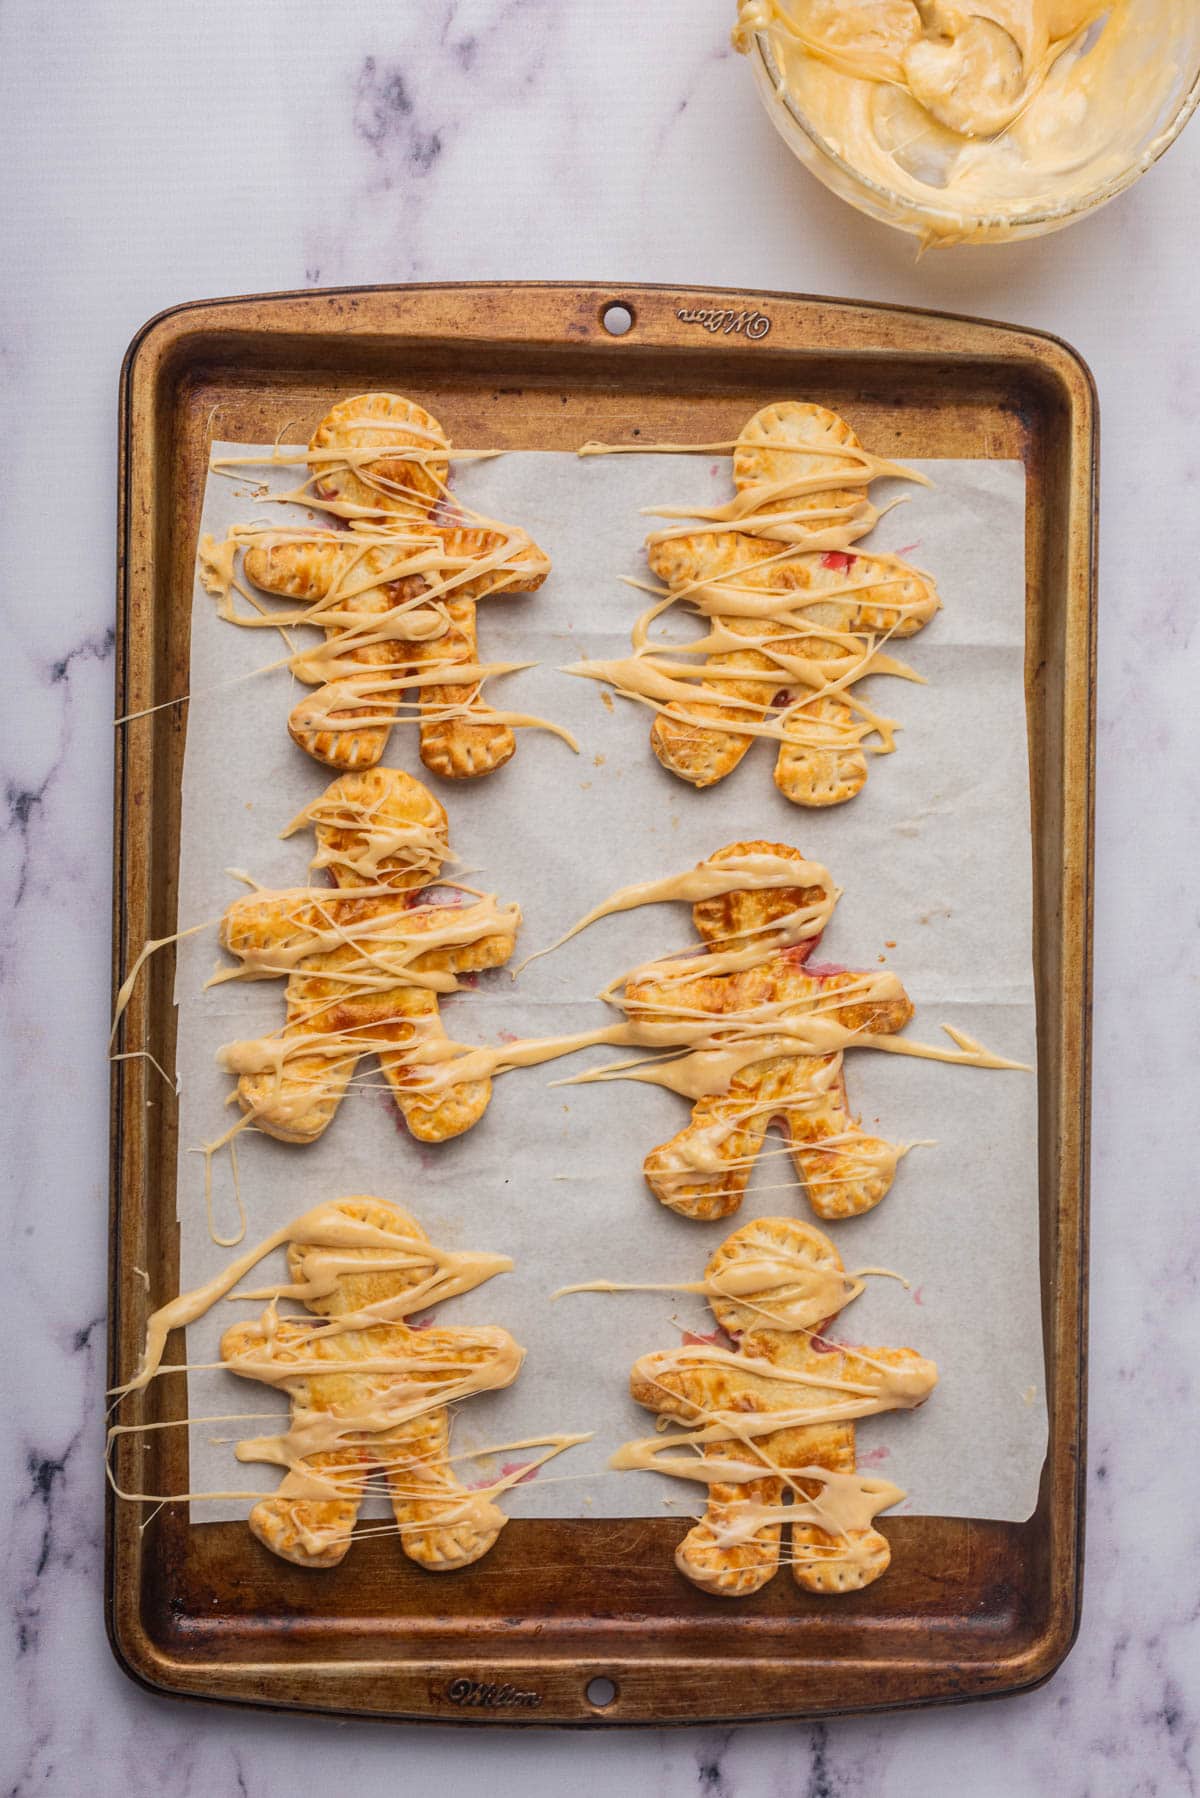
Drizzle the melted marshmallow over the completely cooled hand pies to create a mummy-wrapping effect. If the hand pies are too warm, the drizzle will melt.
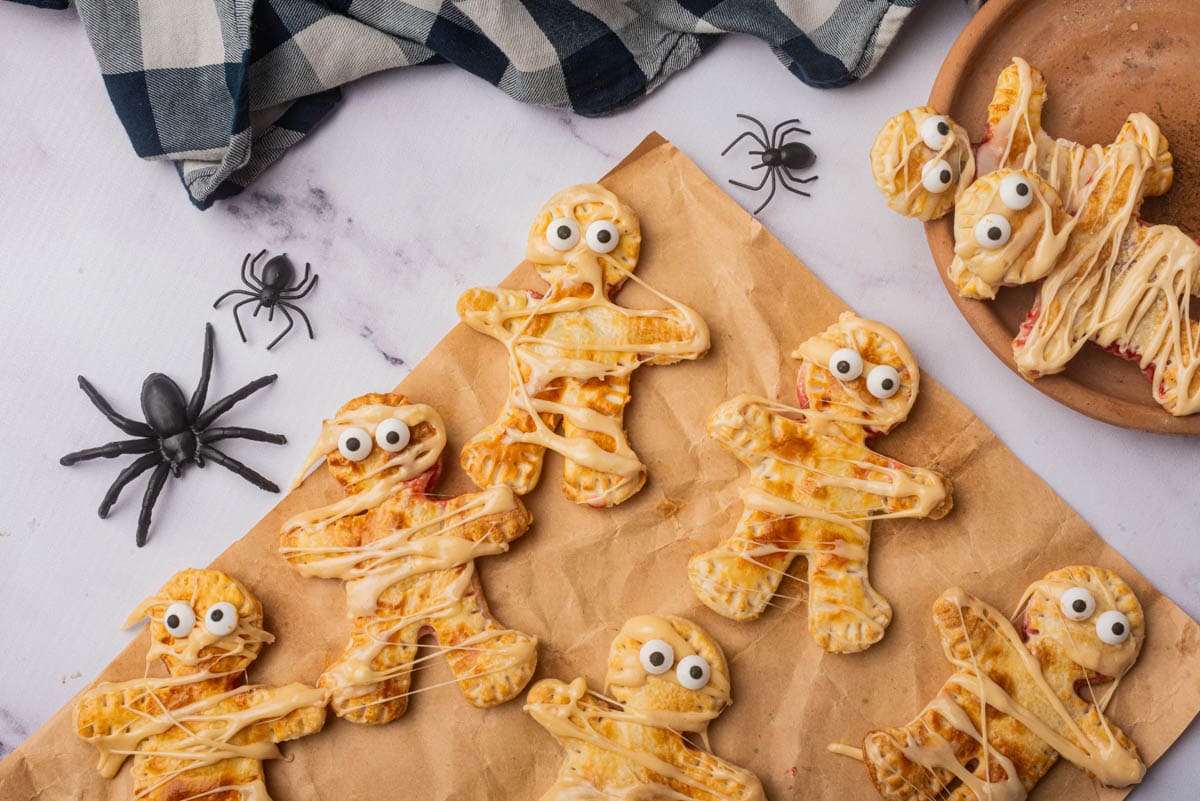
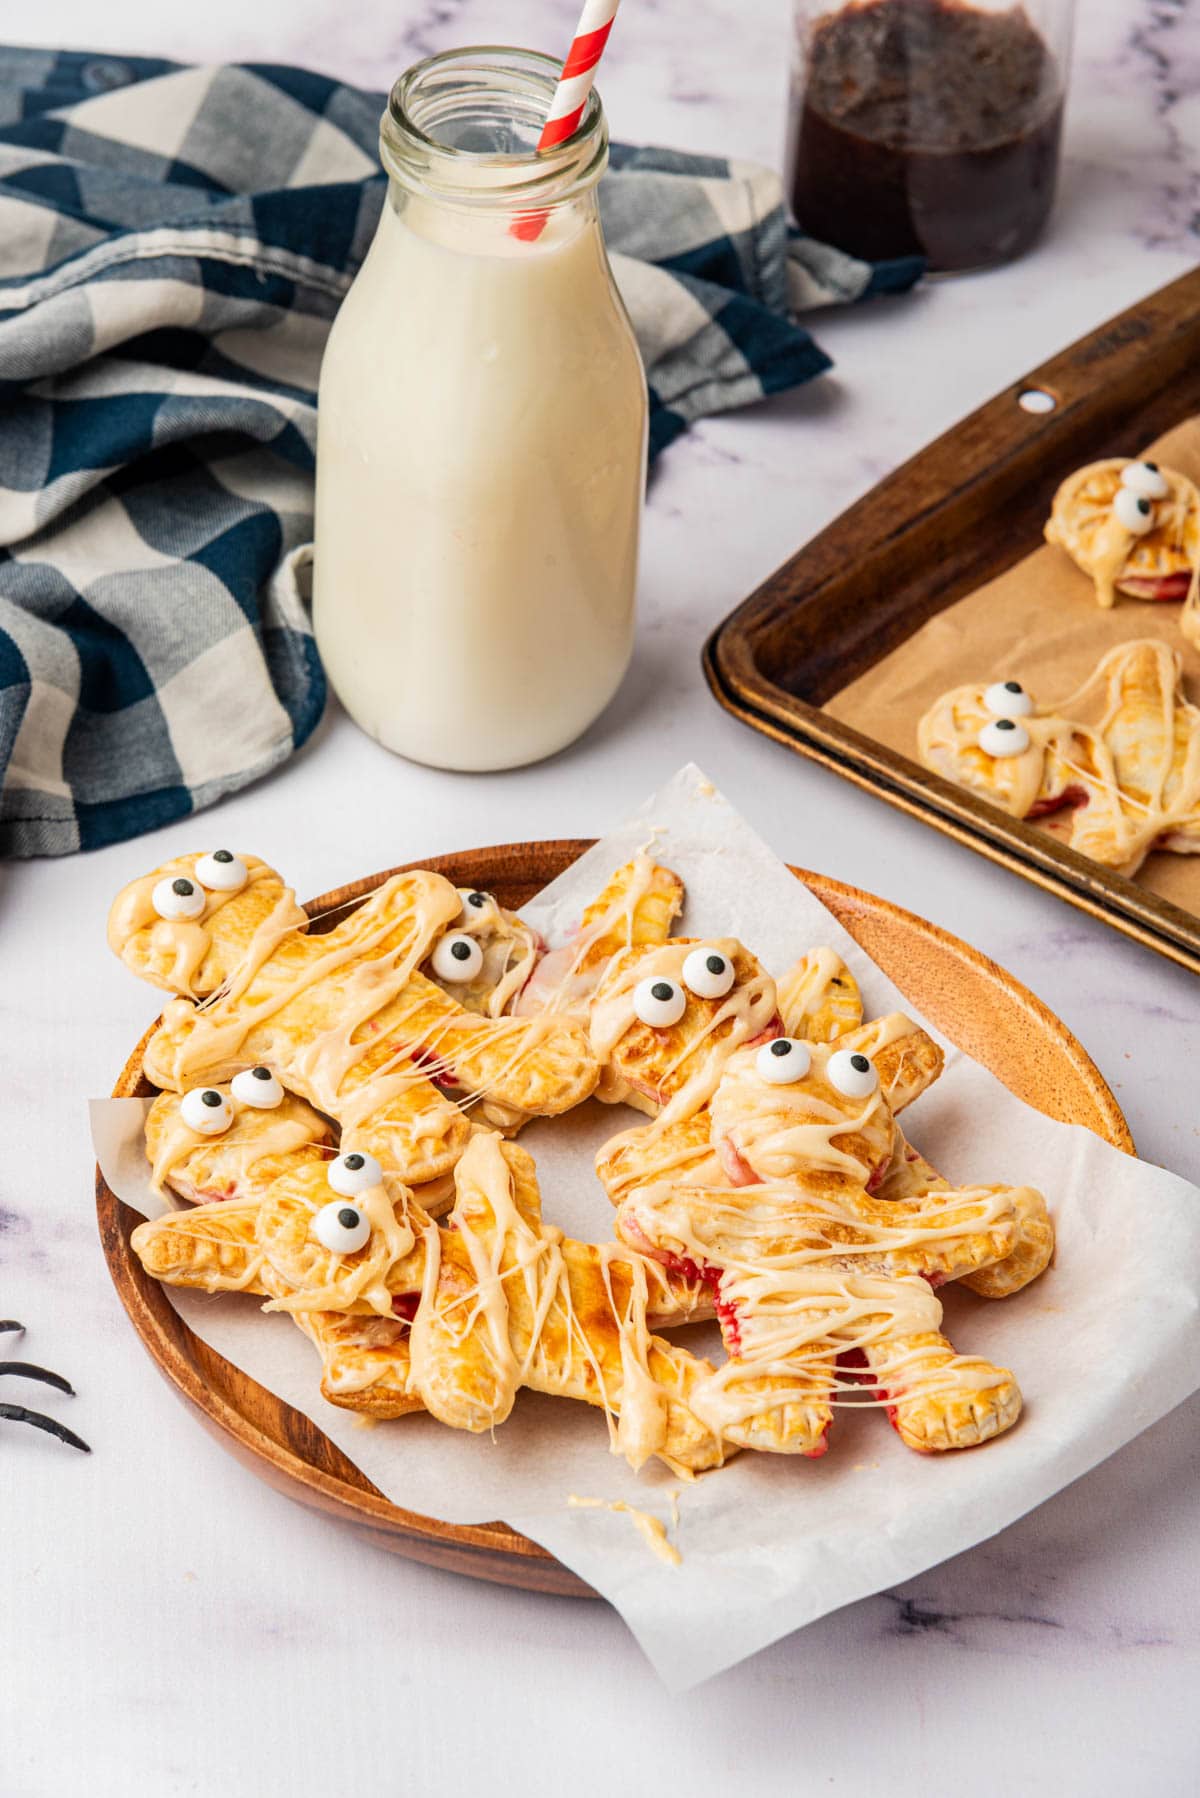
Add store-bought candy eyes while the marshmallow drizzle is still wet. Let the Halloween mummy hand-hold pies cool completely before disturbing them. Store in an airtight container until serving.
Variations and Substitutions
- Jam or Preserves: You can change the filling in these hand pies. Strawberry, blueberry, or even orange marmalade are all great options. You can also dice up fresh apples, peaches, or other fruit.
- You can also use canned pie filling instead of jam. My favorites are apple pie filling, cherry pie filling, and peach pie filling. Ensure not to overfill the hand pies, or they will leak out as they bake. Cherry hand pies would give it that creepy, bloody-looking filling for Halloween!
- Sprinkle the tops of the crust with coarse sugar or brown sugar for a crunchy sweetness.
- Puff pastry can be used instead of flaky pie crust as the base. Each bite will have light, flaky layers.
- You can make savory hand pies if you want. Fill them with cheese and sliced pepperoni, ham, etc. Play around with different savory filling ideas to find what you prefer.
- Feel free to create eyes on the mummy hand pies by adding mini chocolate chips, edible candy, or even dots of chocolate frosting. I recommend adding it to the mummy once it is baked.
- You can dust the mummies with powdered sugar to change the look and give them an eerie appearance. Use a sifter to dust the powder on top lightly.
- If you want a warm spice flavor, add a sprinkle of cinnamon, nutmeg, or even allspice to the jam. It will add a nice, warm flavor.
- Melt white chocolate and drizzle over the top for a brighter coating on top of the hand pies instead of marshmallows. Make sure your filling pairs well with chocolate!
Frequently Asked Questions
Yes, prepare hand pies 24 hours before you bake them. You can assemble them and then cover them with plastic wrap. Refrigerate for up to 24 hours. Place raw hand pies in the oven and bake as directed when ready. You might add a few minutes extra to make sure they bake through.
You can freeze the pies raw or after they are cooked. Place the pies on a baking sheet and flash freeze for an hour to freeze in the raw state. Then, transfer to a sealed freezer bag or container. Then, bake straight from the freezer, adding a few minutes to the baking time.
Once you melt your marshmallows, allow the mixture to cool for a few minutes. This will help the marshmallows set up a bit and thicken the mixture.
Storing Leftovers
Store your pies in an airtight container at room temperature for up to 3 days. It is best to add the marshmallow drizzle on top right before serving, as it can break down a bit as it is being stored.
You can also freeze your pies for 2-3 months. The same goes for saving the marshmallow topping before you serve it. If you freeze with the marshmallow on it, know that it can make it a little gooey and sticky.
For both methods, I would just wait to drizzle on the marshmallow mixture until right before you want to serve them up.
More Halloween Desserts
Halloween Brownies with Cream Cheese
Fall Whipped Cream Jello Shots
Healthy Halloween Treats (Weight Watchers compliant)
Halloween Hand Held Pies
Equipment
- Gingerbread man shaped cookie cutter
- Rolling Pin
- Baking Sheet
- Parchment paper
- Microwave-safe bowl
- Spoon
Ingredients
- 2 ready-made pie crusts 1 package
- 1/2 cup raspberry jam
- 1 egg yolk beaten
- 1 cup mini marshmallows
- Powdered sugar optional, for dusting
Instructions
- Preheat the oven to 375°F.
- Line a baking sheet with parchment paper.
- On a lightly floured surface, roll out the ready-made pie crusts. Feel free to use homemade crust if you have a good recipe!
- Using the gingerbread man cookie cutter, cut out as many shapes as possible from the pie crusts. You’ll need to have an even number of shapes to use for the front and back of the hand pies.
- Place half of the cut-out shapes on the lined baking sheet.
- Spoon a small amount of raspberry jam in the center of each shape. Leave a small border around the edges so you can seal the hand pies.
- Place the tops over the jam-covered hand pies. Press the edges together using a fork to seal each one.
- Using beaten egg, brush the tops of the hand pies to give them a golden crust.
- Bake the crusts for about 10 minutes, or until they are golden brown.
- Remove the baking sheet from the oven. Let the pies cool on a wire rack.
- Microwave the marshmallows in a microwave-safe bowl for 15-20 second intervals, stirring between each interval. Once the marshmallows are fully melted and smooth, set aside to let them cool just slightly so they are the right consistency to drizzle without being too runny.
- Drizzle the melted marshmallow over the completely cooled hand pies to create a mummy-wrapping effect. If the hand pies are too warm, the drizzle will melt. Add store-bought candy eyes while the marshmallow drizzle is still wet.
- Let cool completely before disturbing.
Nutrition


