Whipped Cream vs Whipping Cream Difference (plus recipe)
If you’ve wondered about the difference between whipped cream vs whipping cream, you’re not alone. We’ve got the answer for you, plus an easy and delicious recipe you’ve just got to try.
Whipping cream and heavy cream…aren’t they the same thing, but just with different names? Not exactly. Let’s look at each one.
Whipping cream, sometimes called light whipping cream, is similar to heavy cream. Both are liquid dairy products and both are used for making sweet dishes as well as savory dishes. But there are subtle differences.
The main difference is that heavy cream contains just a higher percentage of milk fat (38%) compared to whipping cream, which has a slightly lower fat content (35%).
It may not seem like a huge difference. While they can often be used interchangeably in many recipes, there are some situations where one is a better choice than the other.
Once you know how to make this simple recipe, try it on these Whipped Cream Jello Shots, Baileys Iced Coffee, or on top of this Dirty Strawberry Soda.
How They Differ in the Kitchen
- Whipping ability: Regular whipping cream is the better choice for whipping because it is specifically made for, well, whipping. It holds on to the tiny air bubbles, which give it a lighter texture. If a recipe calls for whipped cream with a light and fluffy texture, it’s better to use whipping cream. It’s a wonderful and simple topping for fresh fruit.
- Stability: Heavy cream’s higher fat content makes it more stable when adding it to hot sauces or creamy soups. It’s less likely to curdle compared to whipping cream when heated.
- Texture: The higher fat content in heavy cream adds a richer and denser texture to certain baked goods like these Cranberry Orange Scones. If a recipe calls for heavy cream, using whipping cream might result in a slightly lighter texture.
- Density: Heavy cream’s thickness and richness make it a better choice for thickening soups and sauces, providing a creamier consistency. But unless the recipe requires precise ingredients, like in baking, the difference in density in the type of cream should not be that noticeable.
What is Homemade Whipped Cream?
Homemade whipped cream, sometimes called Chantilly cream, is the product of whipping heavy cream or whipping cream and blending it with a sweetener, like sugar and vanilla. Depending on what you’ll be using it for, there are different methods for creating whipped cream.
If you’re planning to add a dollop of the delicious topping to a strawberry shortcake or pumpkin pie, the simplest form of whipped cream is fine. Regular whipped cream was used on this Patriotic Jello Parfait.
You’ll whip the heavy cream, sugar, and vanilla using a handheld mixer or stand mixer until medium peaks form. Simple and delicious. You will just need to serve it fairly quickly because it will melt when it’s room temperature for very long.
If you are decorating a cake, cupcakes, or other elegant dessert with whipped cream, the simple form will not do as it won’t hold those pretty peaks for very long.
But don’t reach for that tub of cool whip just yet, because there’s good news! There’s a solution for how to get those lovely peaks to keep their shape long after your dessert is set on the table
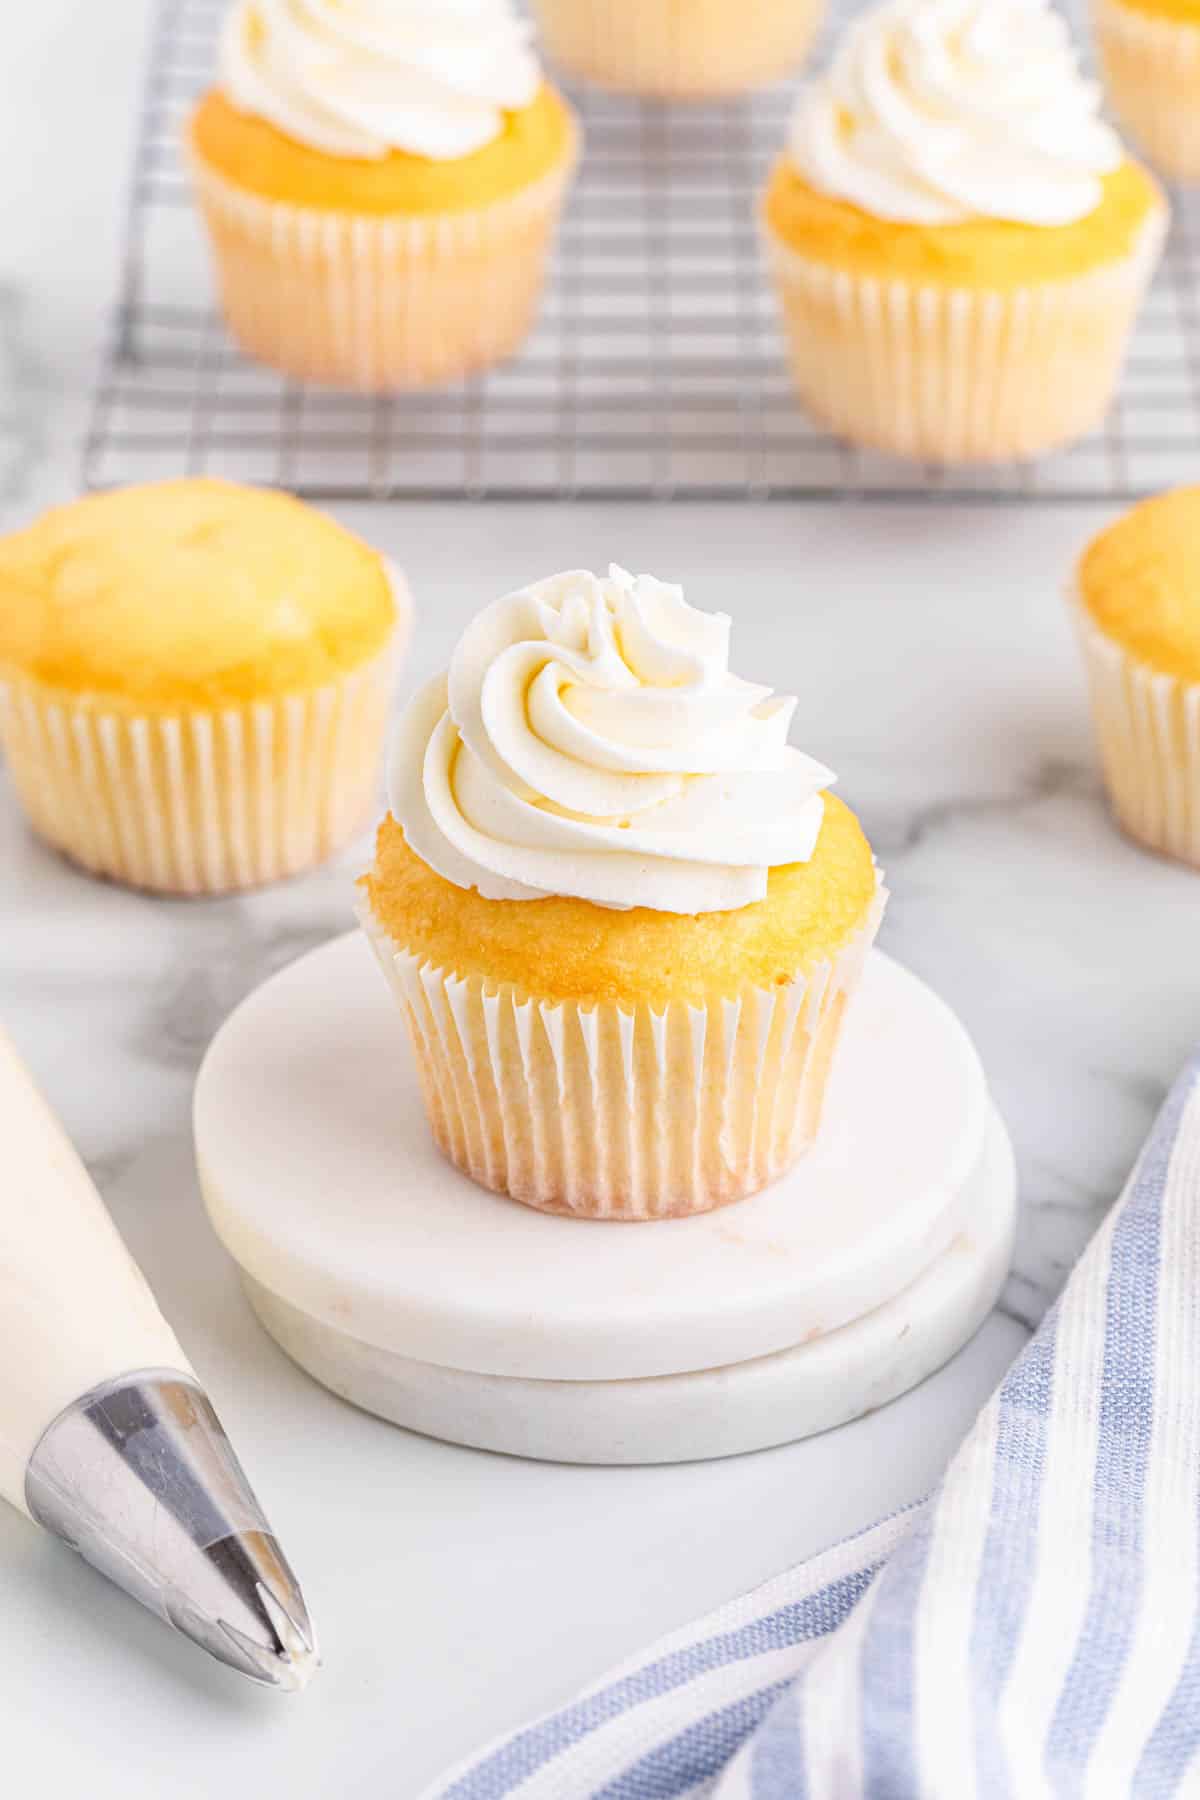
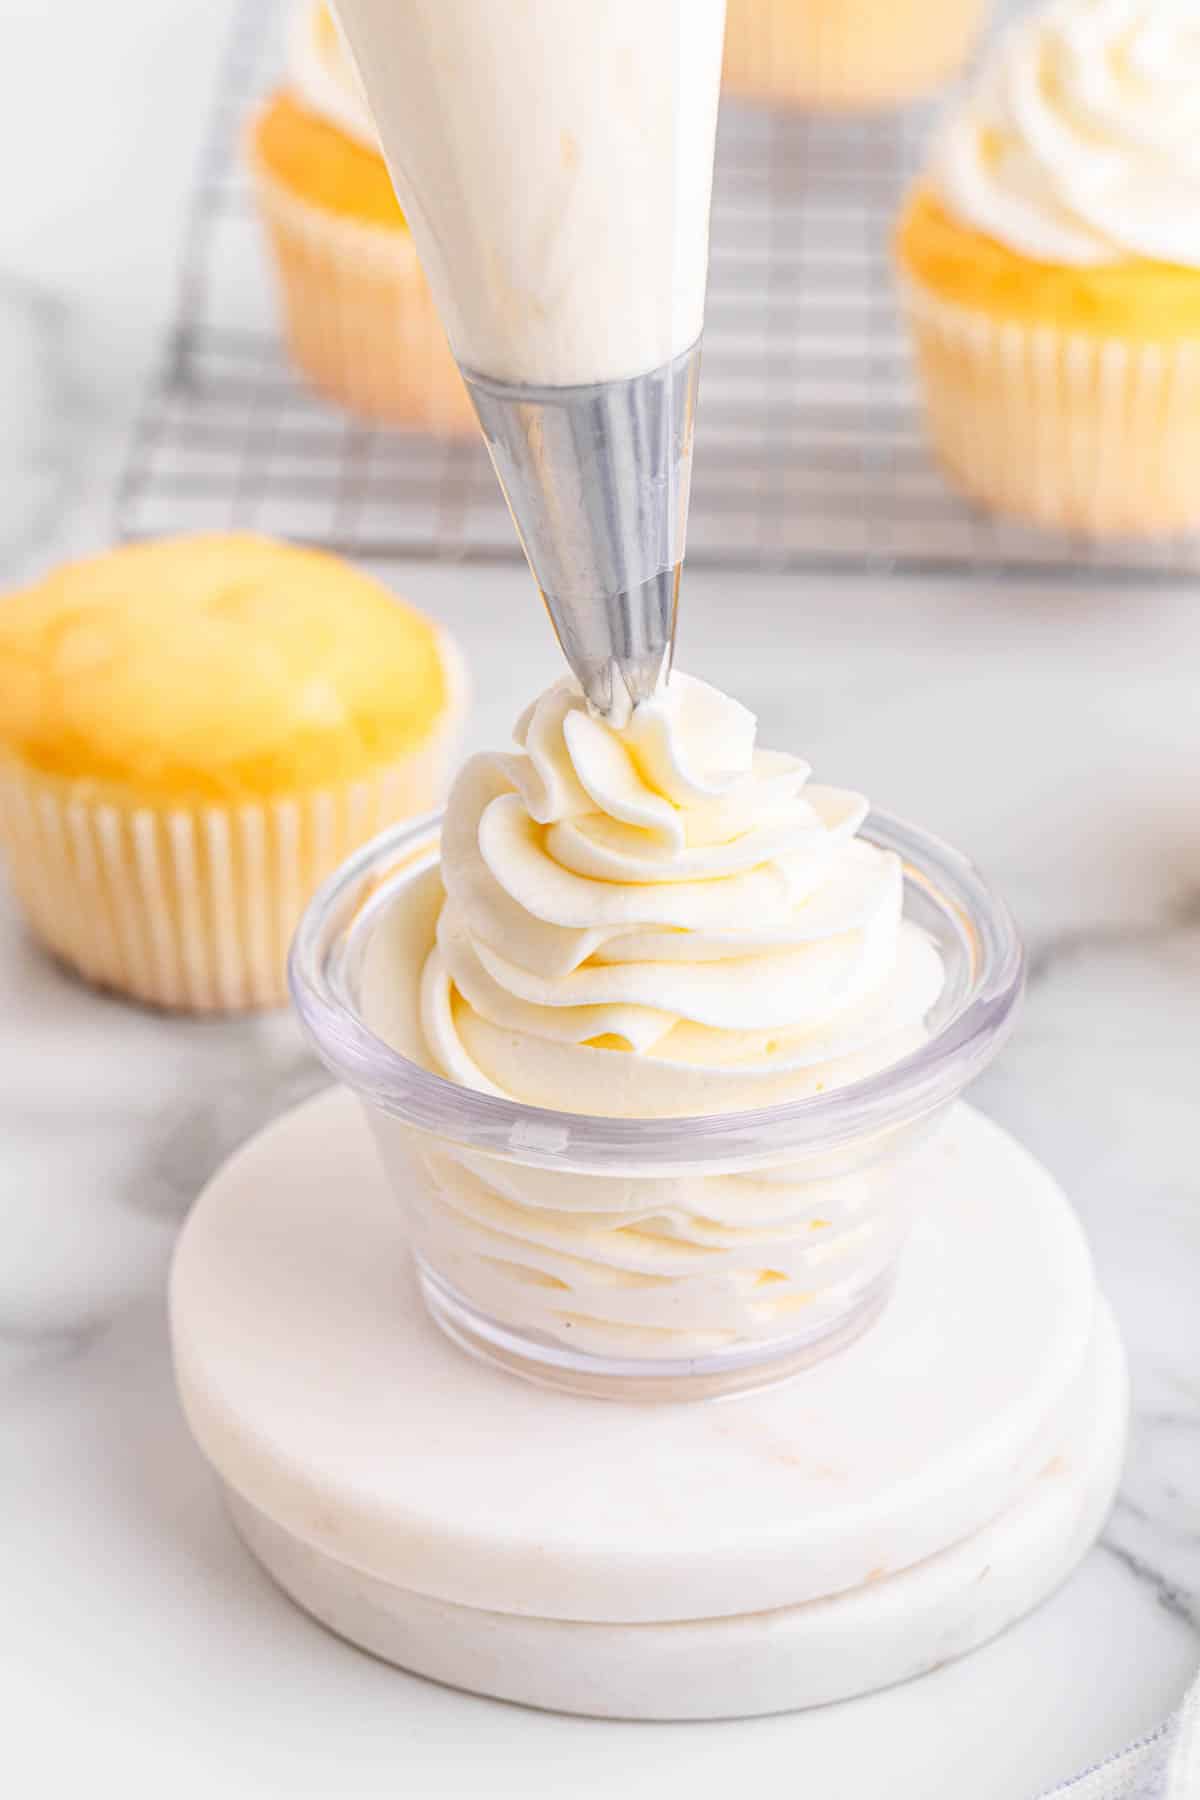
This is what we refer to as stabilized whipped cream. It’s just as easy to make as regular whipped cream, and it tastes so much better than what you get at the grocery store.
Stabilized whipped cream was used on this Biscoff Cheesecake. See the difference? If you’re thinking the parfait could have benefitted from the stabilized version, I think you’re right!
Stabilized Whipped Cream Recipe
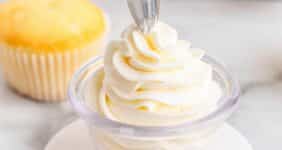
This simple and easy stabilized whipped cream recipe is perfect for topping pies, cheesecakes, cupcakes, and more. It’s a sturdier whipped cream that has stiff peaks that hold their shape better than regular whipped cream. This allows for advanced planning because you can make it ahead of time.
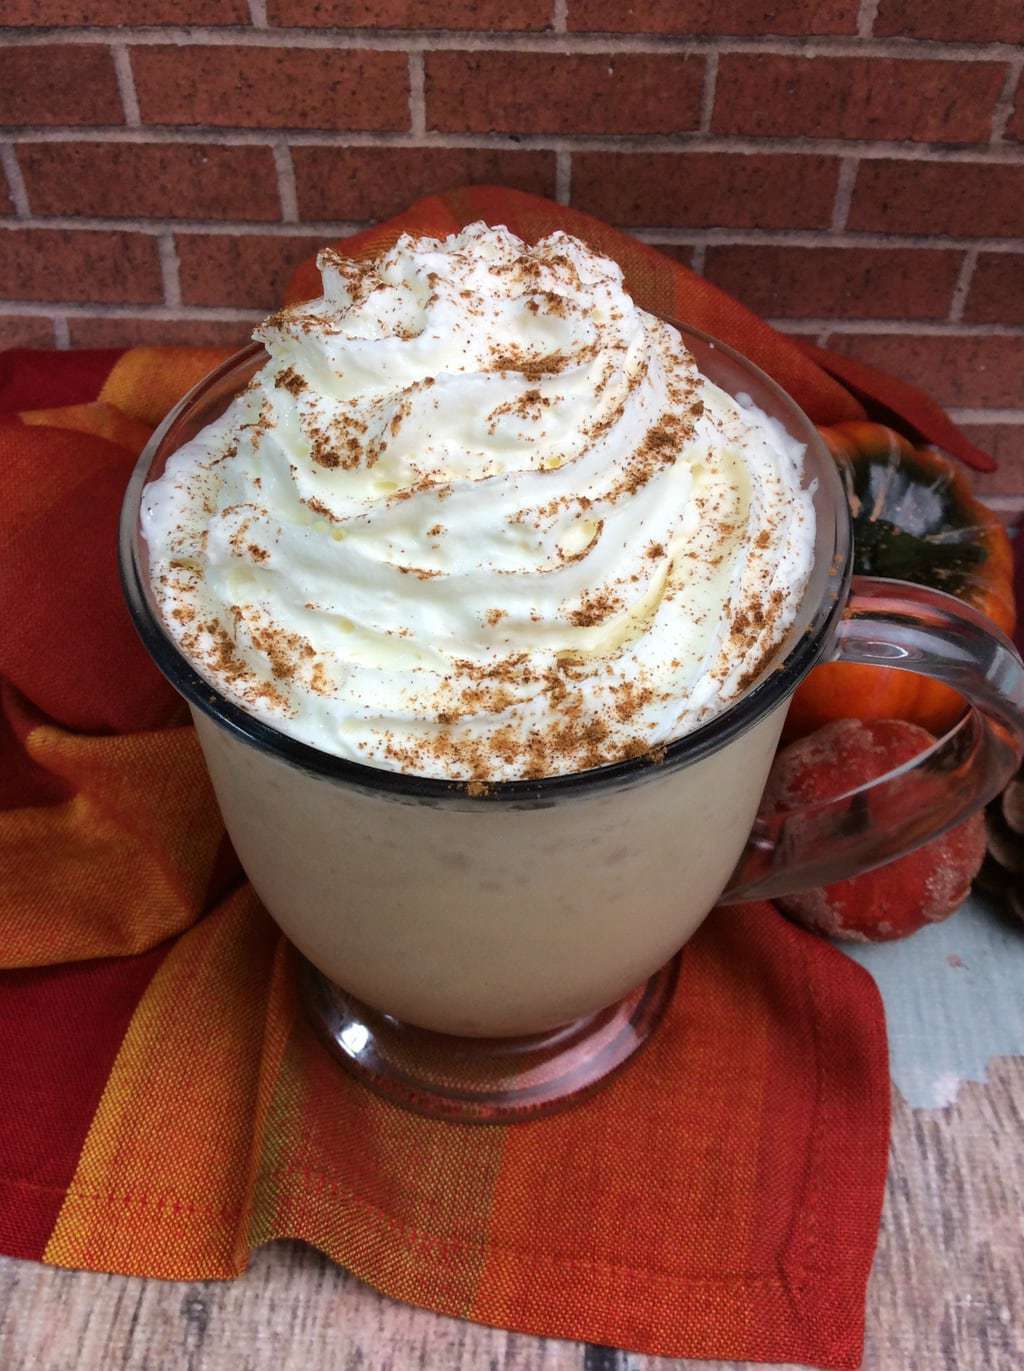
It is still sweet, light, fluffy, and delicious. You will love the sweetness and creamy texture with your desserts or added to the top of a mug of hot chocolate!
Ingredients
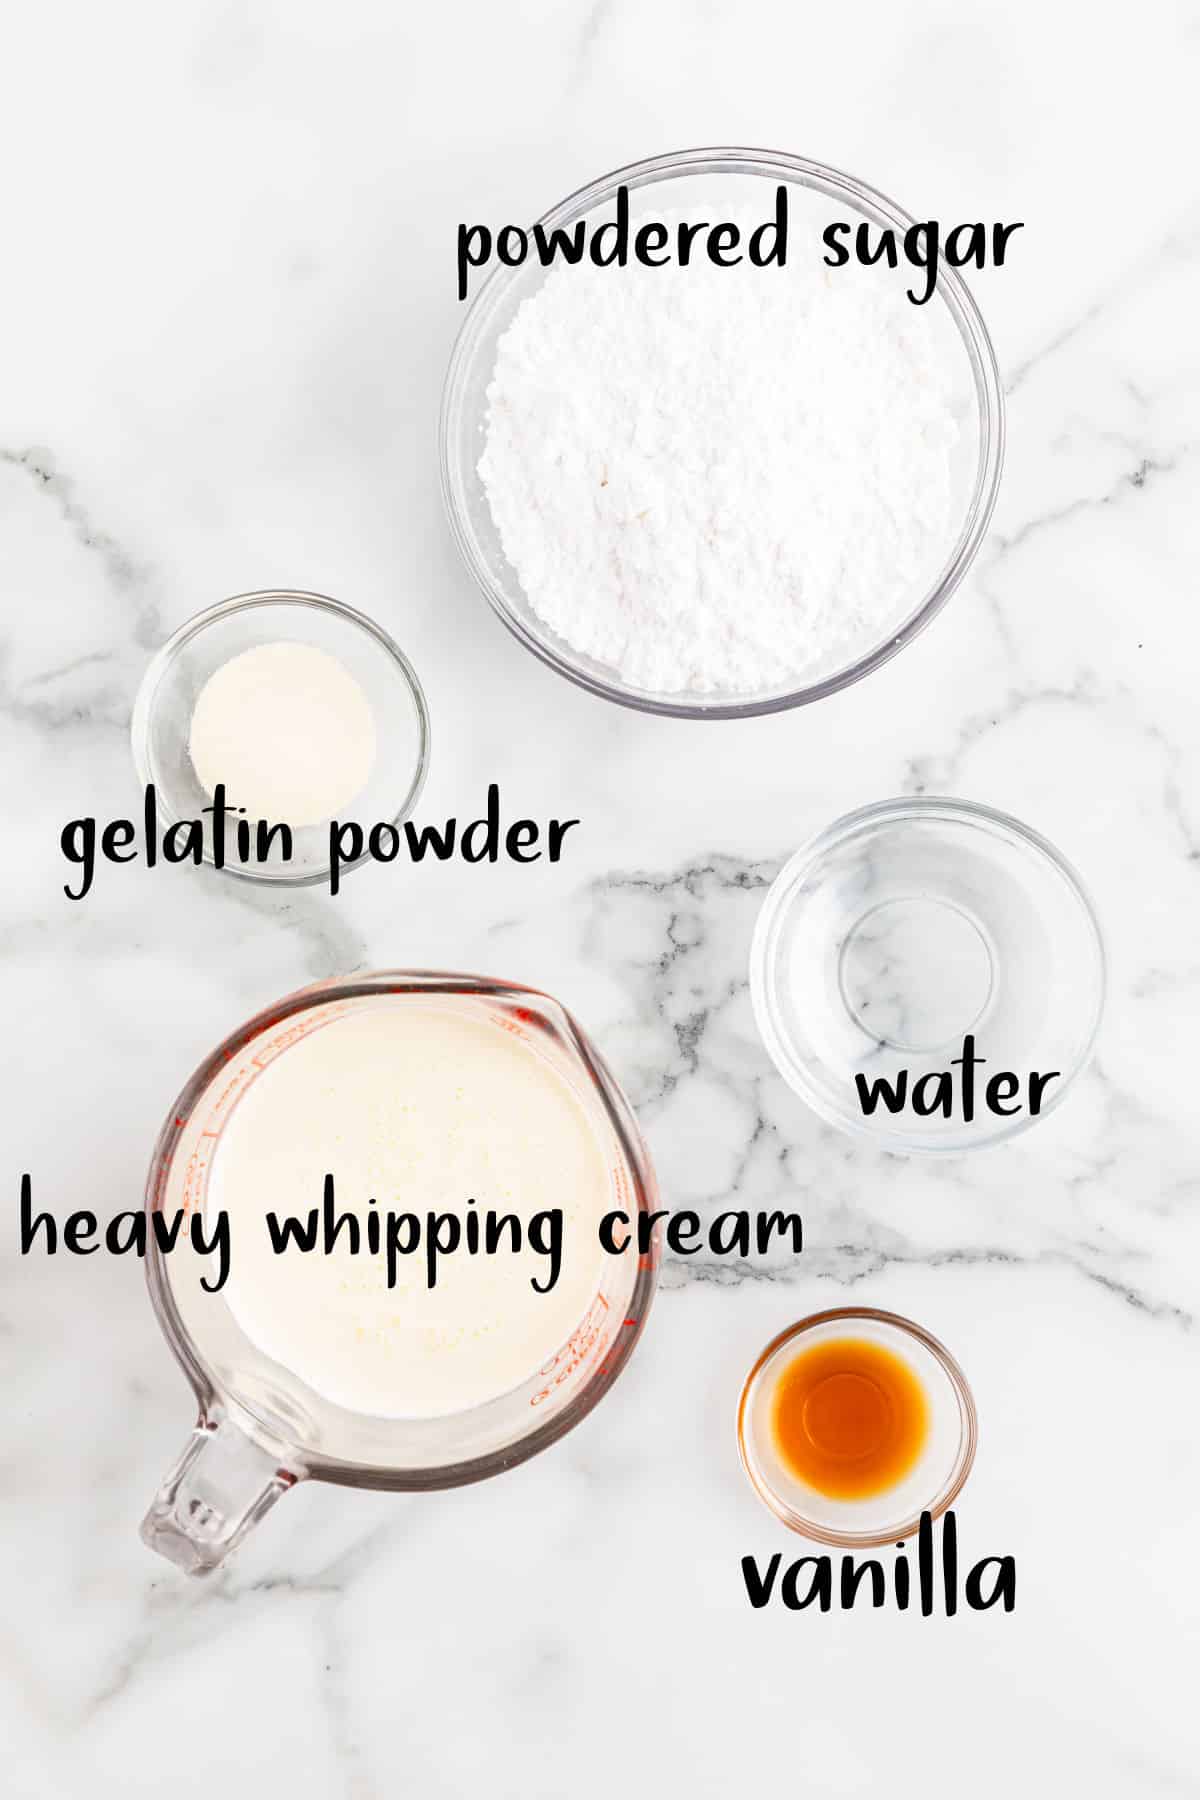
- Unflavored gelatin powder
- Cold water
- Heavy whipping cream
- Powdered sugar
- Pure vanilla extract
How to Make Stabilized Whipped Cream
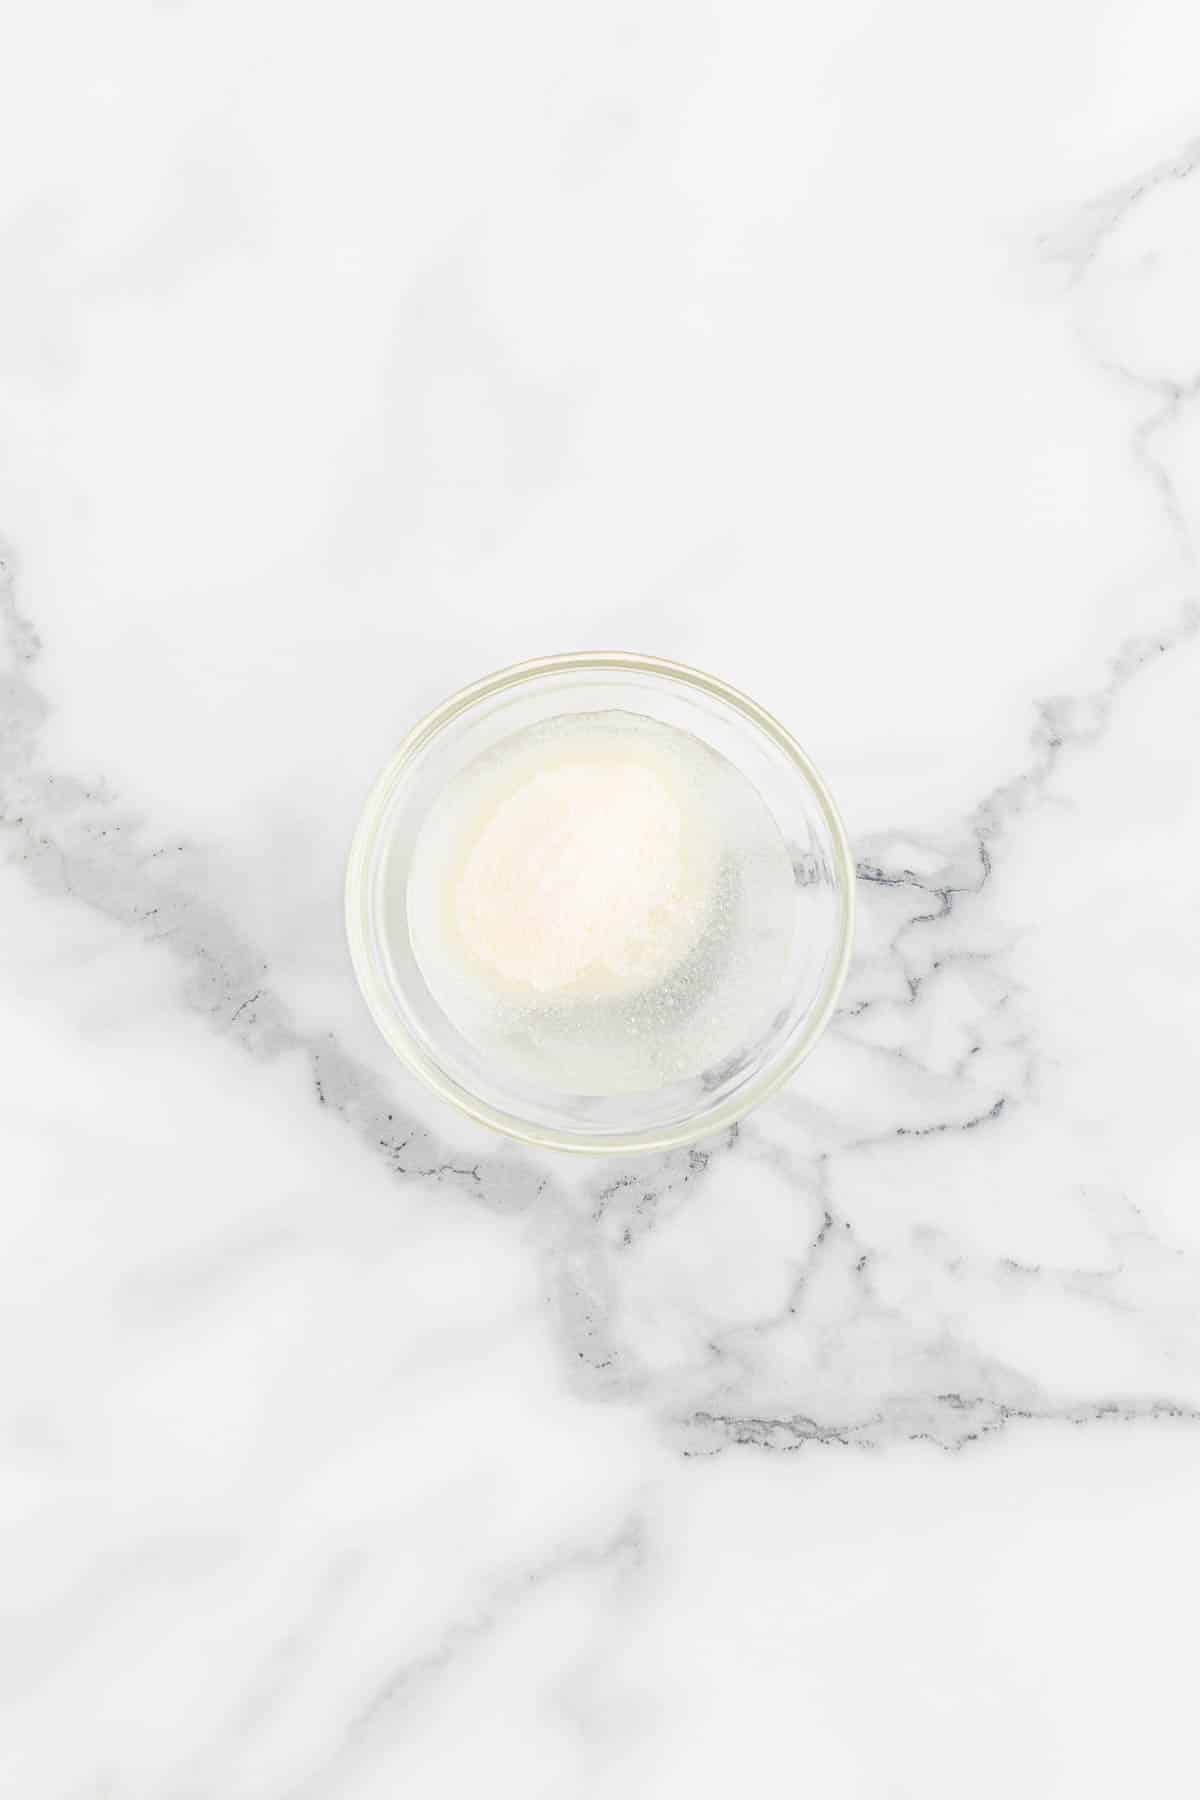
Step 1. Mix the unflavored gelatin powder with cold water in a small microwaveable bowl or ramekin. Set it aside.
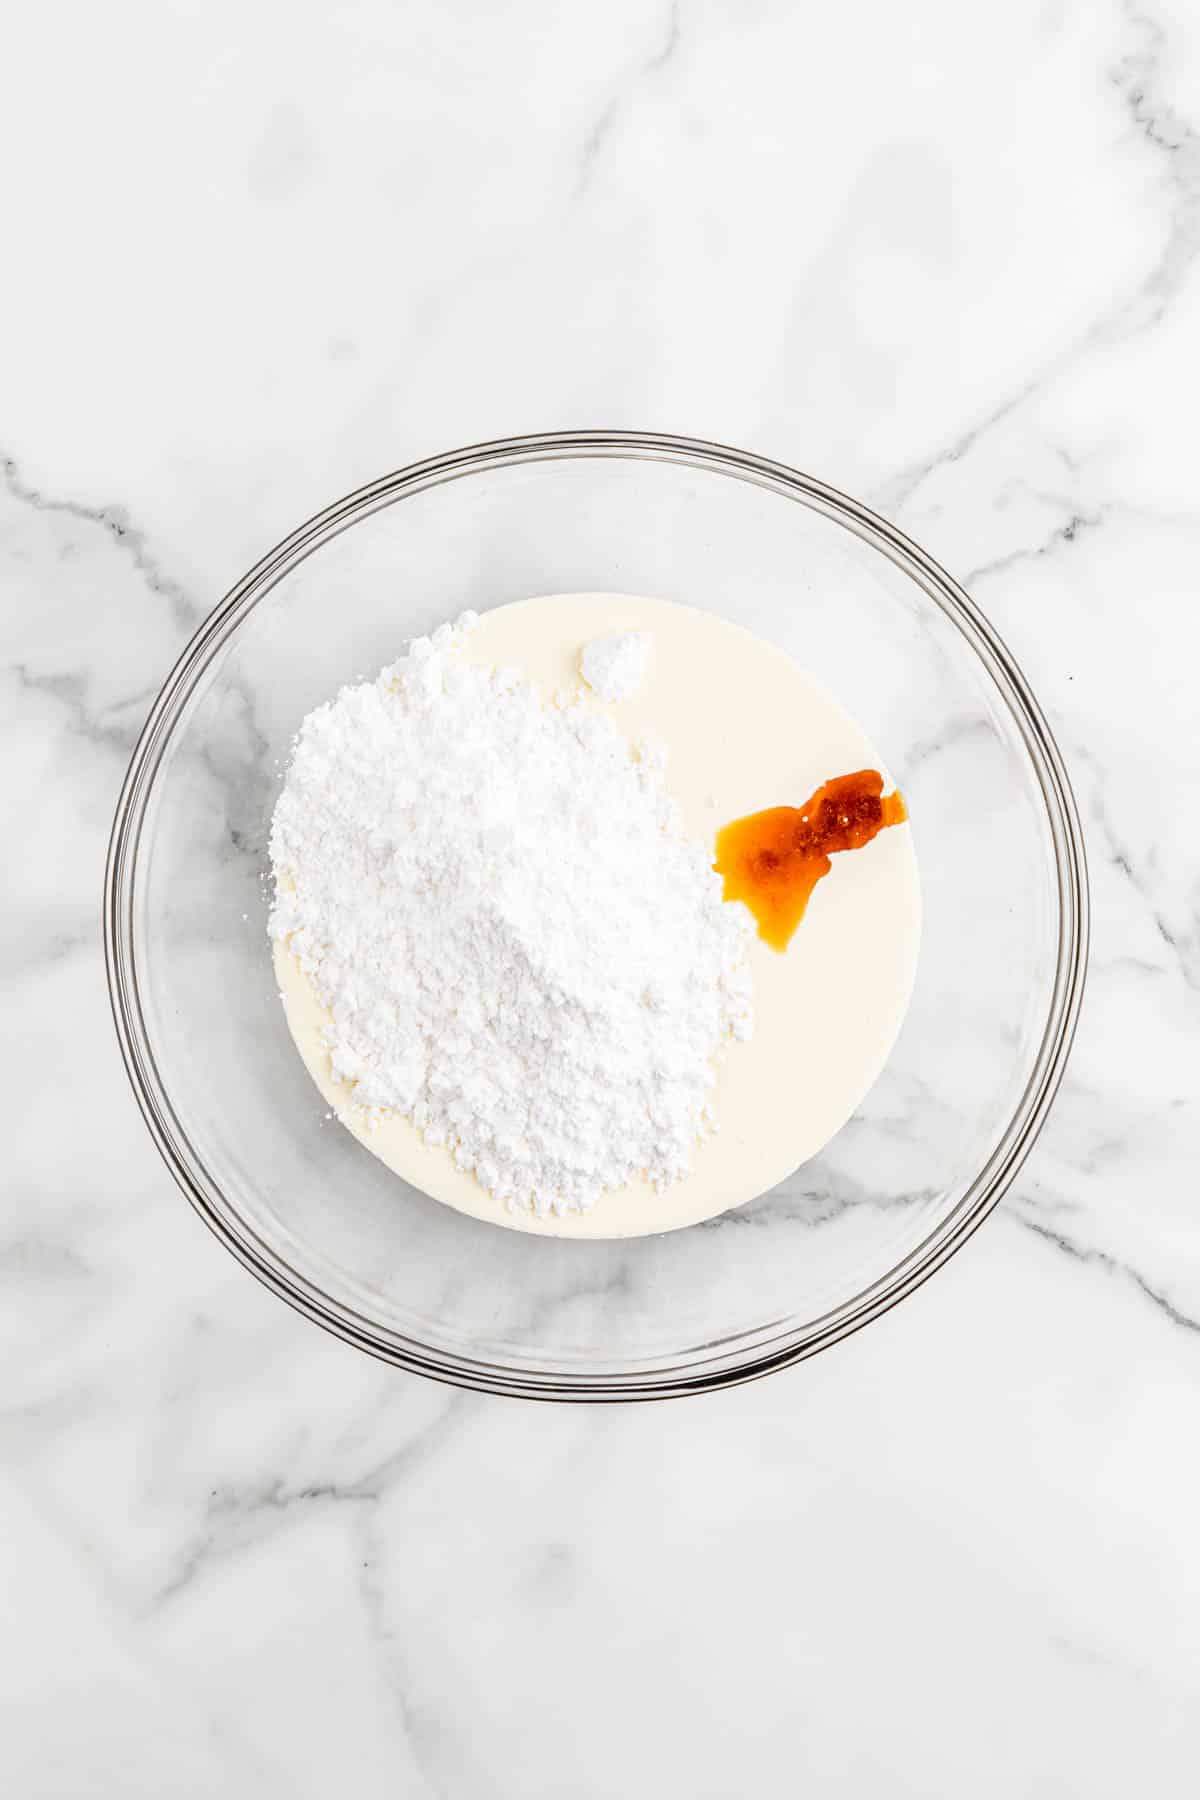
Step 2. In a large mixing bowl, add the heavy whipping cream, powdered sugar, and vanilla extract.
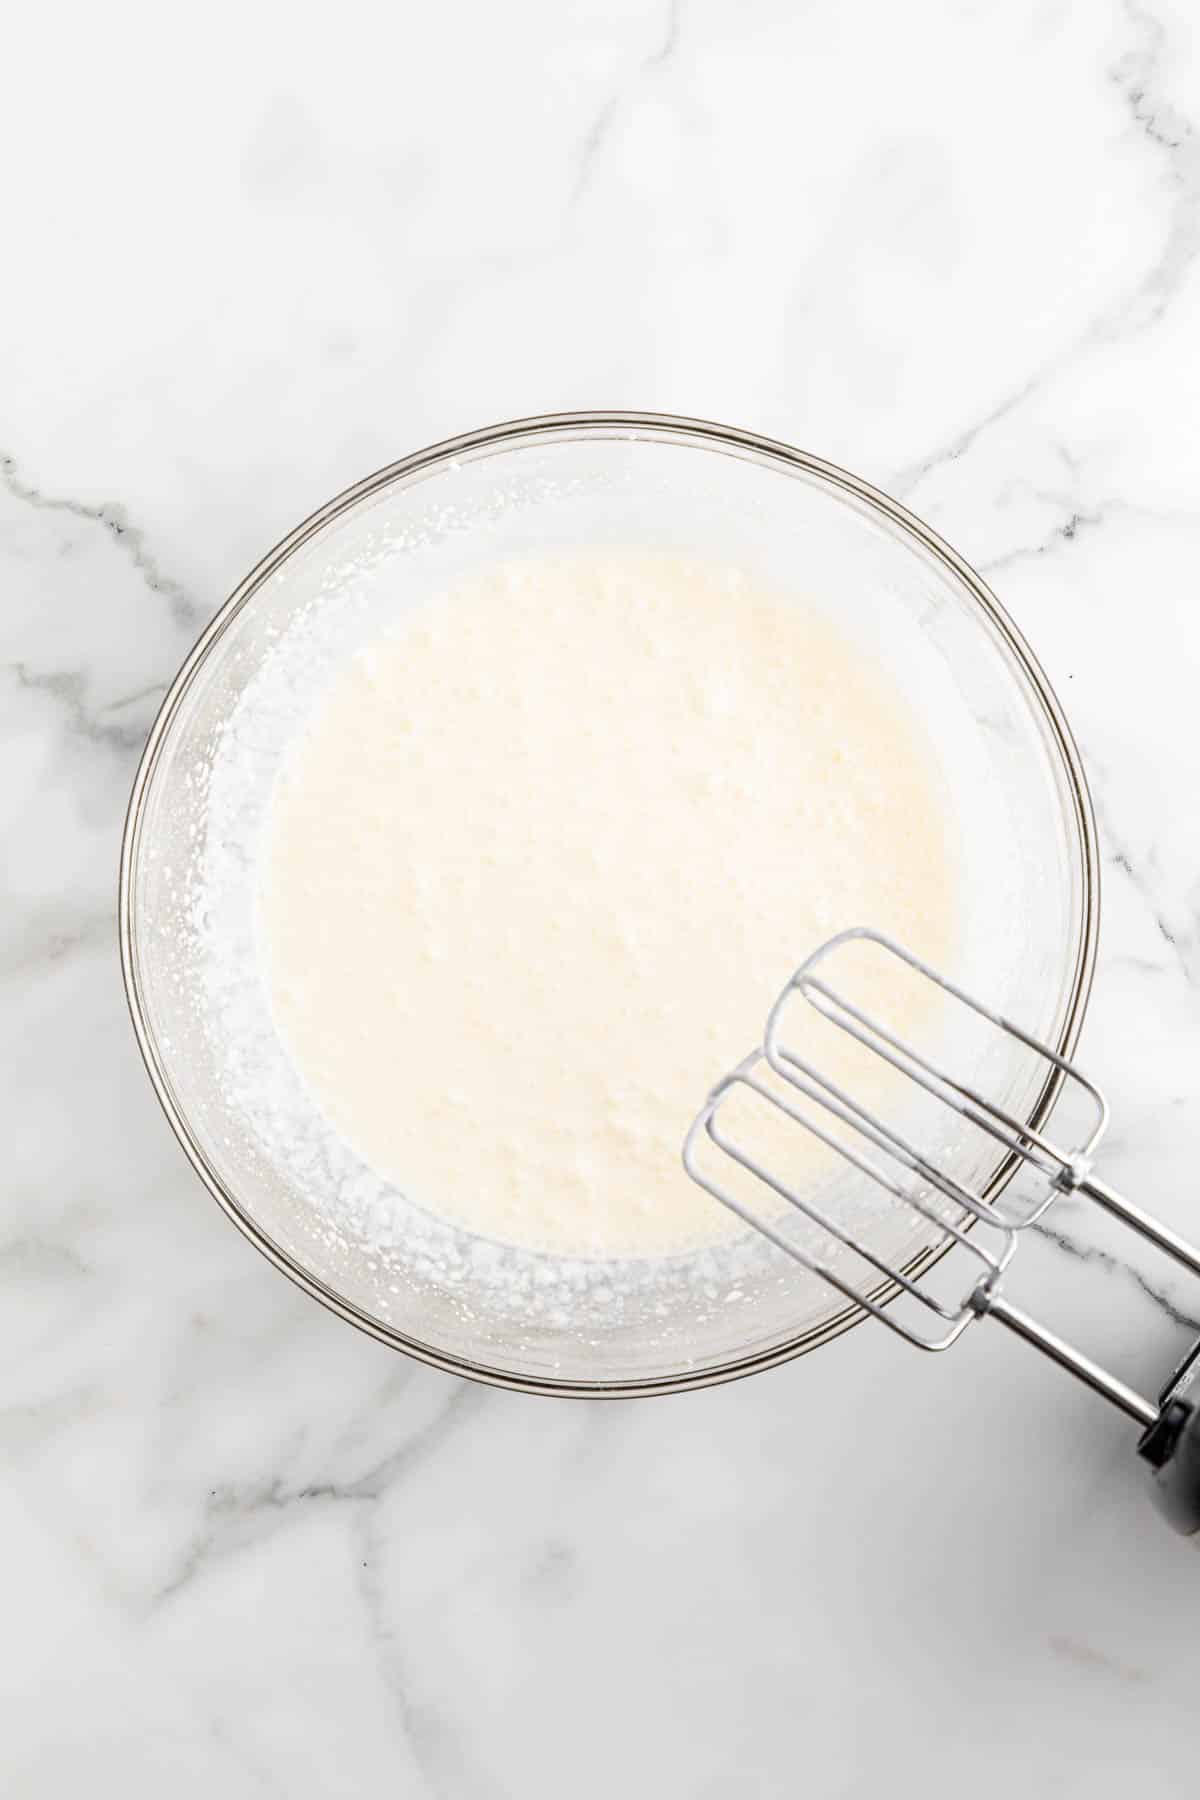
Step 3. Whip until it reaches soft peaks. You’ll be able to see a slightly raised trail of small waves as the mixer moves around.
Step 4. Heat the gelatin and water mixture in the microwave for 5-7 seconds. Do not overheat it; you want to heat it just until it melts and becomes liquid again. Mix it together to ensure there are no gelatin chunks. Allow it to cool slightly.
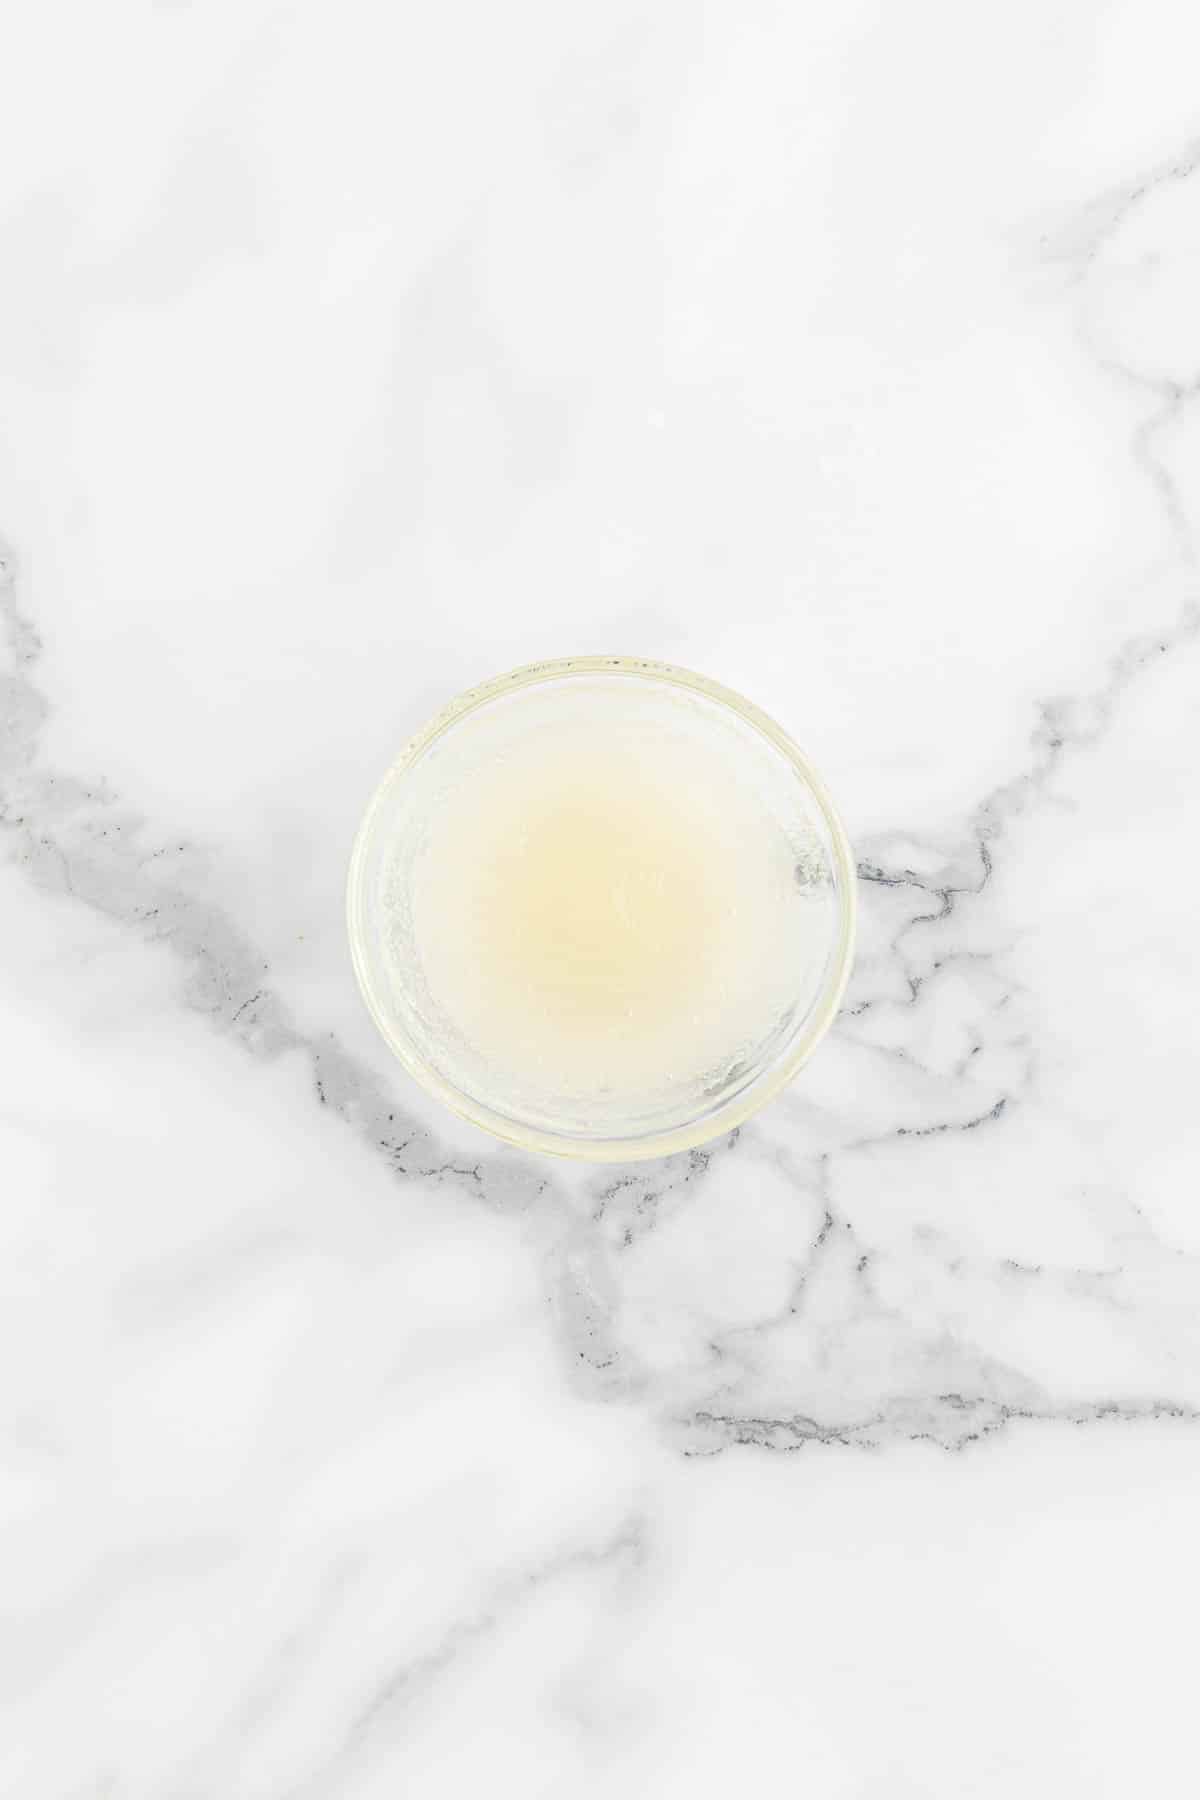
Step 5. With the mixer on low-medium speed, slowly and a little at a time, drizzle the liquified gelatin mixture into the cream mixture. Mix it for 15 seconds.
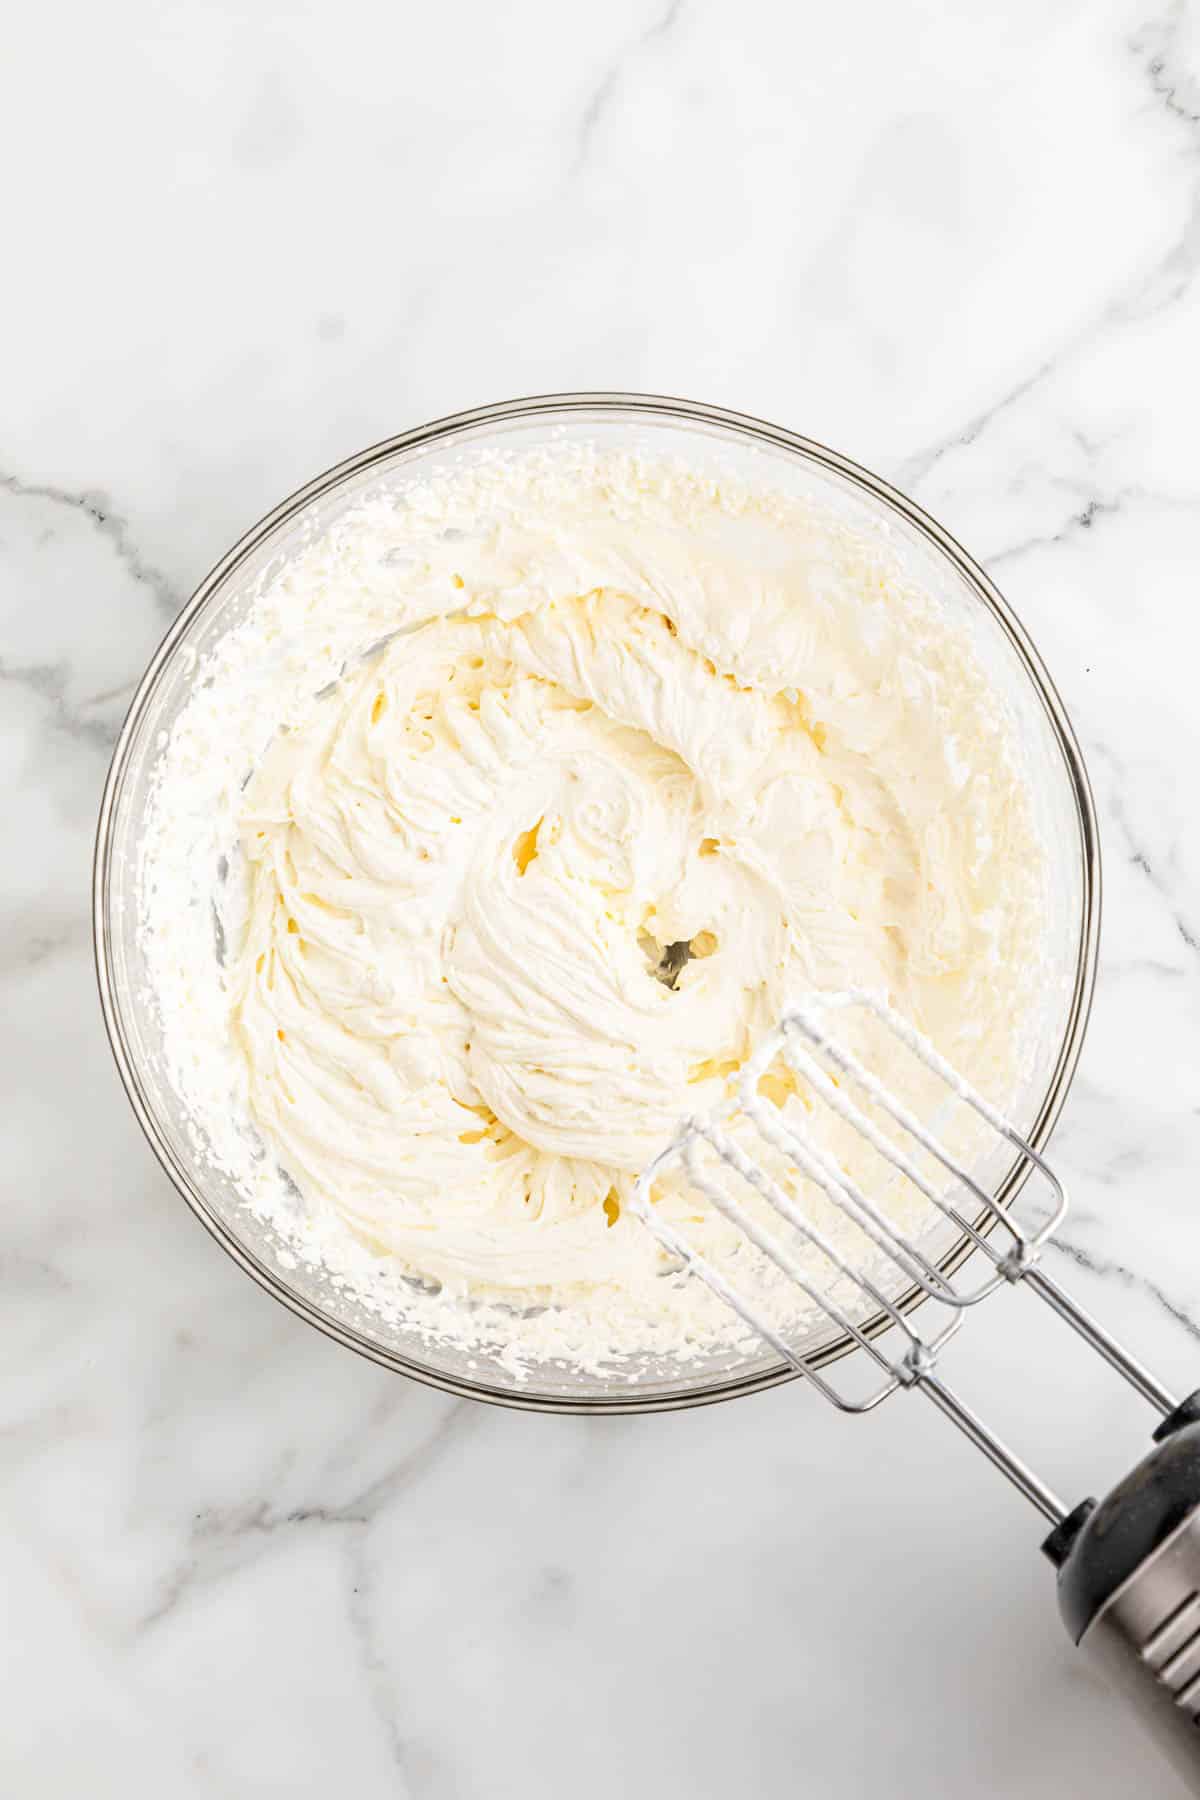
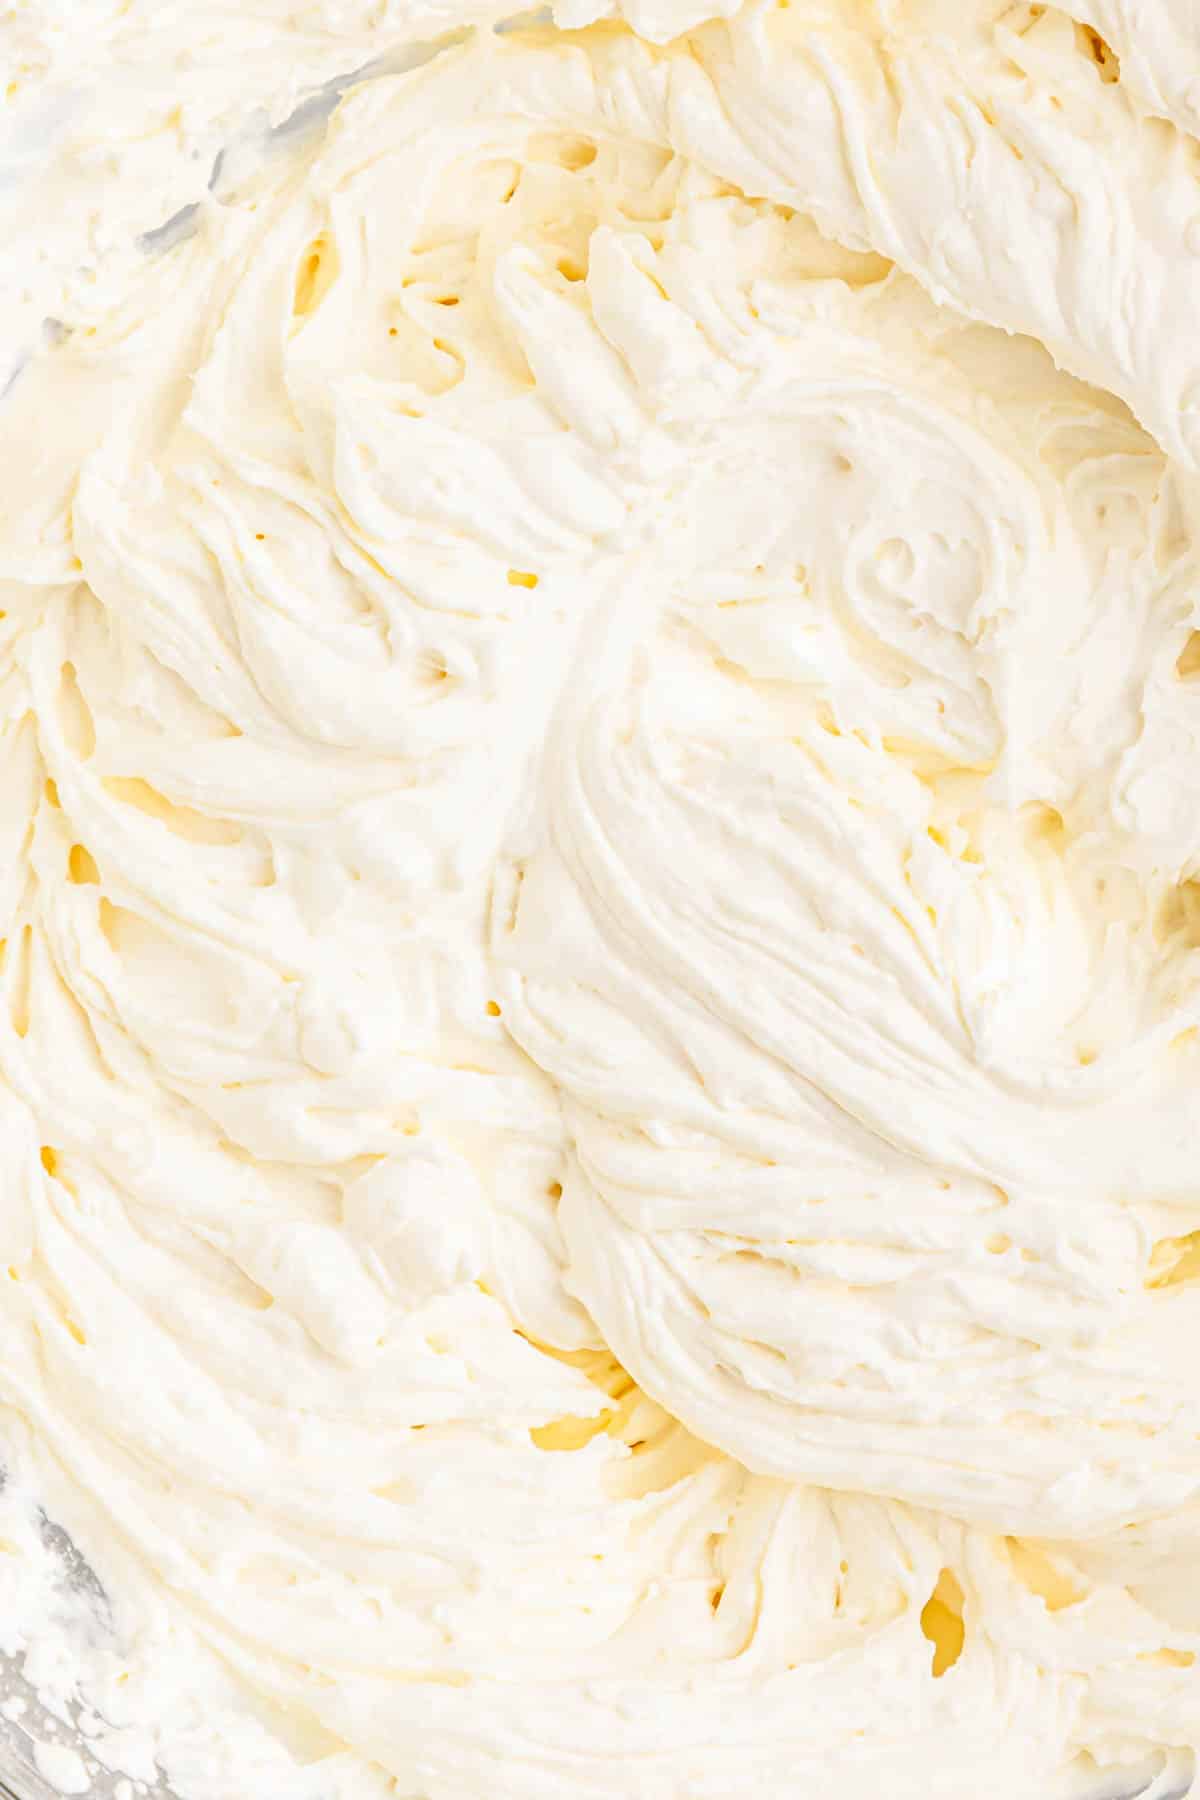
Step 6. Increase the mixer speed to medium-high and beat until you have stiffer and fluffier peaks. Now, the trail of waves the mixer leaves should be deeper and bigger. Make sure not to overbeat it, or else it will become too dense and begin to clump.
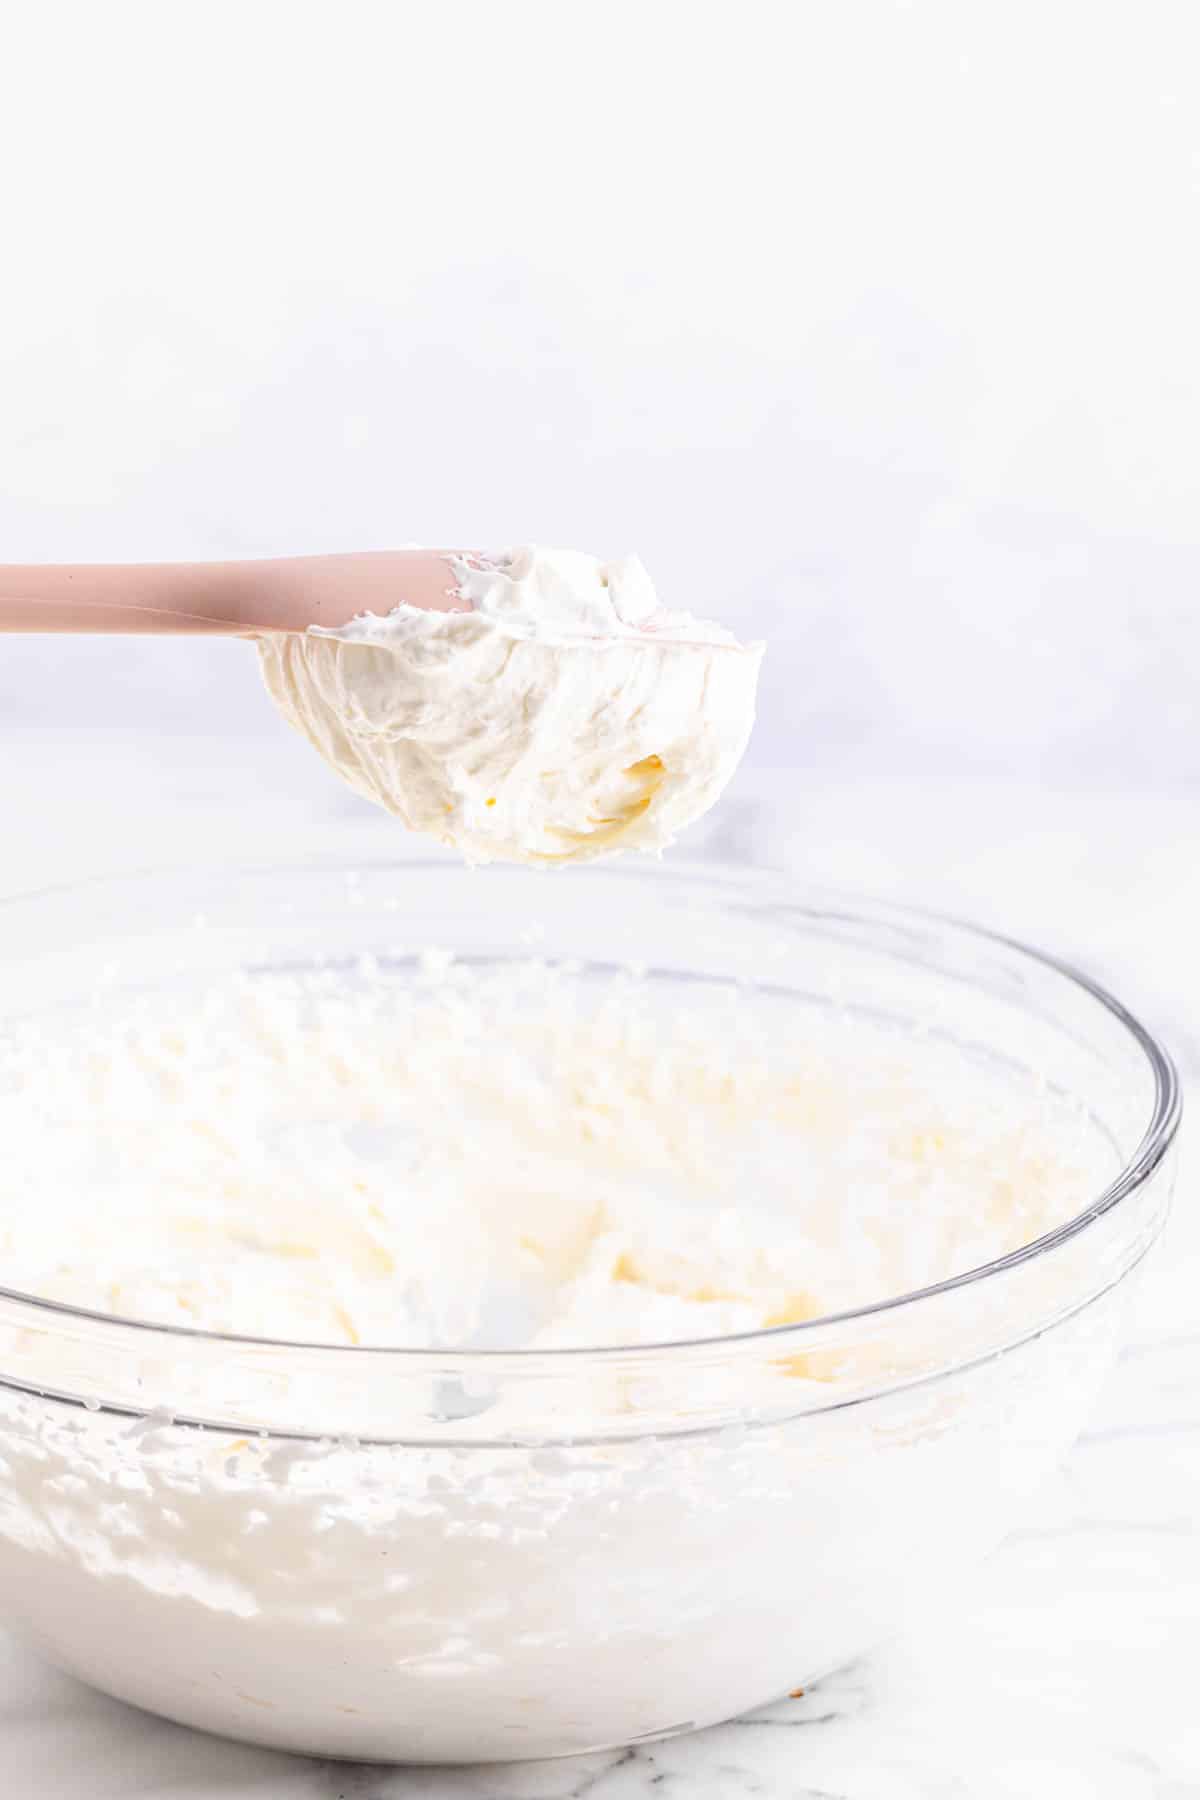
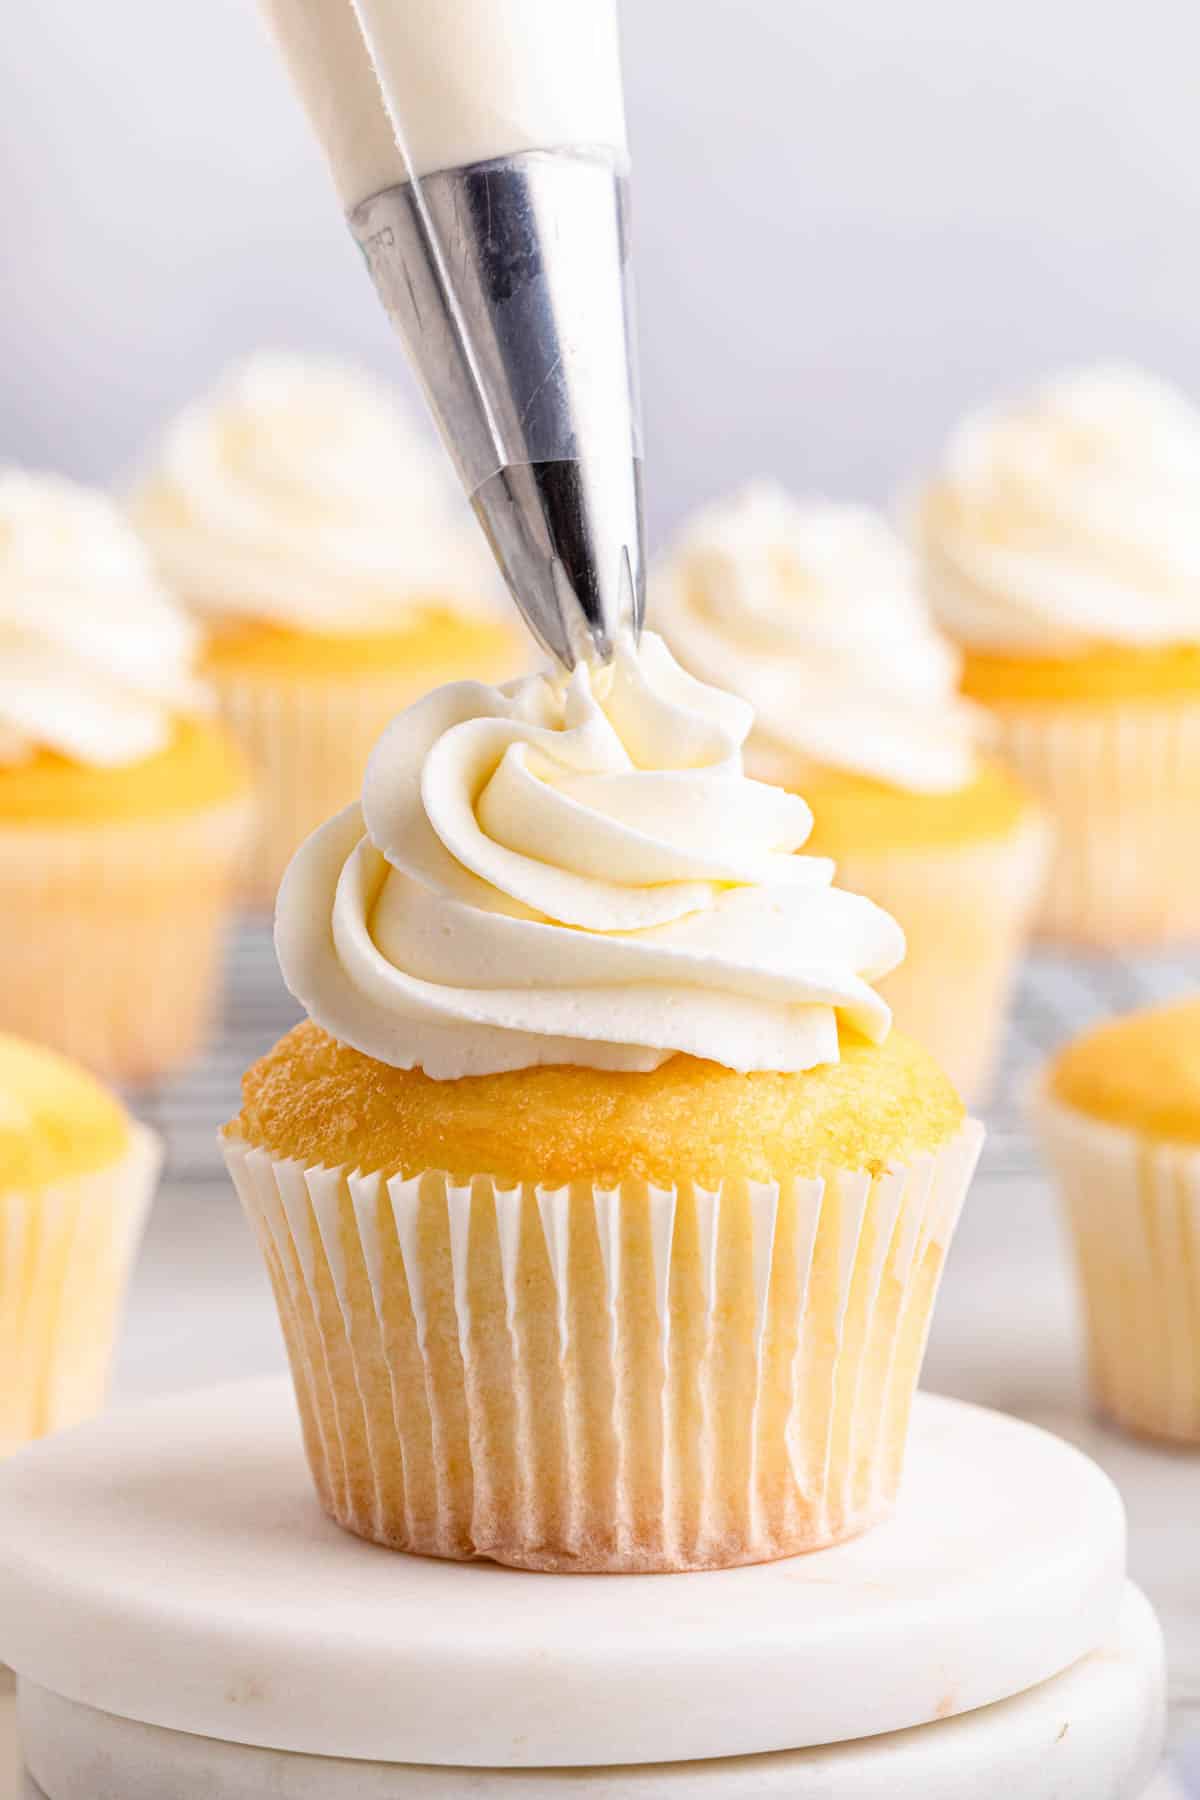
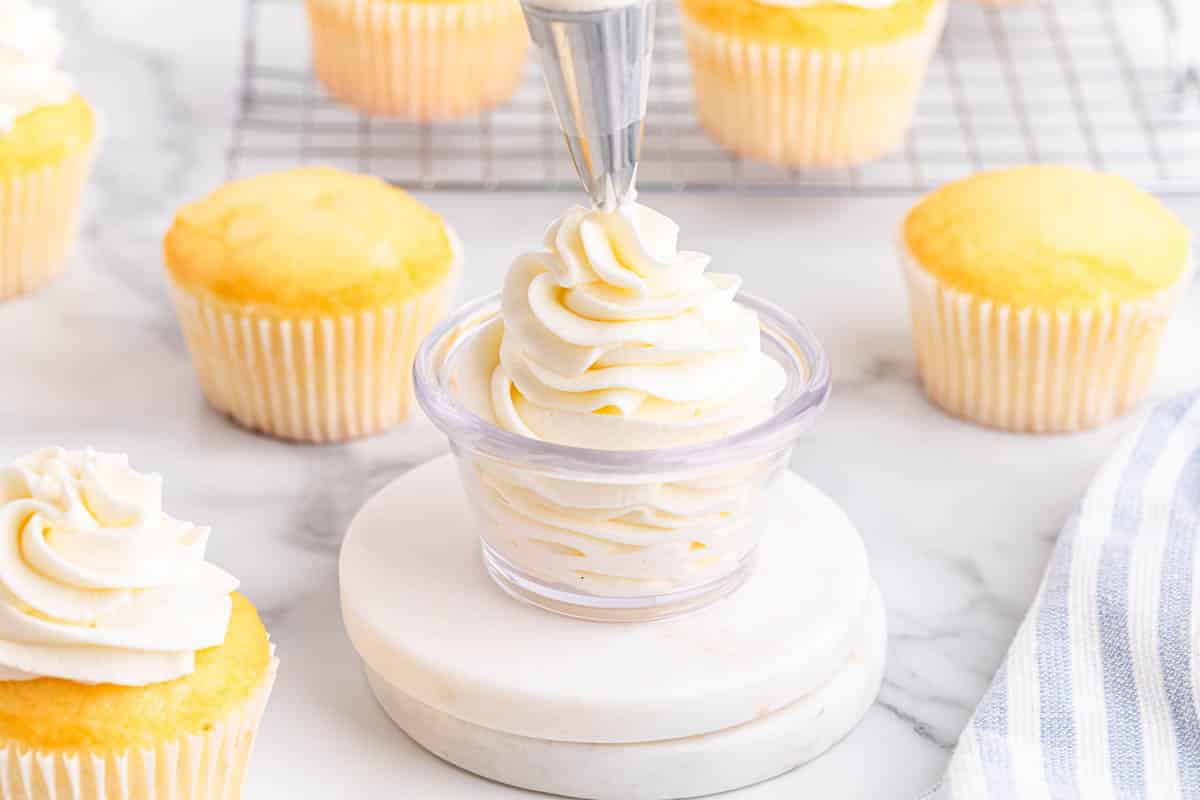
Step 7. Pipe on your sweet treats.
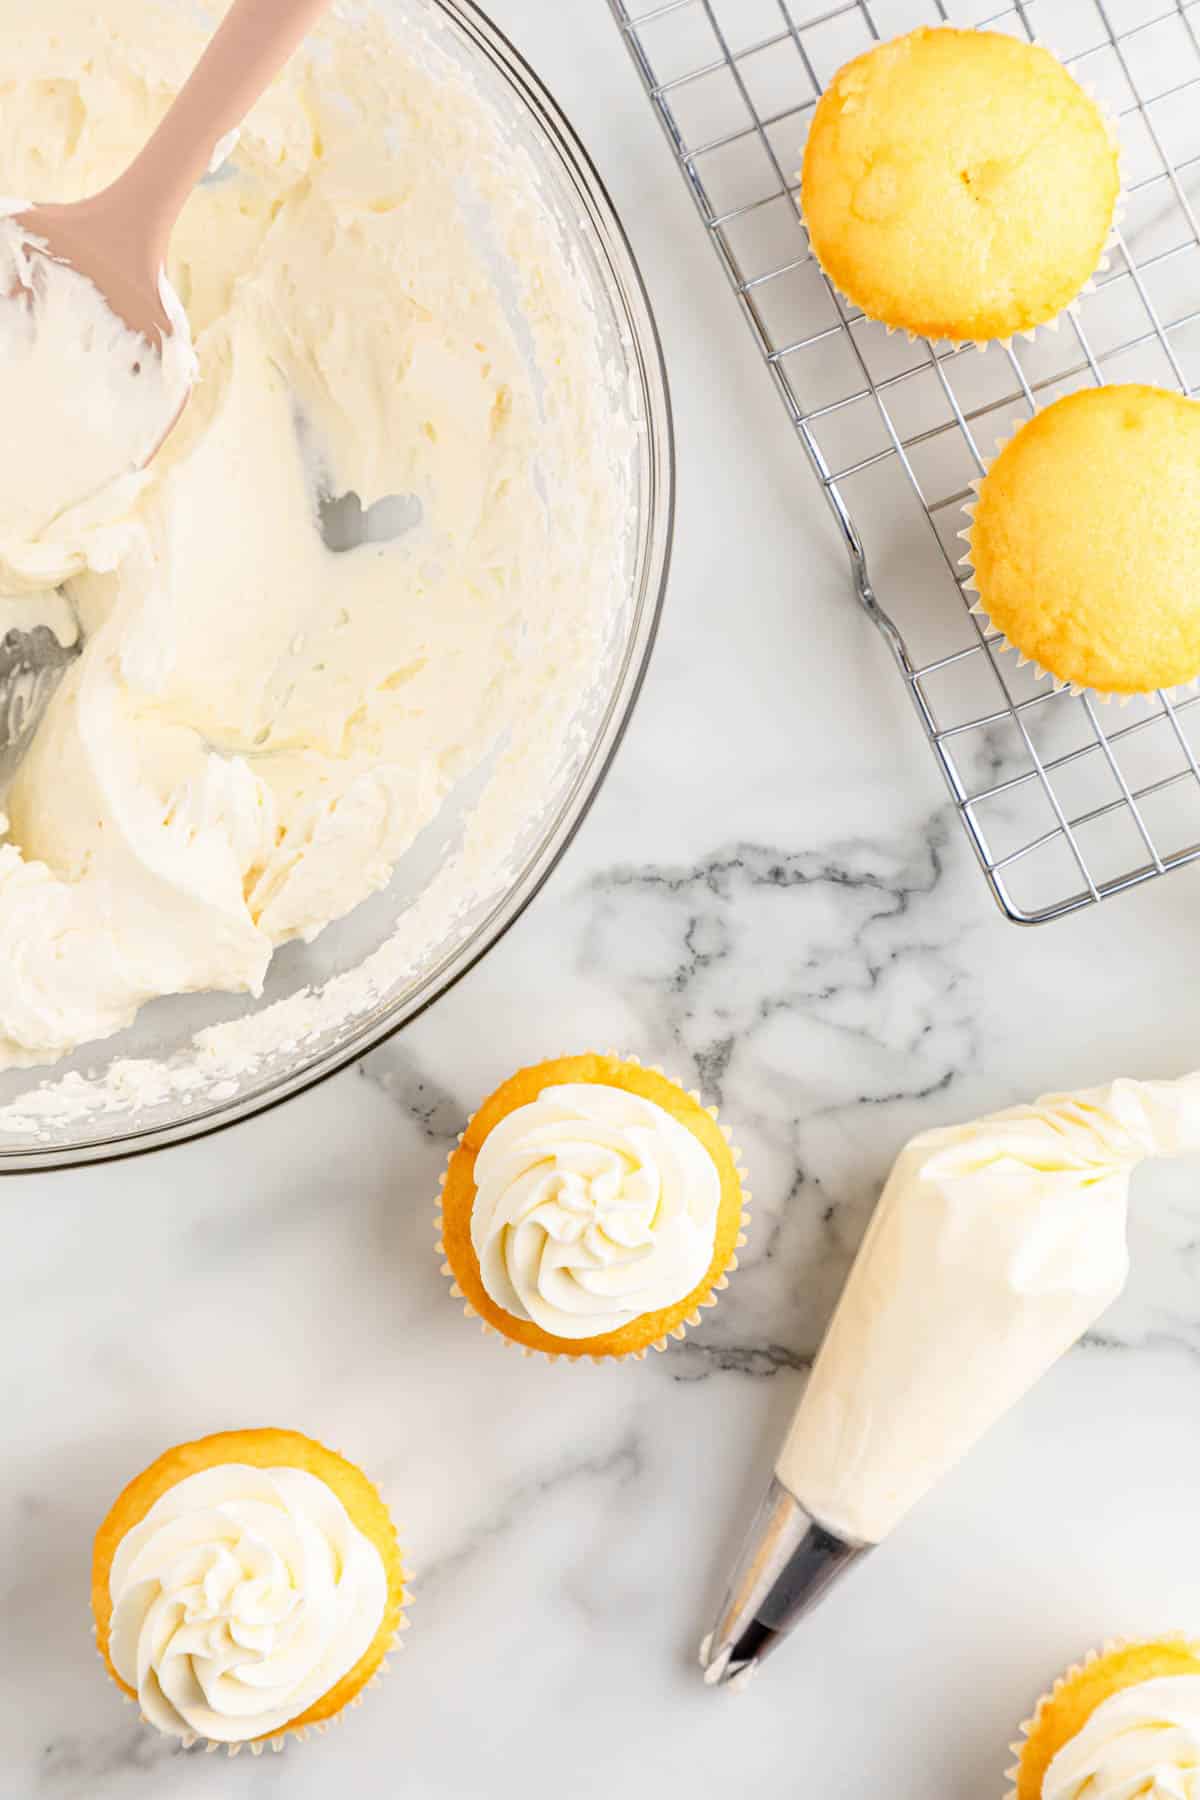
This is perfect for frosting for cupcakes, cakes, or Enjoy.
FAQs
You can use a rubber spatula to scoop some of the whipped cream and flip it upside down. If it stays on the spoon and holds its shape, then you’ve got the desired consistency.
This stabilized whipped cream will be good for 3-4 days if properly stored and refrigerated. This allows you to pipe desserts in advance and store them in the refrigerator for longer periods.
The stabilized whipped cream can also hold its shape at room temperature for hours, but it is not recommended because it contains dairy. You will want to keep it refrigerated until it is ready to serve.
No. Half & Half is a dairy product that is a mixture of equal parts whole milk and light cream. It typically contains about 10-12% fat. It doesn’t have enough fat for baking, but it’s a delicious dairy product to use as coffee cream or in homemade ice cream.
Top Tips
- You will have the best results if you use a cold bowl. Do not wash a mixing bowl in hot water and then try to use it immediately. The heat can keep the cream from forming peaks.
- You also want to make sure to use cold cream. Leave the heavy whipping cream in the refrigerator until ready to use.
- Make sure that the gelatin mixture is not added to the cream when it is hot. Hot liquid can make it difficult for the cream to form peaks.
- Always make sure that the gelatin mixture is reconstituted when added to the cream; you want it to incorporate into the cream and not create any gelatin lumps.
More Desserts To Top with Whipped Cream
Stabilized Whipped Cream Recipe
Equipment
- Hand held mixer
Ingredients
- 1 ½ teaspoons unflavored gelatin powder
- 2 tablespoons cold water
- 1 ½ cups heavy whipping cream
- 1 cup powdered sugar
- 1 ½ teaspoons pure vanilla extract
Instructions
- Mix the unflavored gelatin powder with cold water in a small microwaveable bowl or ramekin. Set it aside.
- In a large mixing bowl, add the heavy whipping cream, powdered sugar, and vanilla extract.
- Whip until it reaches soft peaks. You’ll be able to see a slightly raised trail of small waves as the mixer moves around.
- Heat the gelatin and water mixture in the microwave for 5-7 seconds. Do not overheat it; you want to heat it just until it melts and becomes liquid again. Mix it together to ensure there are no gelatin chunks. Allow it to cool slightly.
- With the mixer on low-medium speed, slowly and a little at a time, drizzle the liquified gelatin mixture into the cream mixture. Mix it for 15 seconds.
- Increase the mixer speed to medium-high and beat until you have stiffer and fluffier peaks. Now, the trail of waves the mixer leaves should be deeper and bigger. Make sure not to overbeat it, or else it will become too dense and begin to clump.
- Pipe on your sweet treats.

