Mad Hatter Cupcakes Recipe
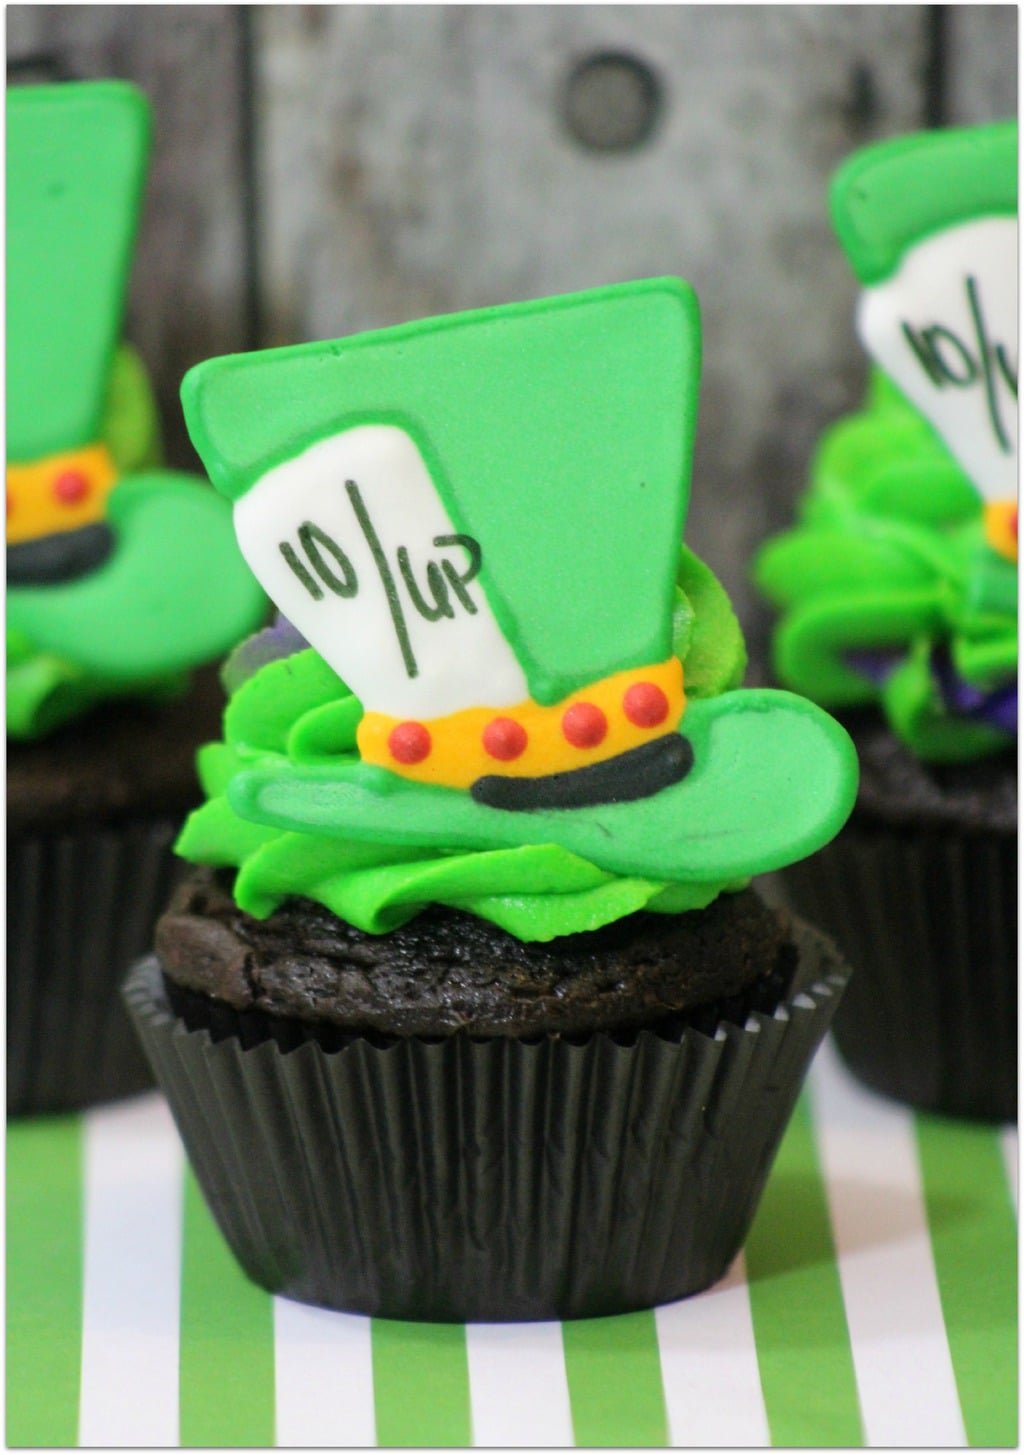
Looking for a Mad Hatter Cupcakes recipe? We’ve got you covered!
Have you seen Alice Through the Looking Glass? So fun!
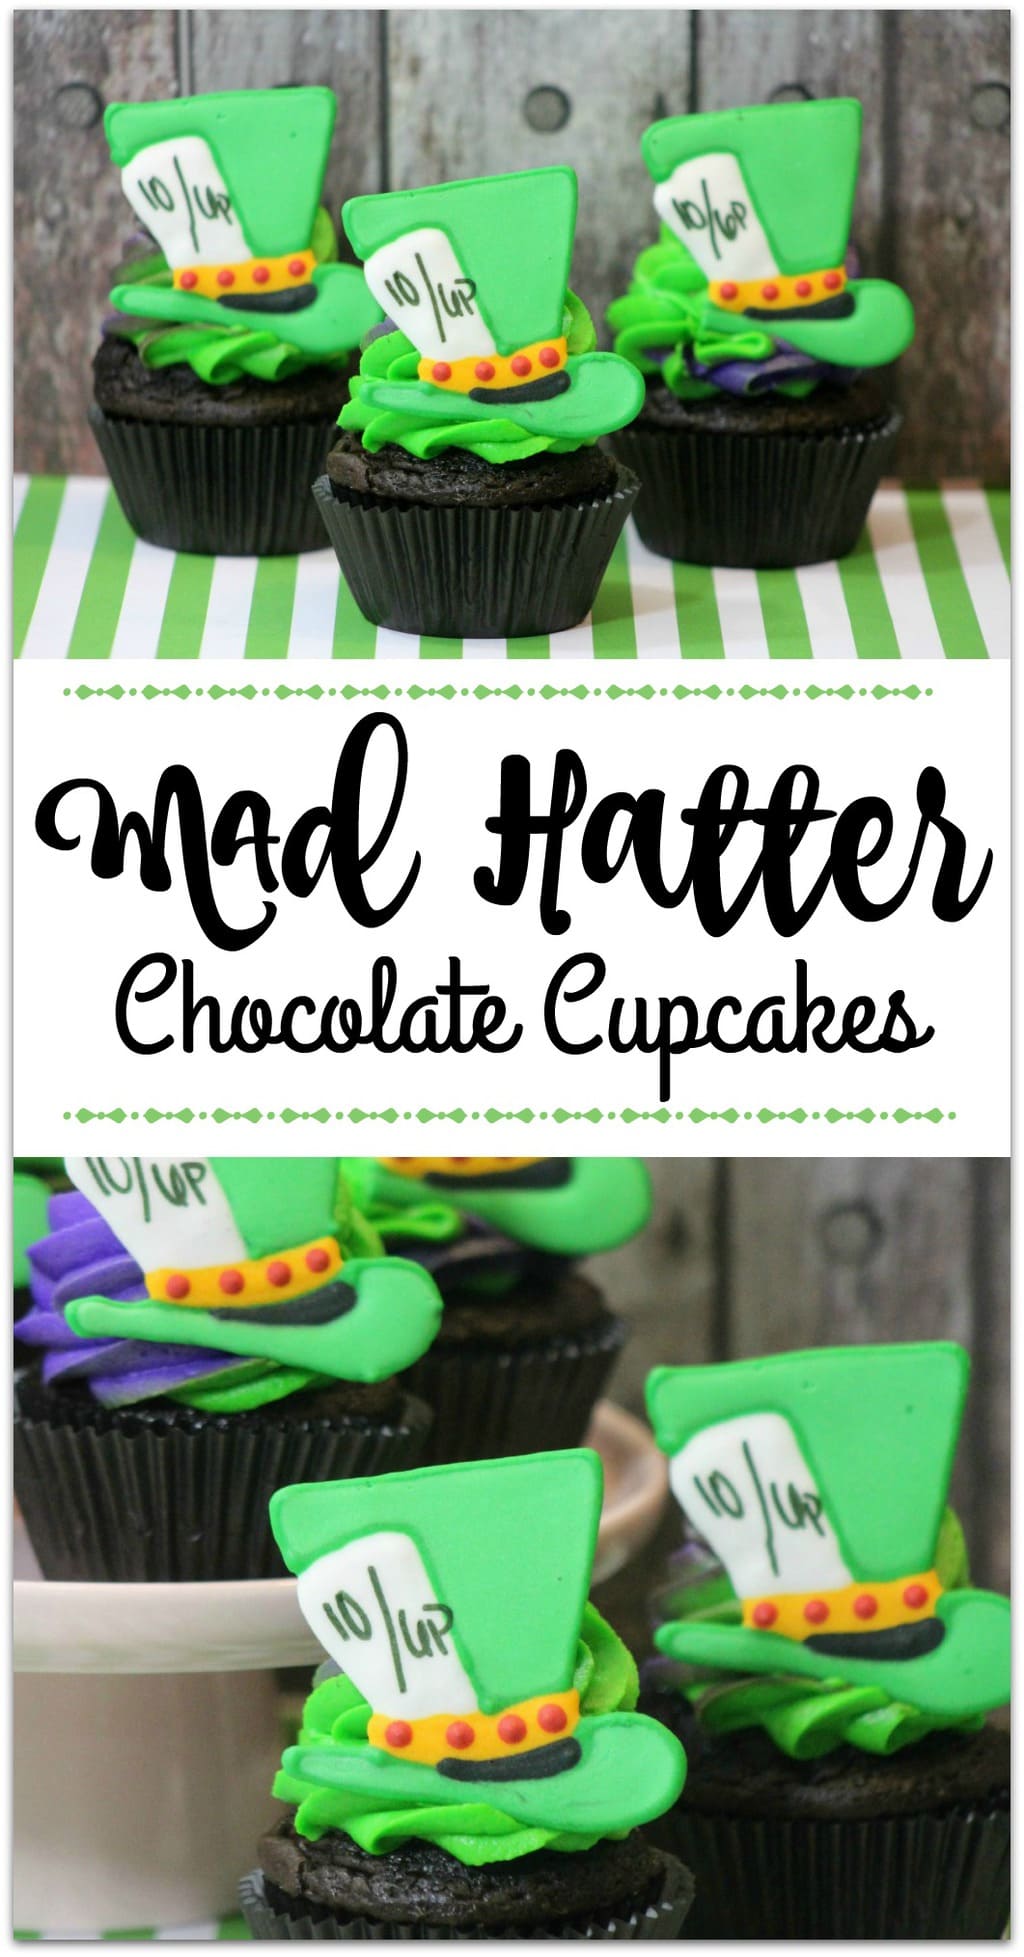
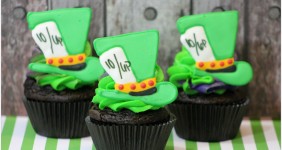
These Mad Hatter Cupcakes would be so much fun at an Alice party!
The recipe is a little tedious, but the directions are step by step, so anyone can do it!
Surprise your friends and family! Prepare some fun finger food appetizers and end the night with this special dessert!

Ingredients
Chocolate Cupcake Ingredients
1 3/4 C Flour
2 C Sugar
1 C Cocoa
1 1/2 TSP Baking Soda
1 1/2 TSP Baking Powder
1 TSP Salt
2 Eggs
1 C Whole Milk
1/2 C Oil
2 TSP Vanilla
1 C Boiling Water
Frosting Ingredients
1 C soft unsalted butter
4 + C powdered sugar
4 TBSP heavy whipping cream
Purple & green gel food coloring

Royal Icing Ingredients
2 egg whites
1 C powdered sugar
1/2 tsp cream of tartar
Green & purple gel food coloring
Wilton Food Writer, black
Cupcake Directions
-Line the cupcake tins with paper liners. Preheat oven to 350 degrees.
-Mix the flour, sugar, cocoa, baking soda, baking powder, and salt in a bowl.
-In a separate bowl add the eggs, whole milk, oil, and vanilla.
-Add the bowl containing the eggs, whole milk, oil, and vanilla to the bowl holding the dry ingredients.
-Mix all together until fully incorporated.
-Beat for 3 minutes on medium.
-Slowly add the boiling water starting with a small amount then pour in the remaining boiling water.
-The batter may be a little runny.
-Scoop batter into cupcake lined cups until 3/4s filled.
-Bake at 350 degrees for 20-25 minutes.
-Remove from oven and allow to cool for 10 minutes.
Frosting Directions
-Cream the butter and powdered sugar until it looks light and creamy.
-If it doesn’t cream add several drops of the heavy whipping cream until it creams.
-Test to see if the frosting can form and hold a stiff peak by taking a spoonful of frosting and turning the spoon upside down. If the frosting stays on the spoon it is ready if not then.
-Add more powdered sugar 1/2 C at a time. Mixing well.
-Divide the frosting equally into two bowls.
-In the first bowl add several drops of green gel food coloring. Mix well.
-In the second bowl, add several drops of purple gel food coloring. Stir to blend the colors.
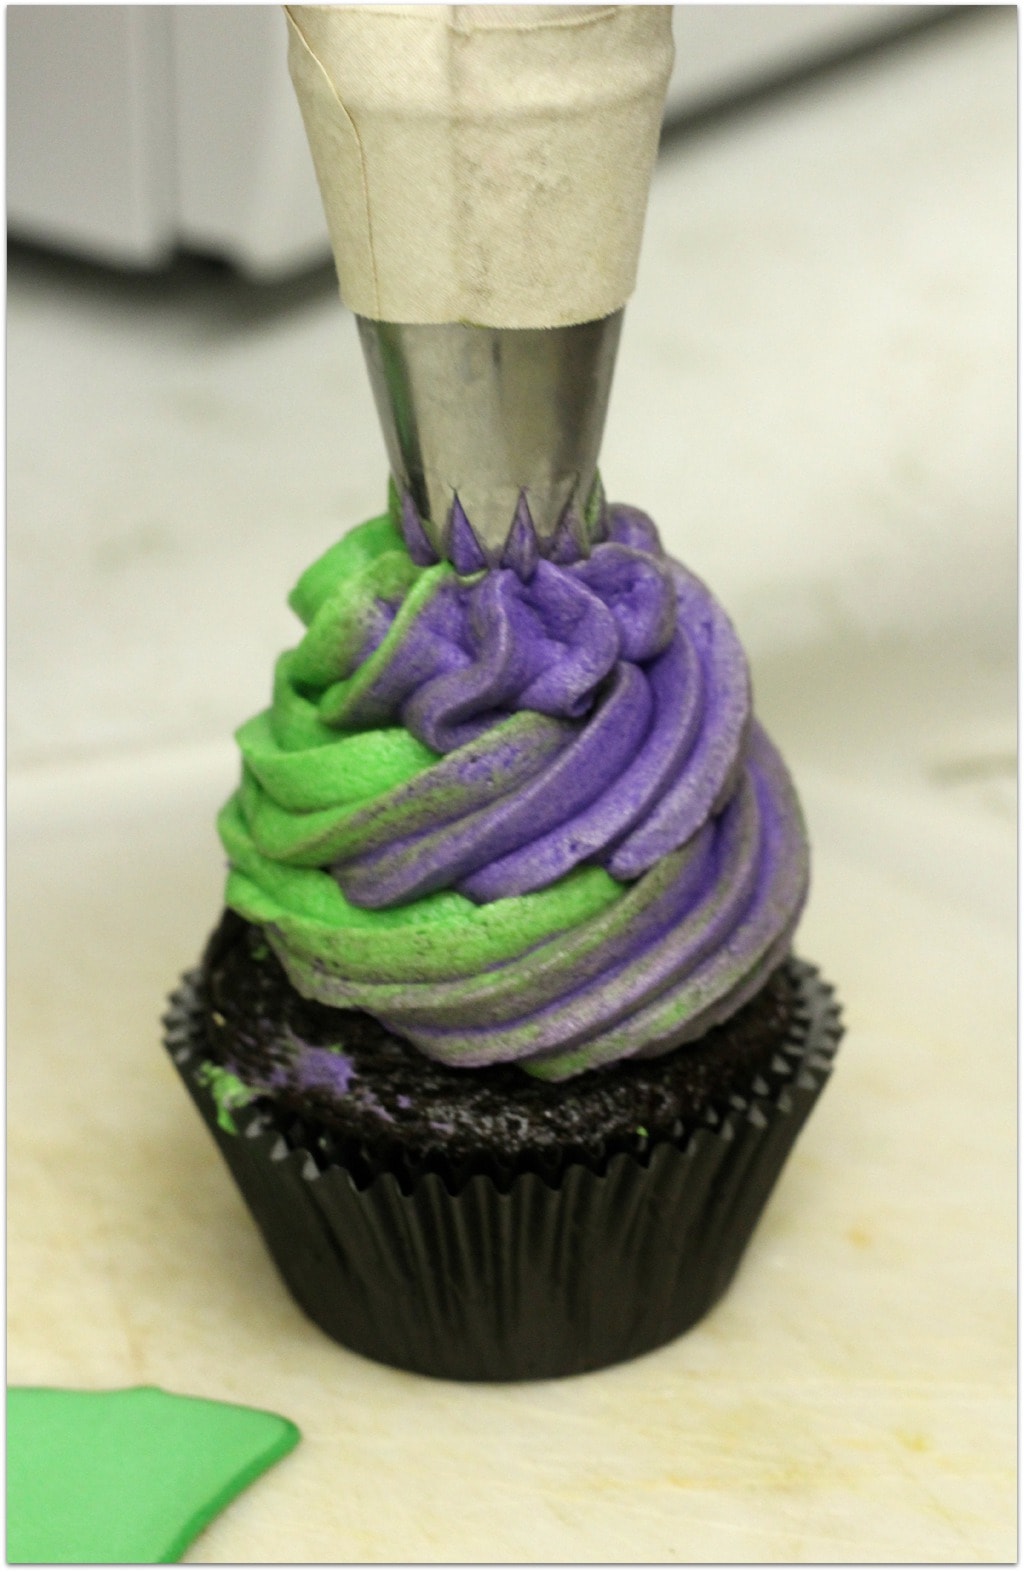
-When ready scoop the green frosting first into a pastry bag then add the purple frosting into the same bag with a large tip.
-Twist the open end of the pastry bag to push the frosting to the tip.
-Test to make sure that both colors come to the tip at the same time.
-Start the frosting on the outside edge of the cupcake working to the center of the cupcake.
Icing Directions:
-Combine all ingredients in a mixing bowl mixing on medium speed for 4 minutes. (except your food coloring)
-If icing is not stiff enough add 1/4 C powdered sugar.
– Spoon the icing into a bowl.
-Remove 2 TBSP of icing add several drops of red gel food coloring. Blend the color throughout the icing.
-Take out another 3 TBSP of icing adding several drops of black gel food coloring. Stir to mix the color.
-In the third bowl put 4 TBSP of icing and add several drops of golden yellow gel food coloring.
Mix the color.
-Divide the remaining icing into two bowls. The first bowl stays white.
-The second bowl add green gel food coloring, stirring to mix.
Mad Hatter:
-Locate a picture of the Man Hatter hat on Google. Print the picture in color. Tape this picture with small images of it on it to a cookie sheet.
-Tape wax paper (covering the copies of the image) to the cookie sheet . Following the example in the picture such as the color and features as printed on the paper.
-Using a small pastry bag fill with the green royal icing and a #2 tip. Start by outlining the base of the top hat first.and it’s brim first. Fill in that part of the top hat with the green icing. Allow this to dry for 30 seconds.
-Outline and fill in the ribbon area of the top hat with the golden yellow icing. Allowing the 30 seconds to dry. Now with the red icing add the red dots to the ribbon. Lastly, outline and fill in the black area between the brim and ribbon of the hat.
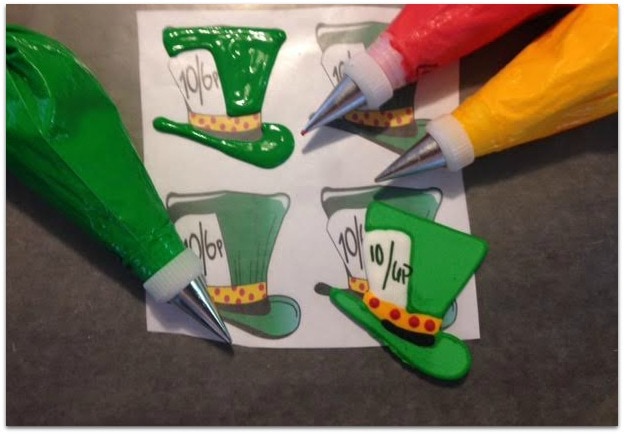
-Outline the white card with the white icing and fill it in with the white icing. Allow this to dry for at least a minute or two. Using the Wilton Food Writer in black add the 10/UP on the card.
-Allow to dry for 5-10 hours.
-Ensure that the image is dry, gently touch one of them with your finger if it allows you to push in on the icing allow it to dry more. If the image is dry then it will have a hard feeling not allowing you to push in on it.
-Cut the wax paper holding the completed top hat into squares surrounding the completed design.
-Once the image is dry, carefully peel the wax paper off of the back of the top hat.
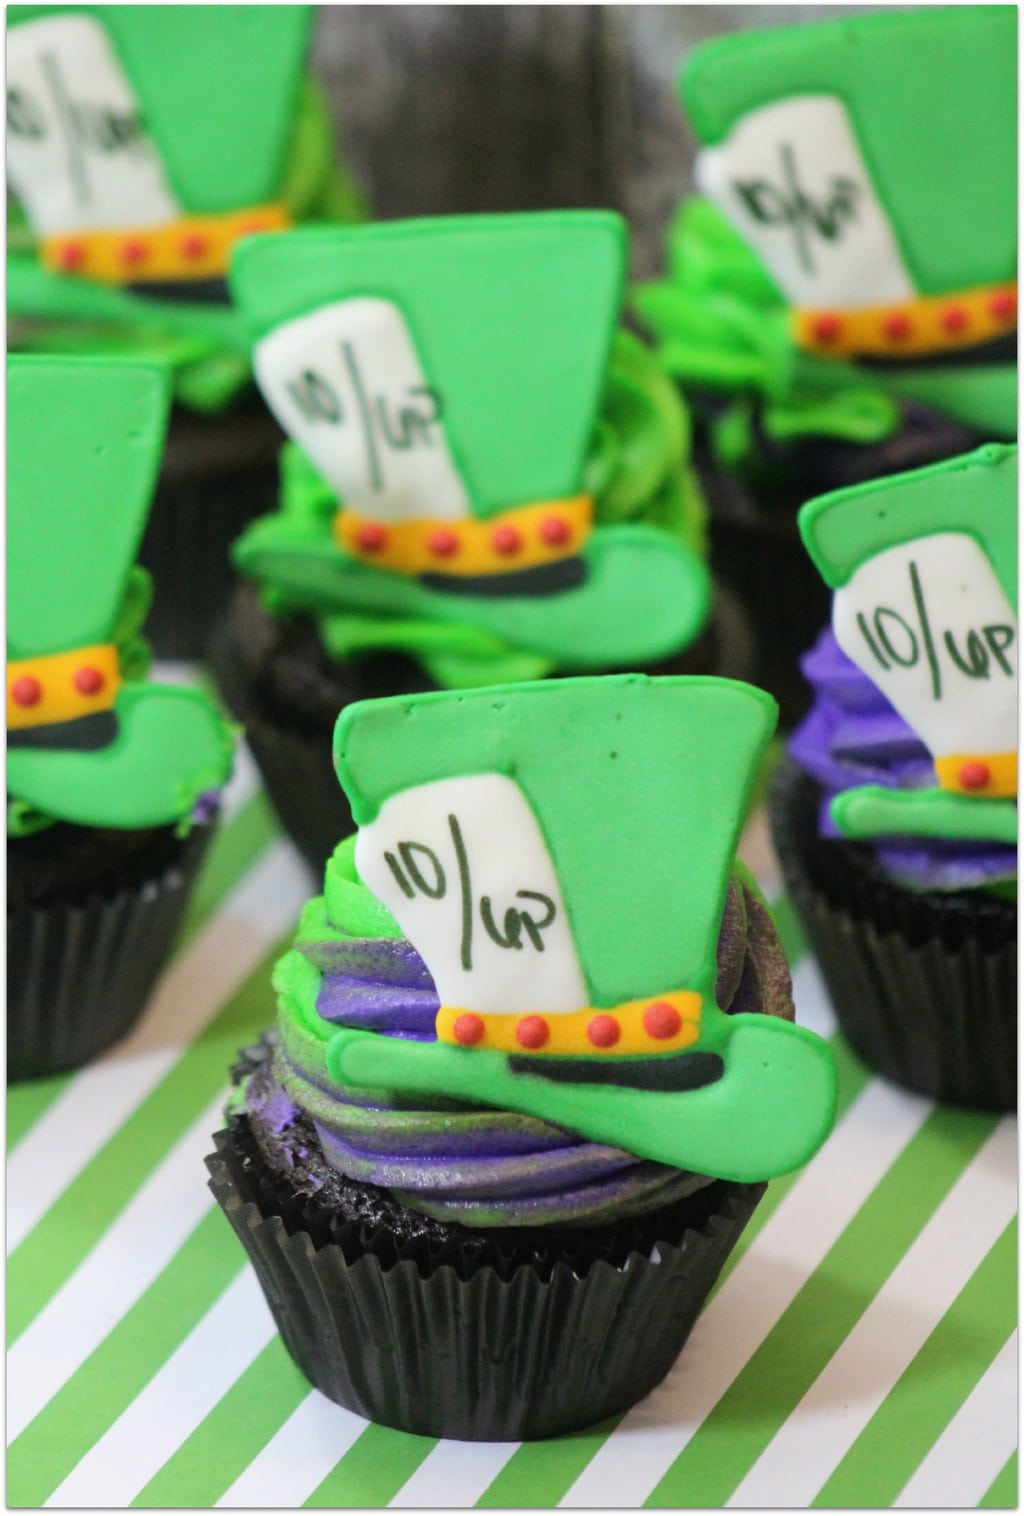
-Place on the frosted cupcake.
More Cupcake Recipes
Mad Hatter Cupcakes
Ingredients
- Chocolate Cupcake Ingredients
- 1 3/4 C Flour
- 2 C Sugar
- 1 C Cocoa
- 1 1/2 TSP Baking Soda
- 1 1/2 TSP Baking Powder
- 1 TSP Salt
- 2 Eggs
- 1 C Whole Milk
- 1/2 C Oil
- 2 TSP Vanilla
- 1 C Boiling Water
- Frosting Ingredients
- 1 C soft unsalted butter
- 4 + C powder sugar
- 4 TBSP heavy whipping cream
- Purple & green gel food coloring
- Royal Icing Ingredients
- 2 egg whites
- 1 C powder sugar
- 1/2 tsp cream of tartar
- Green & purple gel food coloring
- Wilton Food Writer black
Instructions
- Cupcake Directions:
- -Line the cupcake tins with paper liners. Preheat oven to 350 degrees.
- -Mix the flour, sugar, cocoa, baking soda, baking powder, and salt in a bowl.
- -In a separate bowl add the eggs, whole milk, oil, and vanilla.
- -Add the bowl containing the eggs, whole milk, oil, and vanilla to the bowl holding the dry ingredients.
- -Mix all together until fully incorporated.
- -Beat for 3 minutes on medium.
- -Slowly add the boiling water starting with a small amount then pour in the remaining boiling water.
- -The batter may be a little runny.
- -Scoop batter into cupcake lined cups until 3/4s filled.
- -Bake at 350 degrees for 20-25 minutes.
- -Remove from oven and allow to cool for 10 minutes.
- Frosting Directions:
- -Cream the butter and powder sugar until it looks light and creamy.
- -If it doesn’t cream add several drops of the heavy whipping cream until it creams.
- -Test to see if the frosting can form and hold a stiff peak by taking a spoonful of frosting and turning the spoon upside down. If the frosting stays on the spoon it is ready if not then.
- – Add more powder sugar 1/2 C at a time. Mixing well.
- -Divide the frosting equally into two bowls.
- -In the first bowl add several drops of green gel food coloring. Mix well.
- -In the second bowl, add several drops of purple gel food coloring. Stir to blend the colors.
- -When ready scoop the green frosting first into a pastry bag then add the purple frosting into the same bag with a large tip.
- -Twist the open end of the pastry bag to push the frosting to the tip.
- -Test to make sure that both colors come to the tip at the same time.
- -Start the frosting on the outside edge of the cupcake working to the center of the cupcake.
- Icing Directions:
- -Combine all ingredients in a mixing bowl mixing on medium speed for 4 minutes. (except your food coloring)
- -If icing is not stiff enough add 1/4 C powder sugar.
- – Spoon the icing into a bowl.
- -Remove 2 TBSP of icing add several drops of red gel food coloring. Blend the color throughout the icing.
- -Take out another 3 TBSP of icing adding several drops of black gel food coloring. Stir to mix the color.
- -In the third bowl put 4 TBSP of icing and add several drops of golden yellow gel food coloring.
- Mix the color.
- -Divide the remaining icing into two bowls. The first bowl stays white.
- -The second bowl add green gel food coloring, stirring to mix.
- Mad Hatter:
- -Locate a picture of the Man Hatter hat on Google. Print the picture in color. Tape this picture with small images of it on it to a cookie sheet.
- -Tape wax paper (covering the copies of the image) to the cookie sheet . Following the example in the picture such as the color and features as printed on the paper.
- -Using a small pastry bag fill with the green royal icing and a #2 tip. Start by outlining the base of the top hat first.and it’s brim first. Fill in that part of the top hat with the green icing. Allow this to dry for 30 seconds.
- -Outline and fill in the ribbon area of the top hat with the golden yellow icing. Allowing the 30 seconds to dry. Now with the red icing add the red dots to the ribbon. Lastly, outline and fill in the black area between the brim and ribbon of the hat.
- -Outline the white card with the white icing and fill it in with the white icing. Allow this to dry for at least a minute or two. Using the Wilton Food Writer in black add the 10/UP on the card.
- -Allow to dry for 5-10 hours.
- -Ensure that the image is dry, gently touch one of them with your finger if it allows you to push in on the icing allow it to dry more. If the image is dry then it will have a hard feeling not allowing you to push in on it.
- -Cut the wax paper holding the completed top hat into squares surrounding the completed design.
- -Once the image is dry, carefully peel the wax paper off of the back of the top hat.
- -Place on the frosted cupcake.
