Scrumptious No Bake Biscoff Cheesecake Recipe
This no bake Biscoff Cheesecake is other-worldly. If you like the flavors of Lotus Biscoff cookies, you are going to want to stop what you’re doing and make this cheesecake.
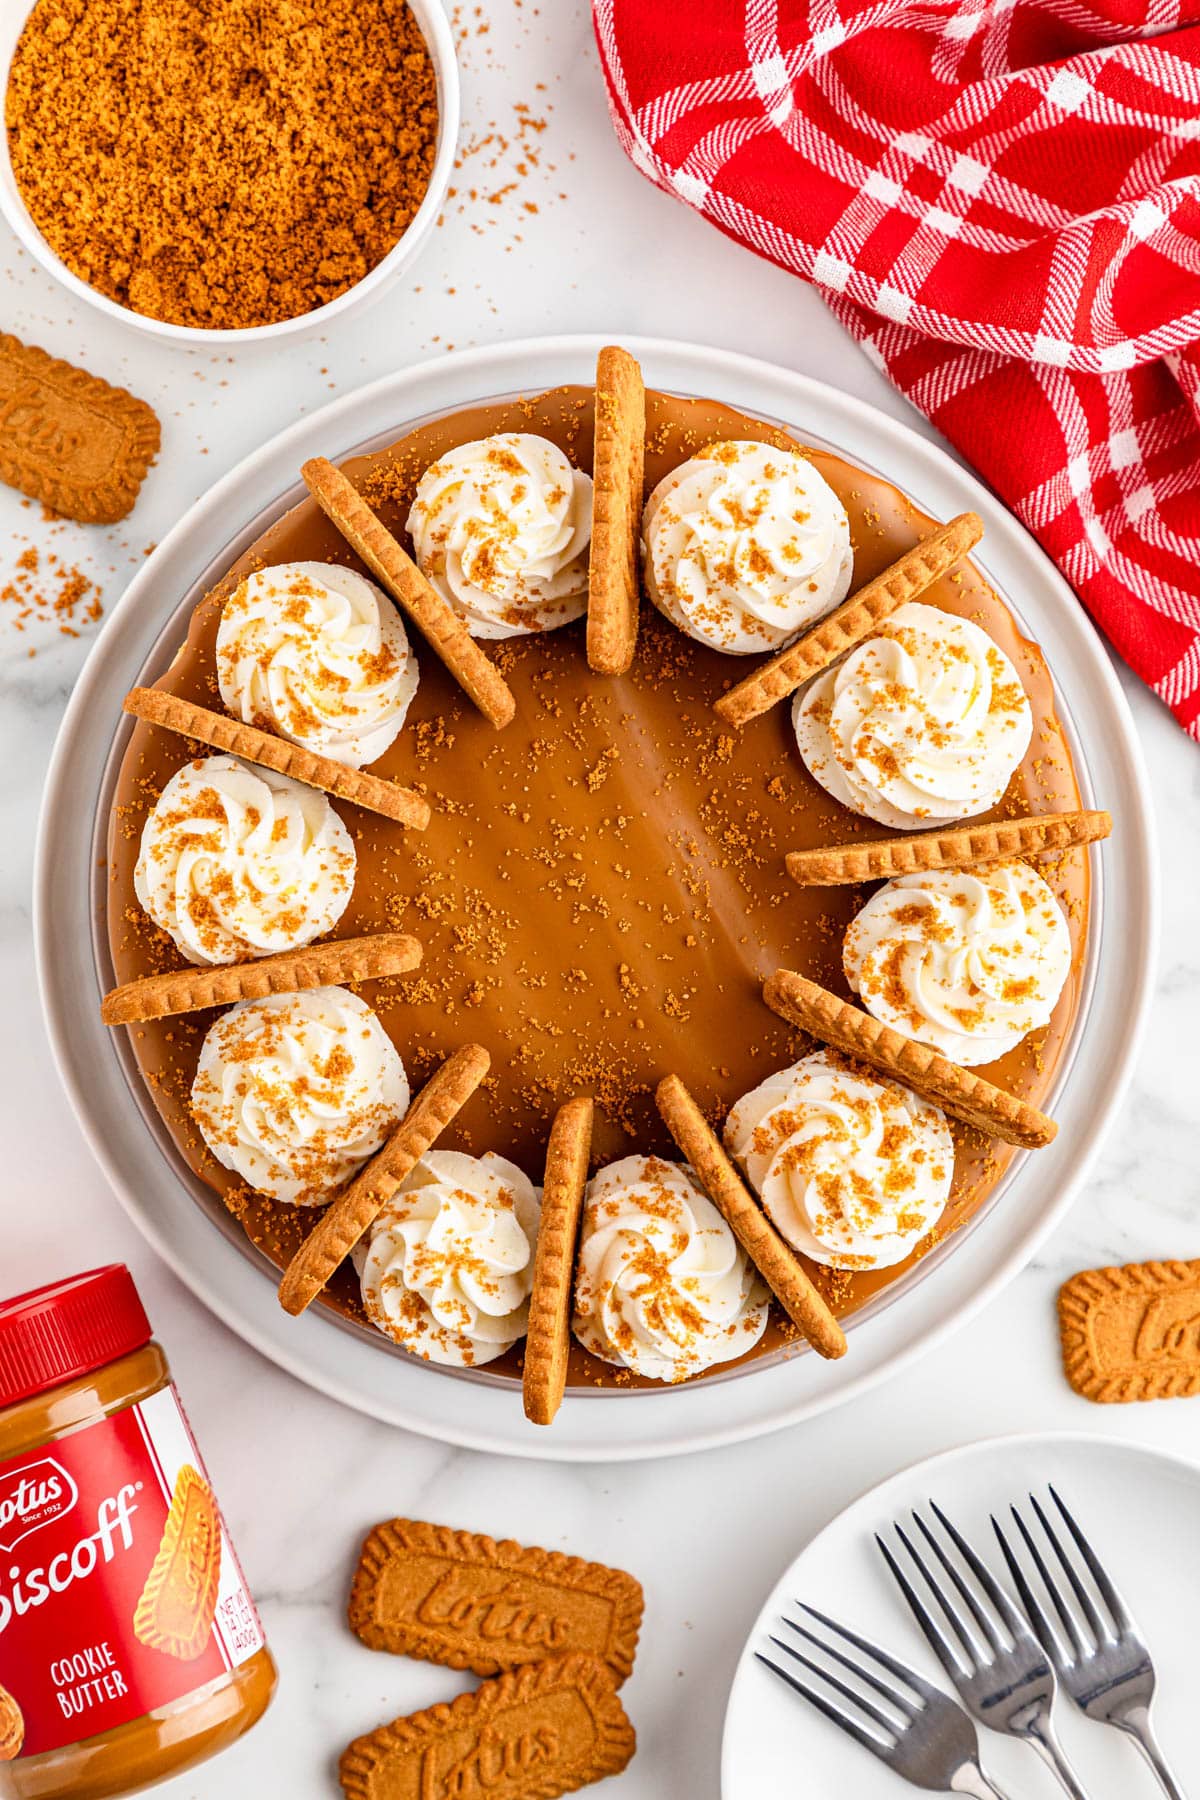
This dessert is perfect for parties, but it’s also pretty wonderful when it’s only being served to you and your family. This recipe makes 16 servings, and the flavors are incredible the next day, too.
Cheesecake lovers will want to try these Dulce de Leche cheesecake bars. It’s a no bake recipe and so good!
We think you’ll also like these Amaretti cookies and easy to make Pavlova recipe, both as perfect for a family dinner as they are for an elegant dinner party.
What is Biscoff?
The first time I tasted a Biscoff cookie was on a plane. Delta Airlines started serving the cookie in 1986, basically introducing the treat to the world.
But this variety of cookie isn’t new. The crispy cinnamon flavored Belgian cookie has actually been around since 17th century, and has always been a popular treat to give children on St. Nicholas Day.
From someone who flies quite a bit, I think it’s safe to say travel is not as much fun as it used to be. More people are traveling than ever before and delays often happen.
Sometimes I get on a flight and I’m tired and aggravated, but then that pretty red and white wrapper hits my seat tray. Once my coffee is also delivered, all is right with the world. At least for a few minutes.
I love the flavor of the Biscoff cookie and it’s perfect with a cup of coffee. There was a time when we only had them on flights, but now they seem to magically appear in our pantry. This happens when you’re married to a cookie monster.
Why We Love this Biscoff Cheesecake
First of all, who doesn’t love delicious cheesecake? That bite of creamy goodness usually poured into some kind of graham cracker or cookie crust is irresistible.
Now, imagine that bite in a crust of Biscoff flavors. The cinnamon, butter, and brown sugar, all caramelized together, take this no bake cheesecake to a whole new level. And trust me. You want to taste this.
The best thing about this cheesecake recipe is that it’s indescribably delicious, but that it’s super easy to make, with no water bath and no baking, is a close second!
What Goes in this Recipe
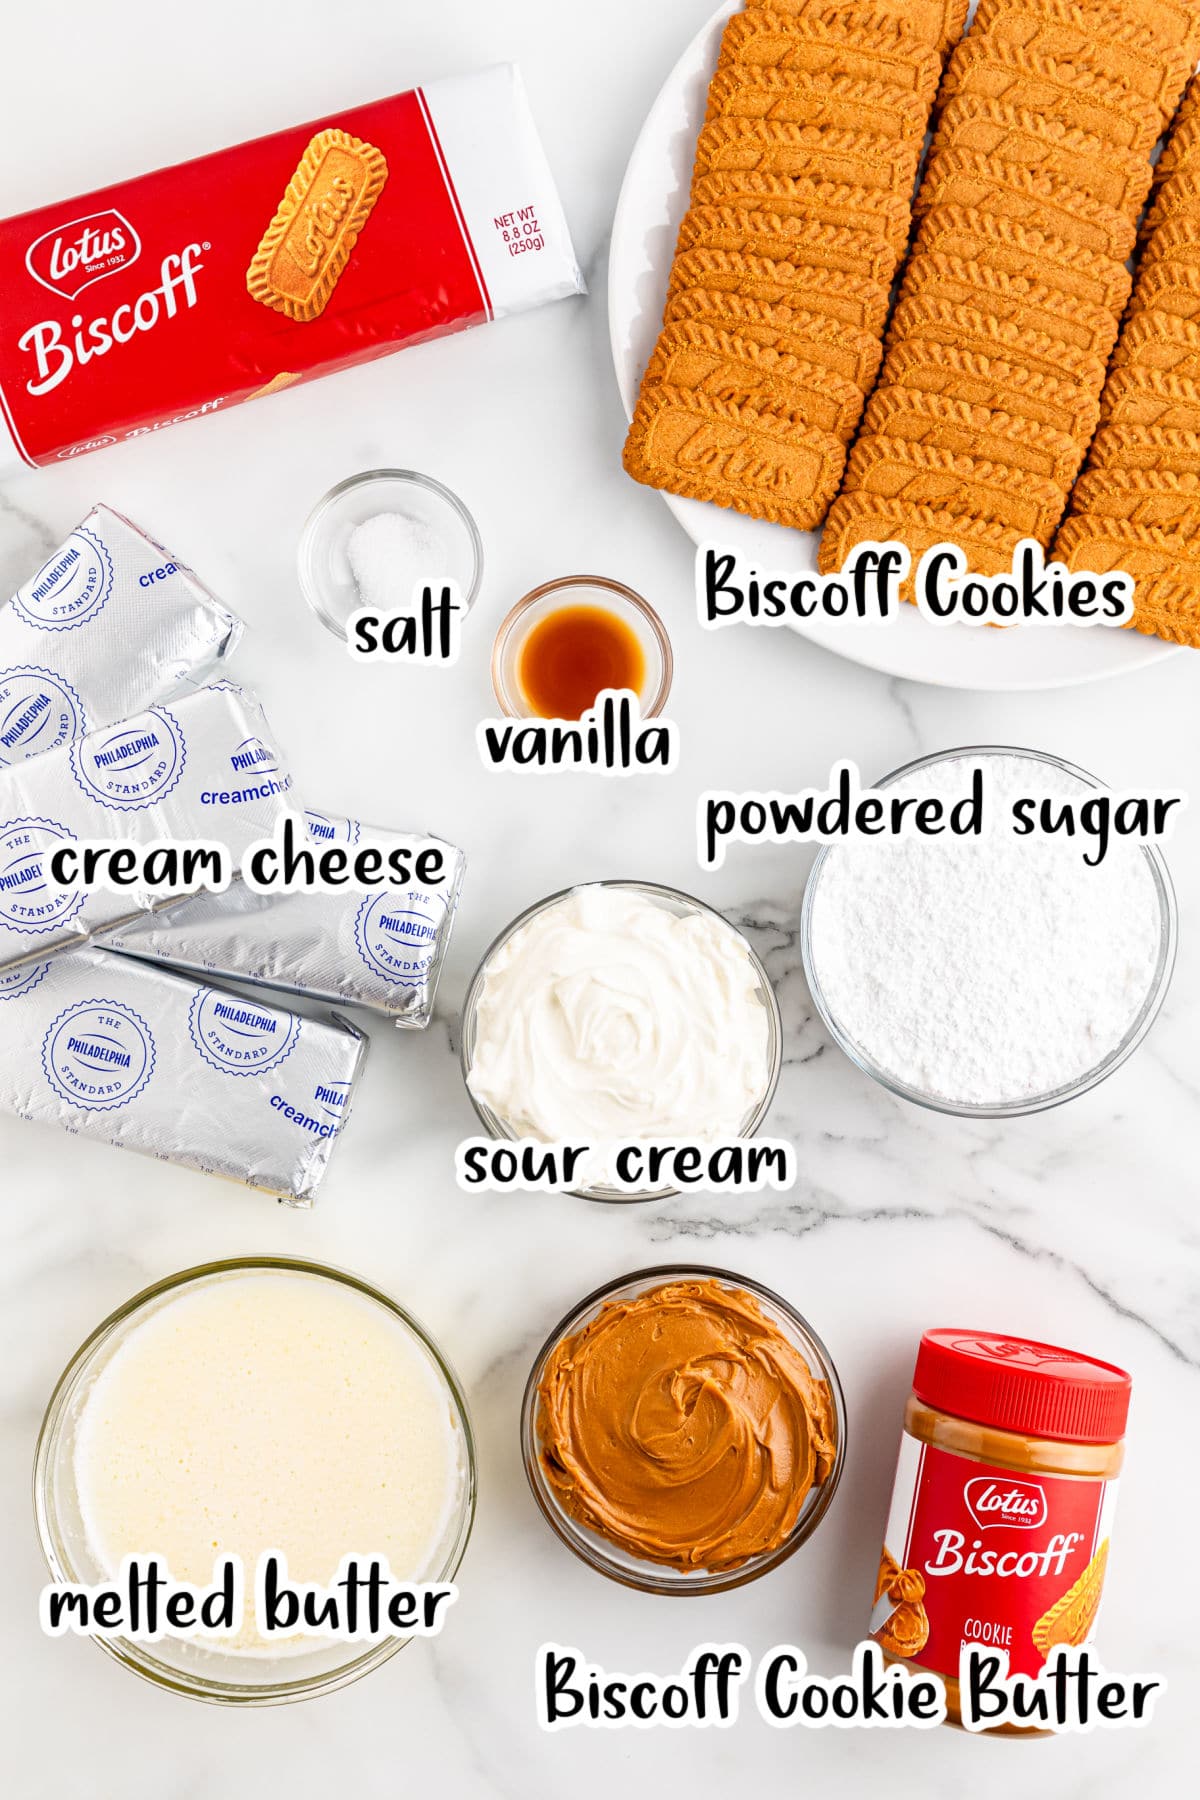
Main Ingredients
- Biscoff Cookies & Biscoff Cookie Butter
- Butter
- Full Fat Cream cheese
- Sour Cream
- Vanilla
Scroll down to the recipe card for the full list of ingredients and instructions to make this amazing Lotus Biscoff Cheesecake.
Variations and Substitutions
If you’re not a fan of sour cream, simply replace it with a whipped topping, either homemade, Cool Whip, or your favorite variety.
Adding crumbled cookies into the batter is a way to give you even more of that Biscoff flavor and adds a bit more texture.
There is a crunchy variety of Biscoff spread, too, but we liked the smooth look of the topping. Feel free to use it inside or outside the cheesecake if you prefer.
Love fruit with your cheesecake? We’re not judging! This dessert would be good topped with raspberries or strawberries.
How to Make Biscoff Cheesecake
Melt butter and set it aside to cool.
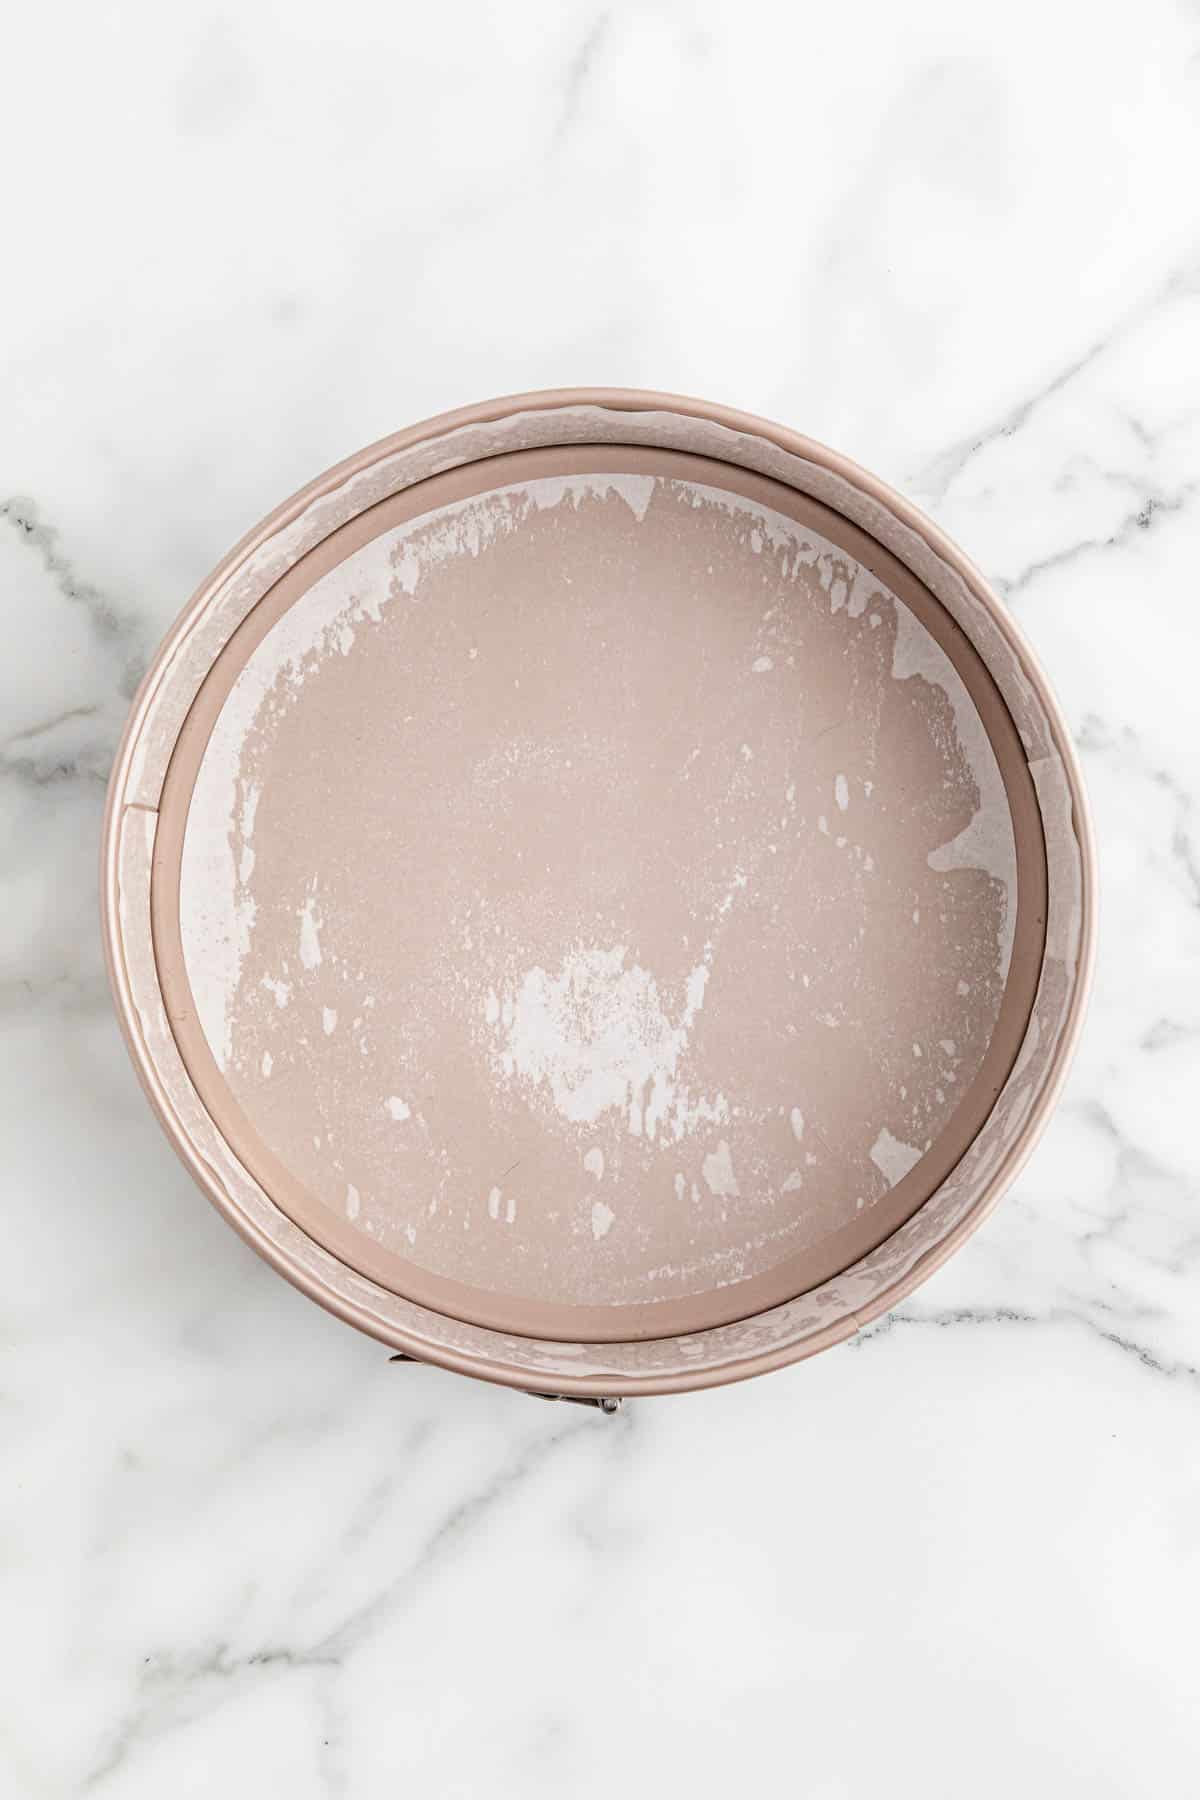
Spray a 9-inch springform pan lightly with Pam or your favorite cooking spray. Line the bottom of the pan with a round of parchment paper. Use parchment cake pan side liners to line the sides of the pan.
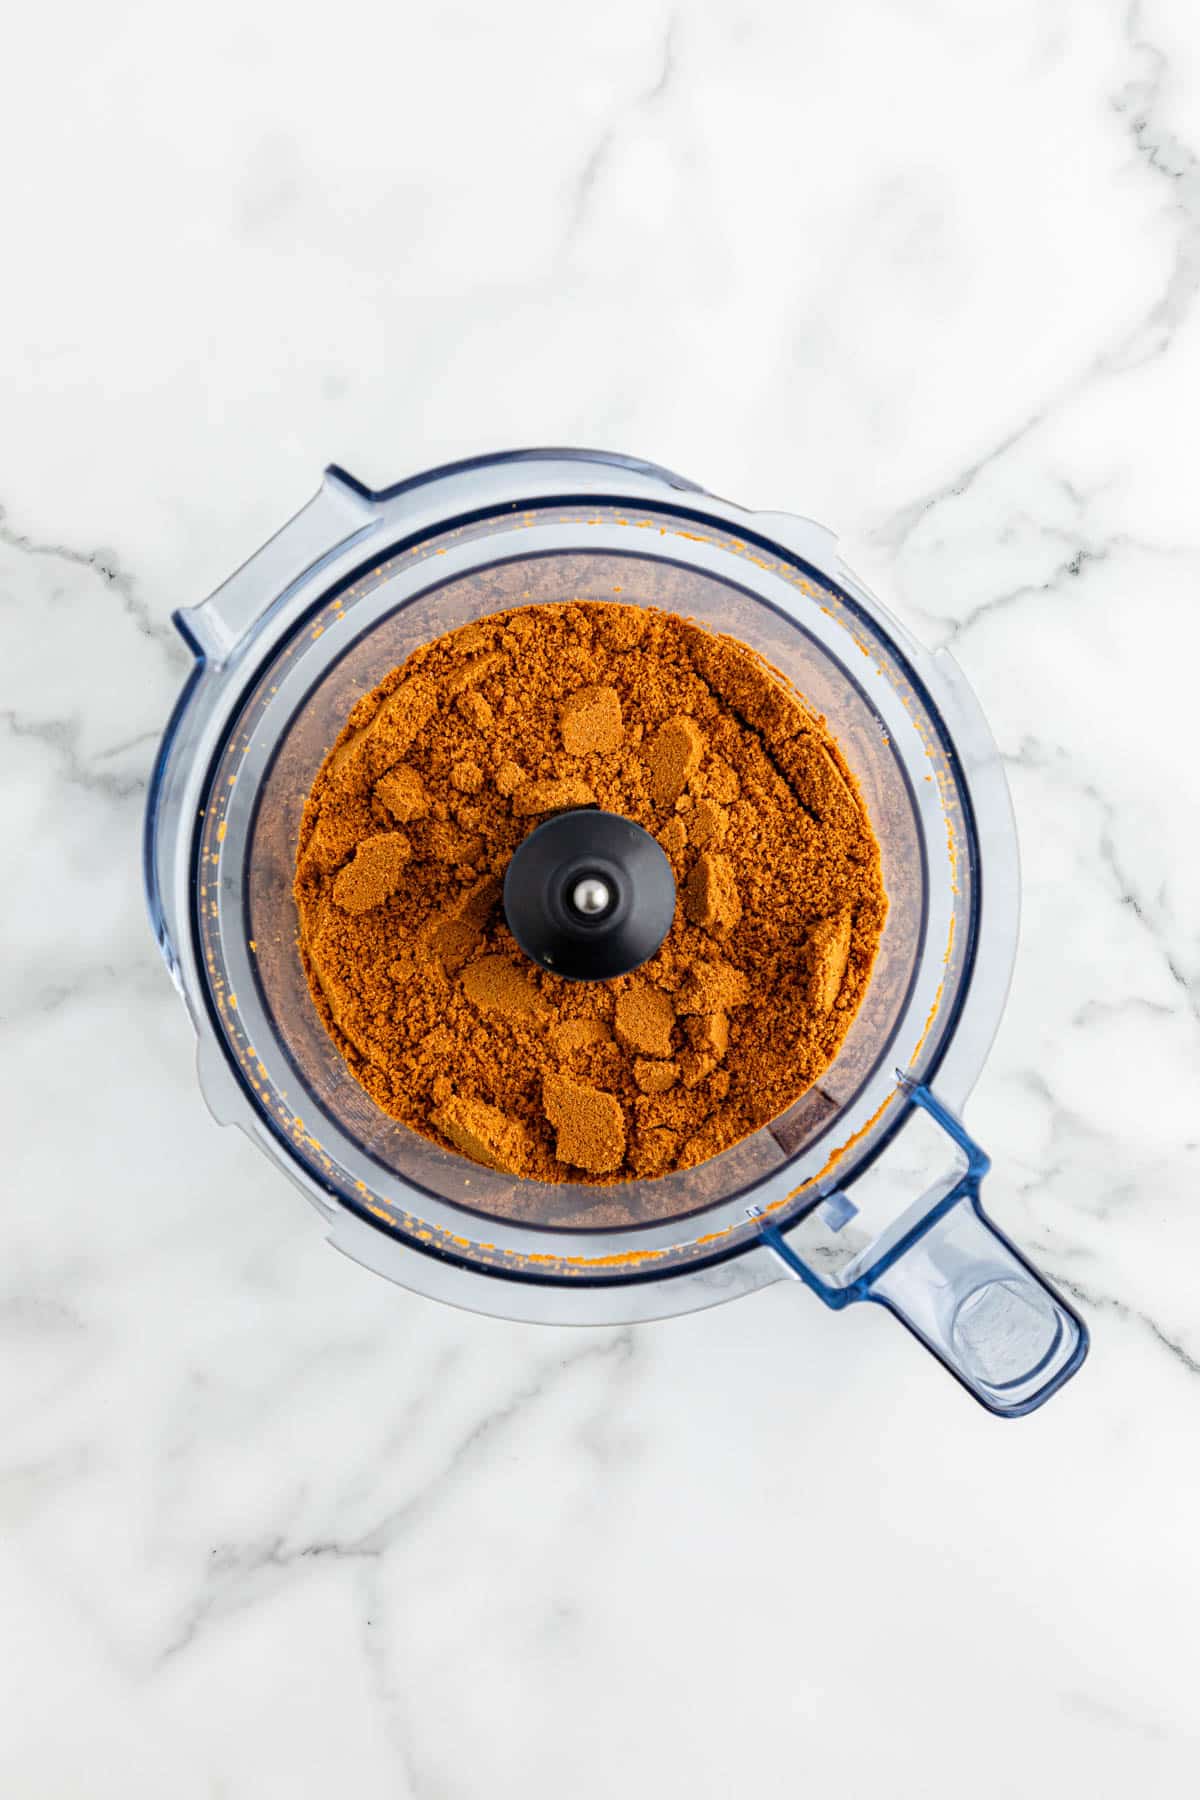
Add Biscoff Cookies into a food processor and run on pulse until you have a fine crumb.
Place the cookie crumbs into a medium mixing bowl, combining with the melted butter and salt.
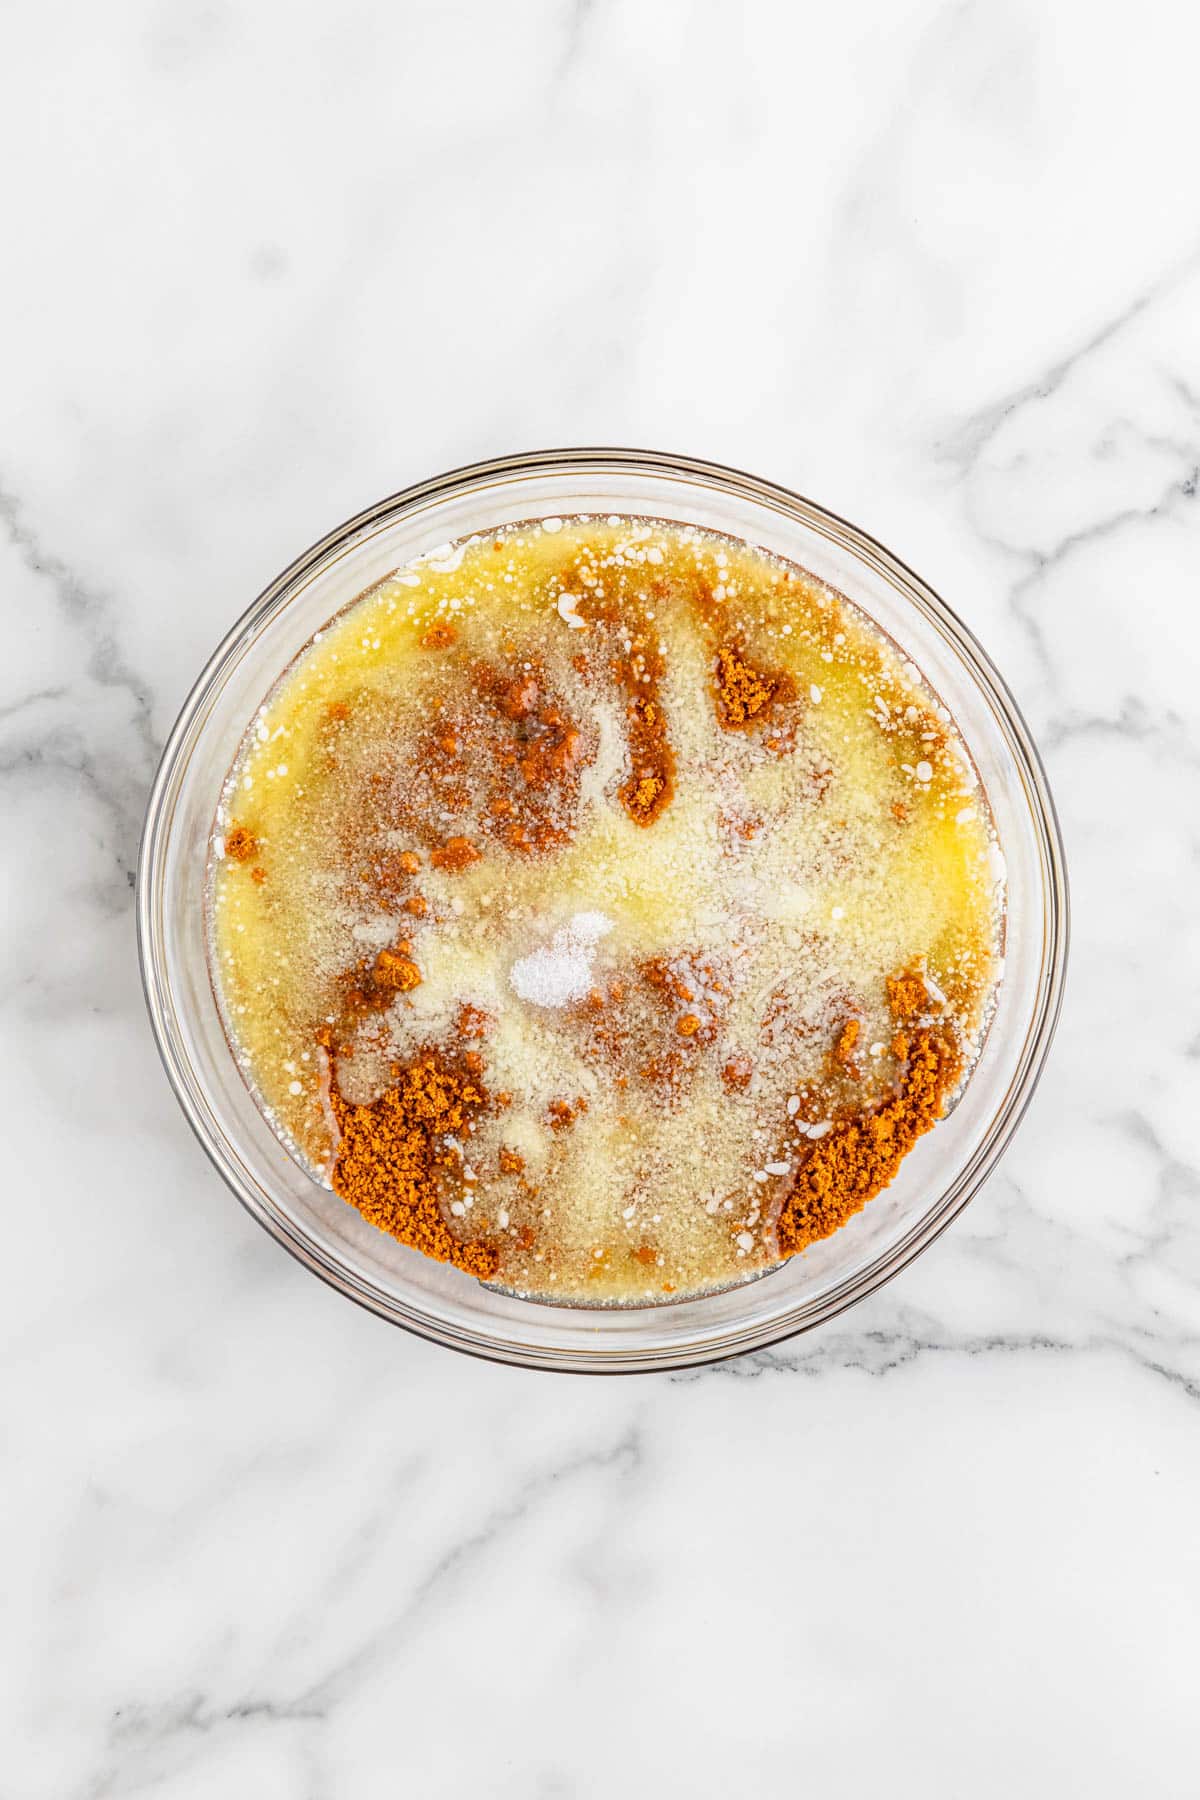
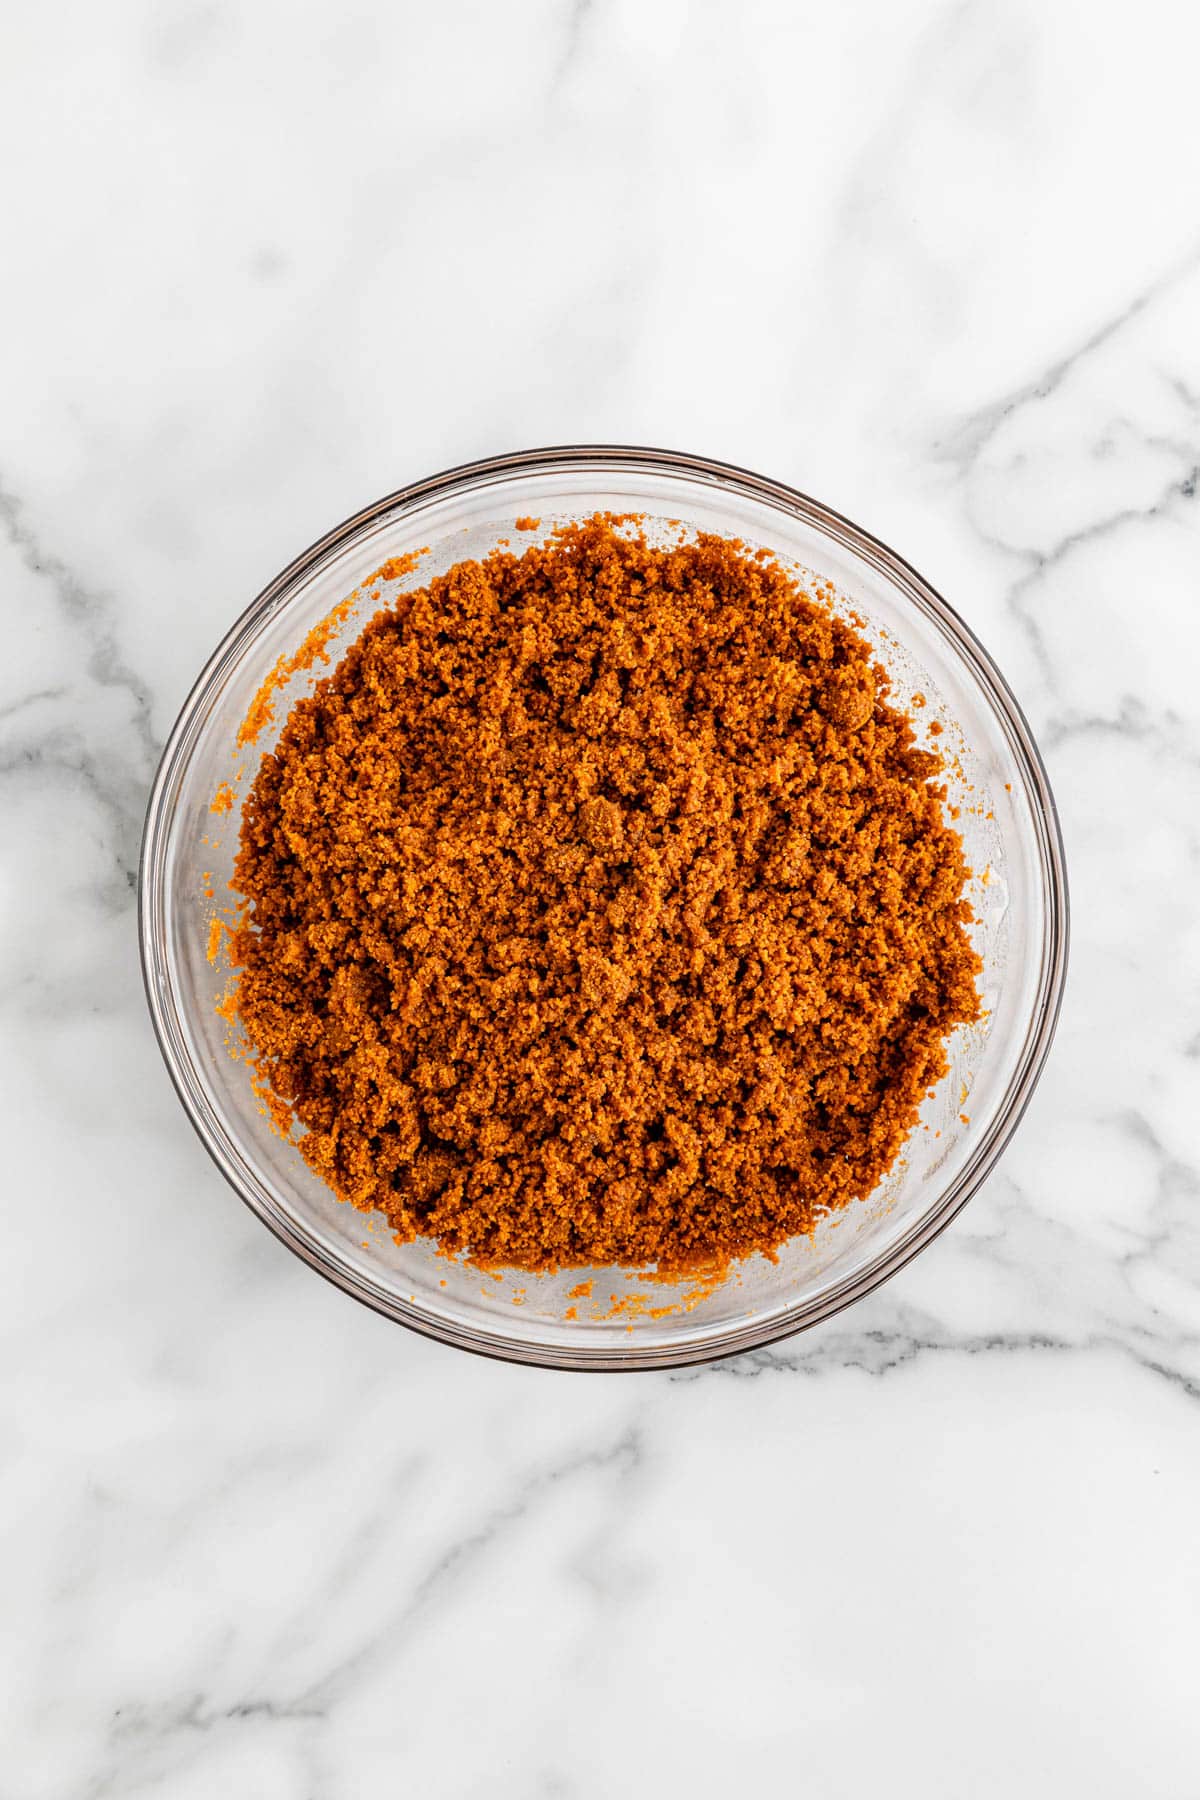
Stir until the ingredients are combined.
Add the crumb mixture into the bottom of the prepared springform pan, pressing firmly until the crust comes together. A glass or other item with a bottom might help to press the crust down.
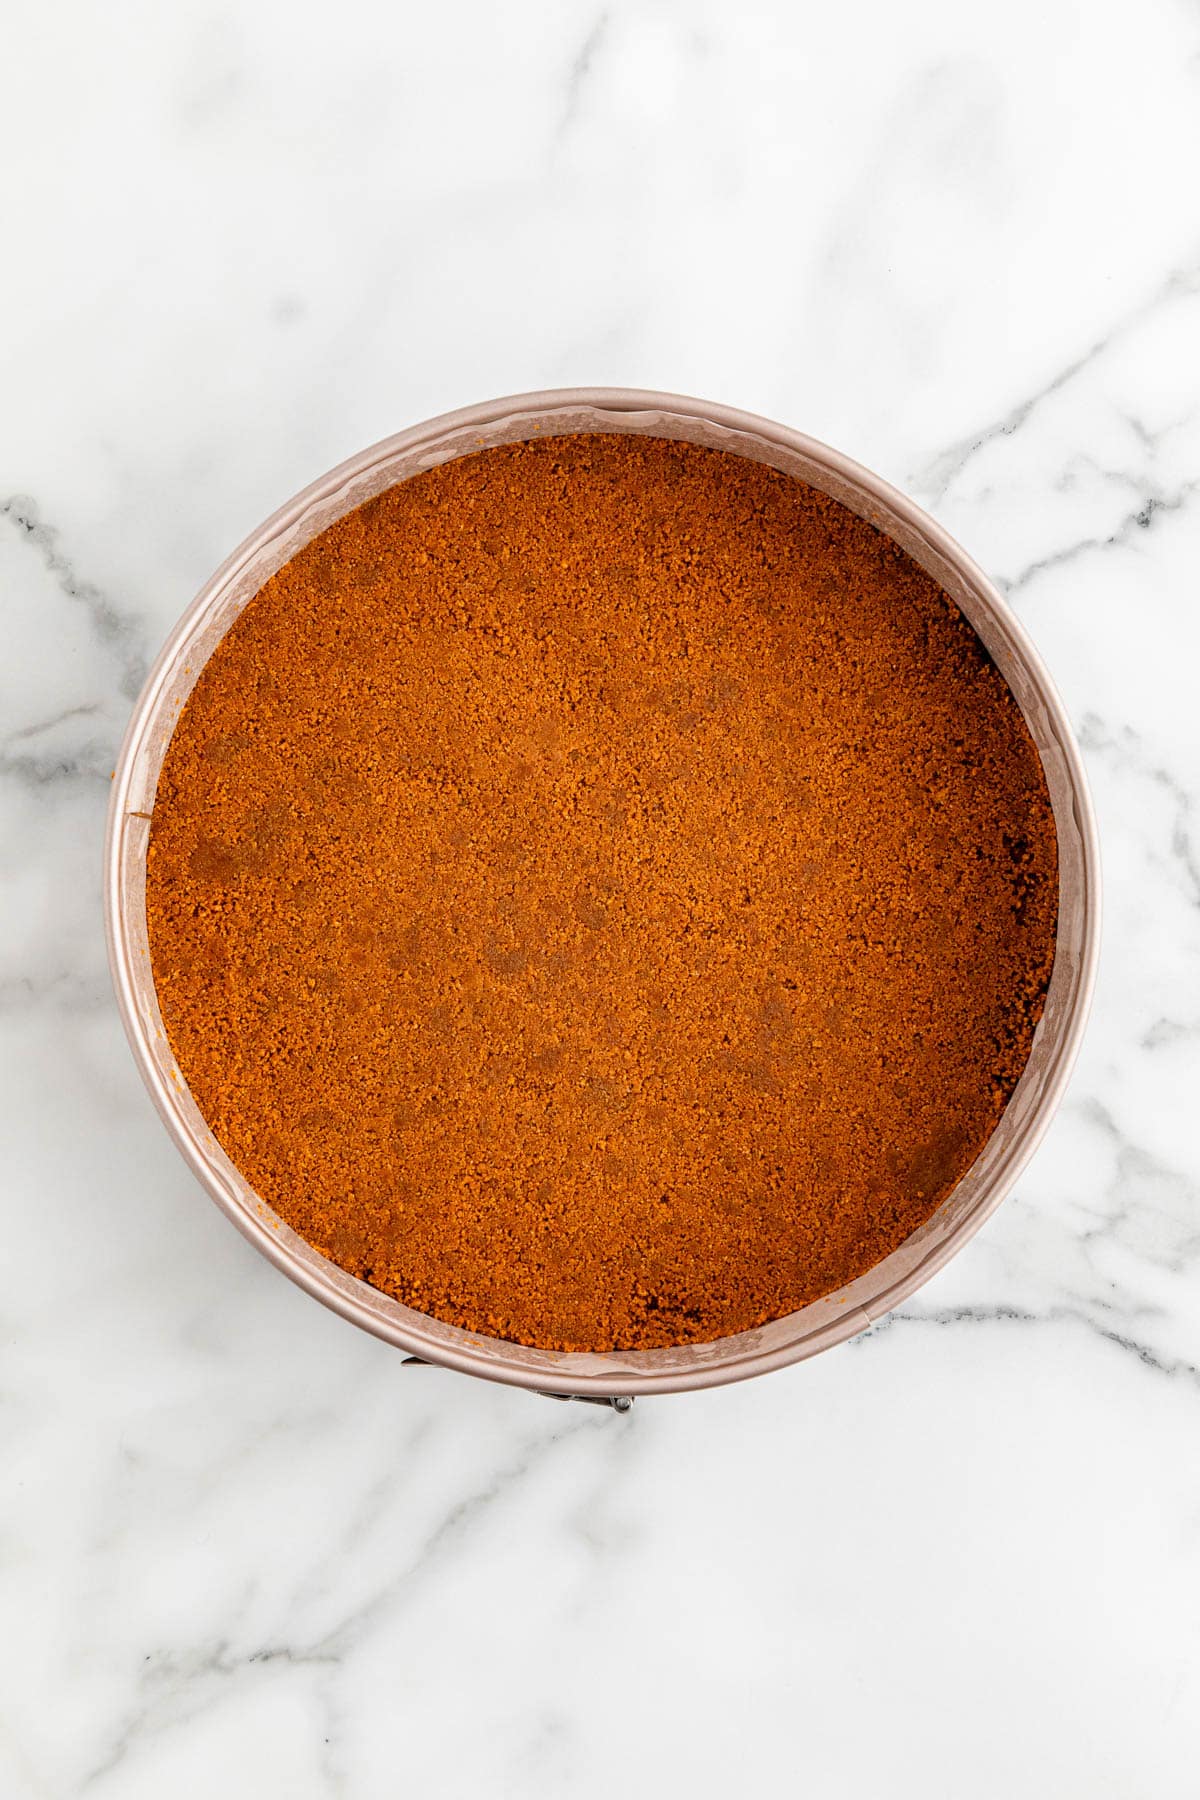
Once you’re happy with the crust, place the pan into the freezer for about ten minutes to set.
Add the cream cheese to a large mixing bowl. Using a hand mixer or stand mixer set to medium high speed, beat the cream cheese until it’s creamy and smooth.
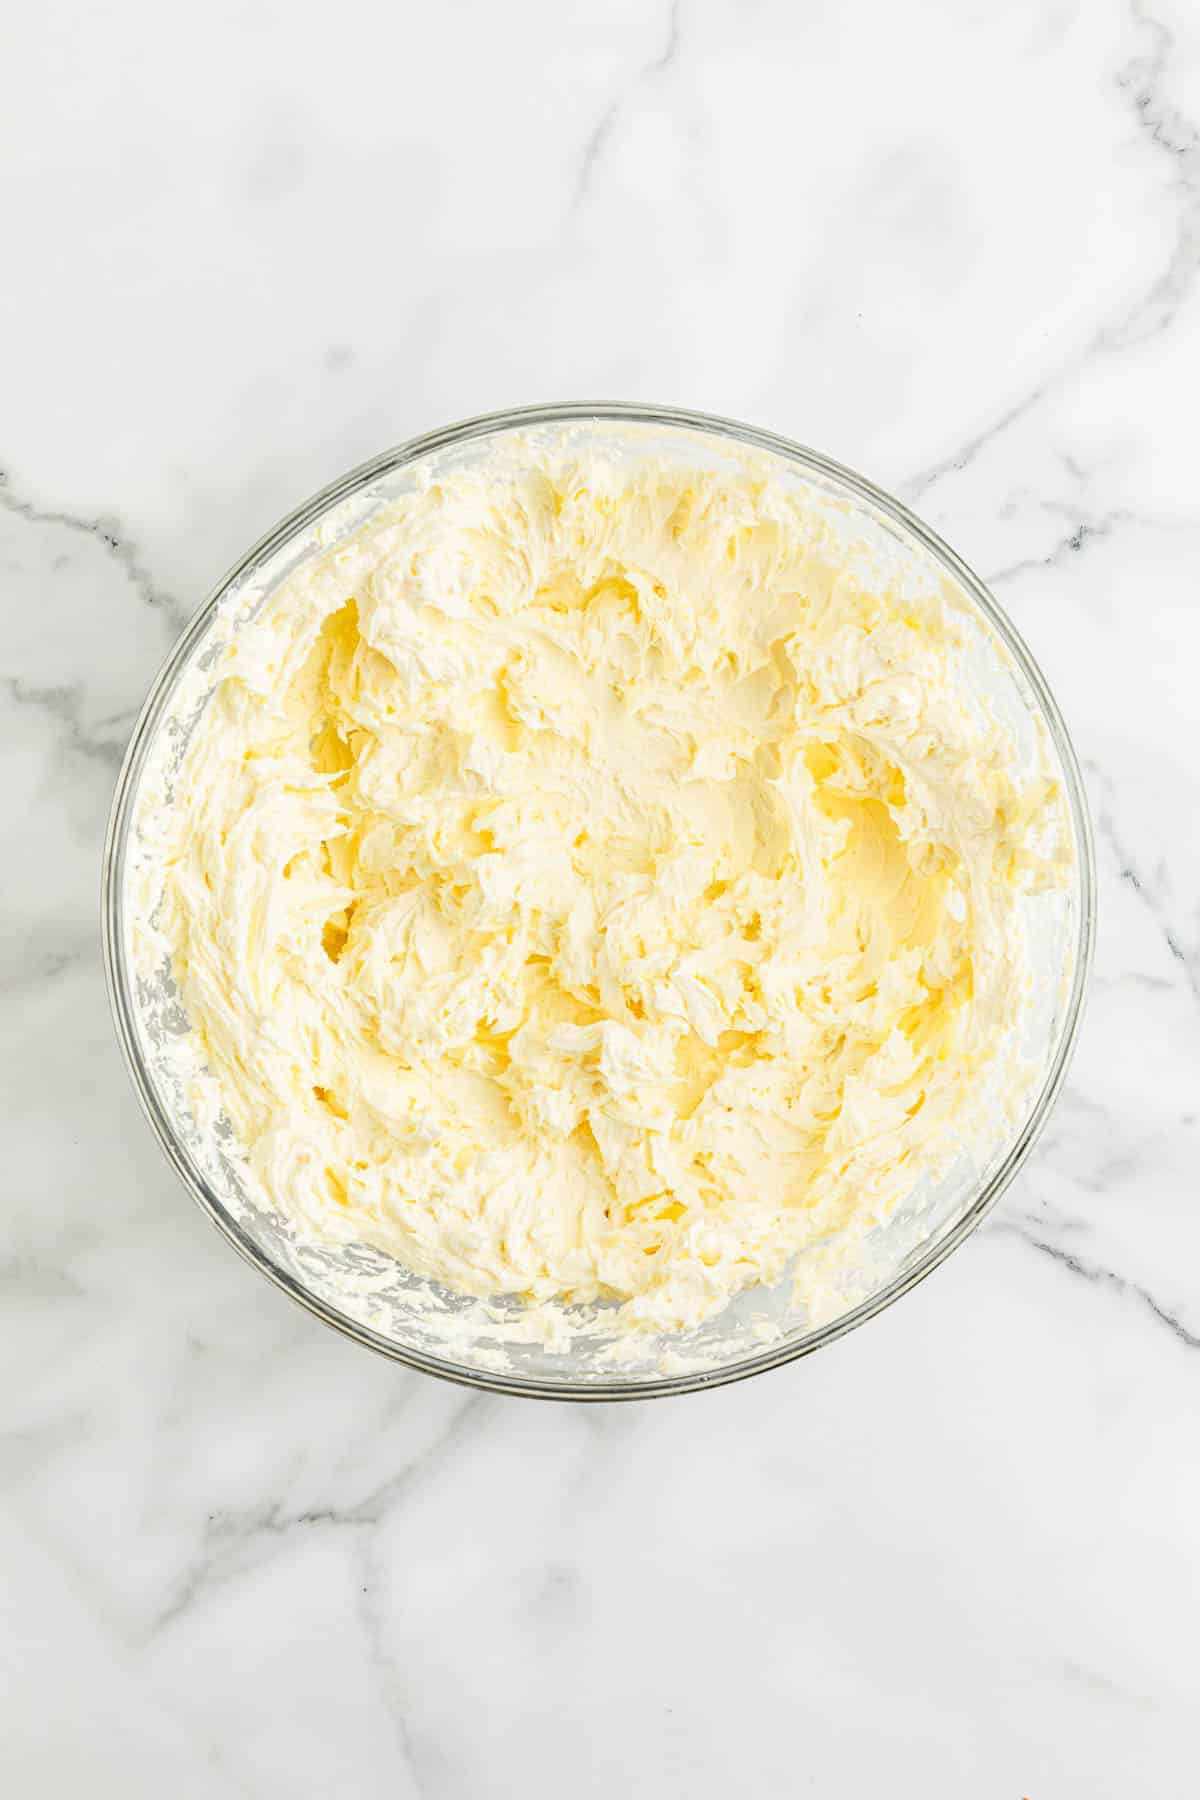
Combine Lotus Biscoff spread, powdered sugar, sour cream, and pure vanilla extract with the cream cheese.
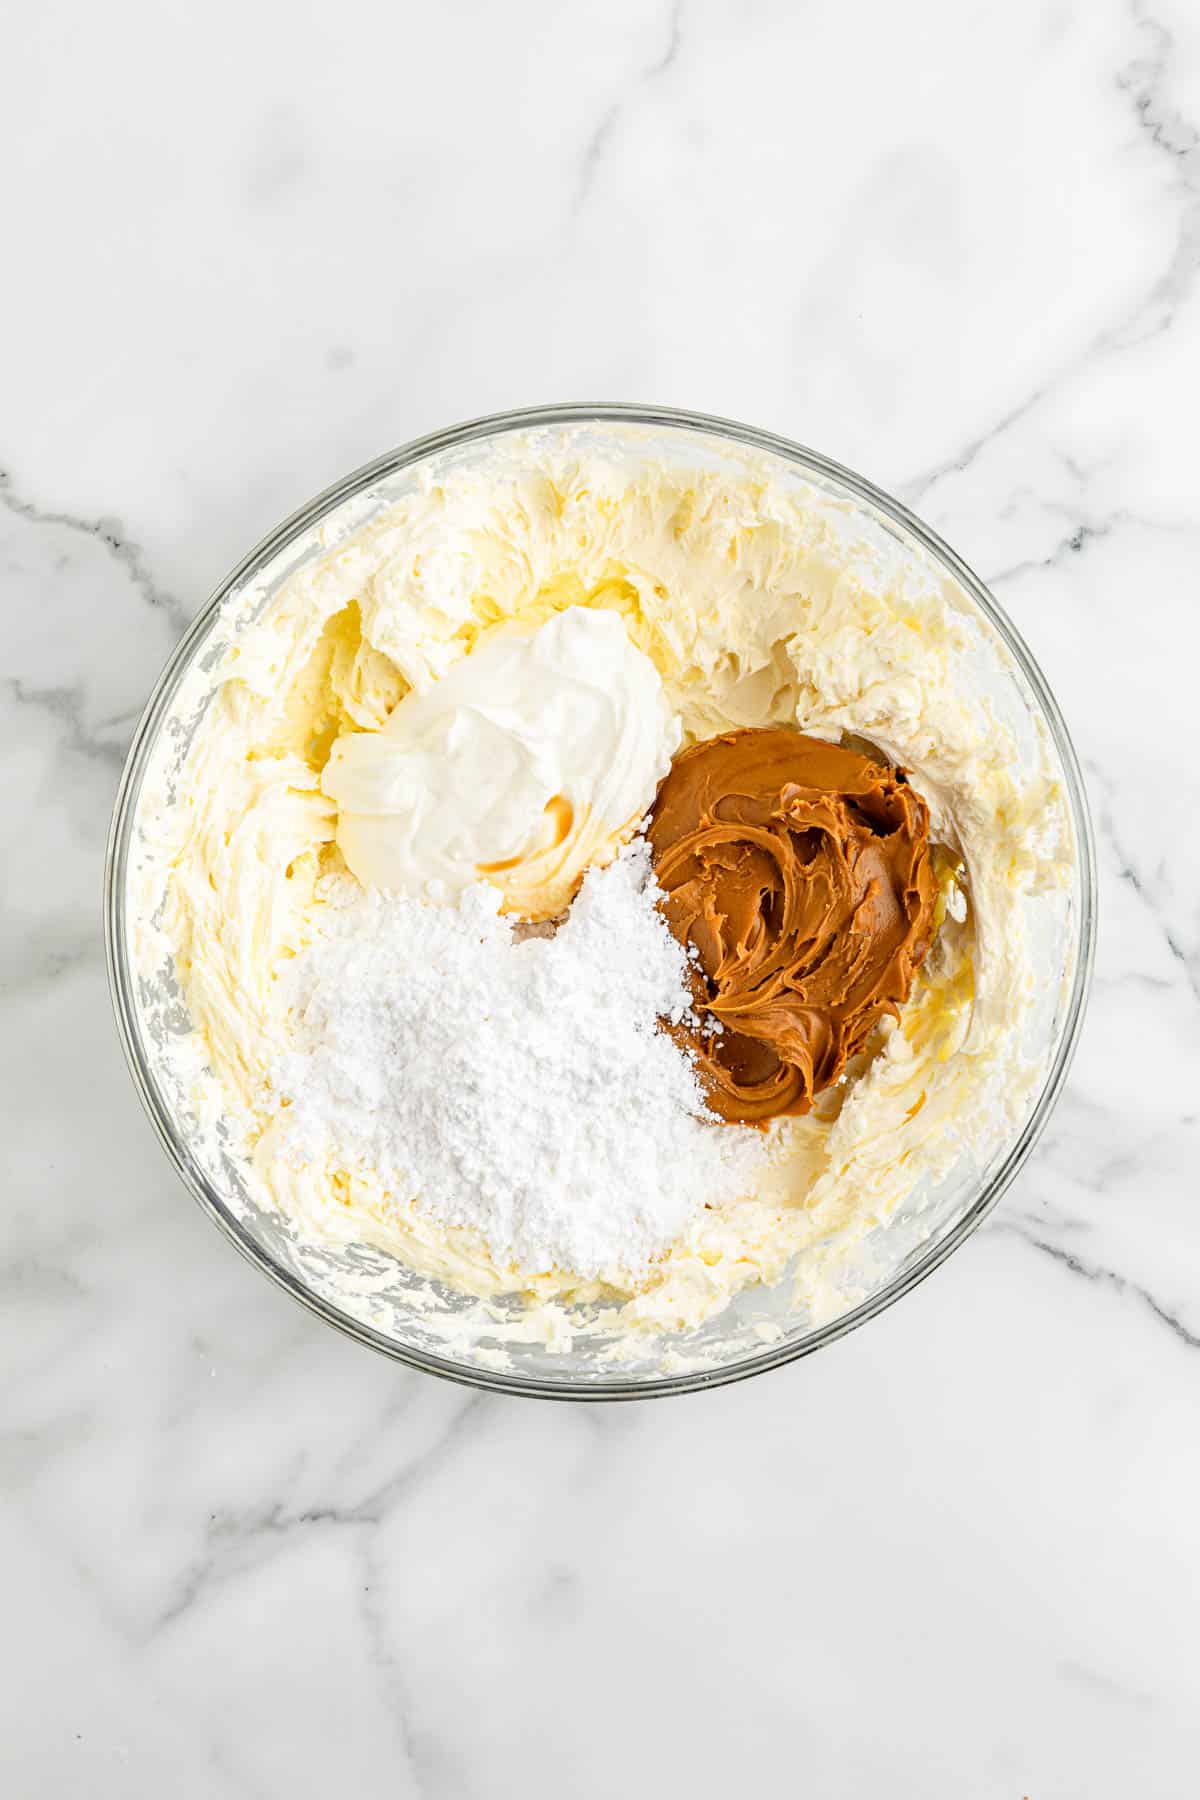
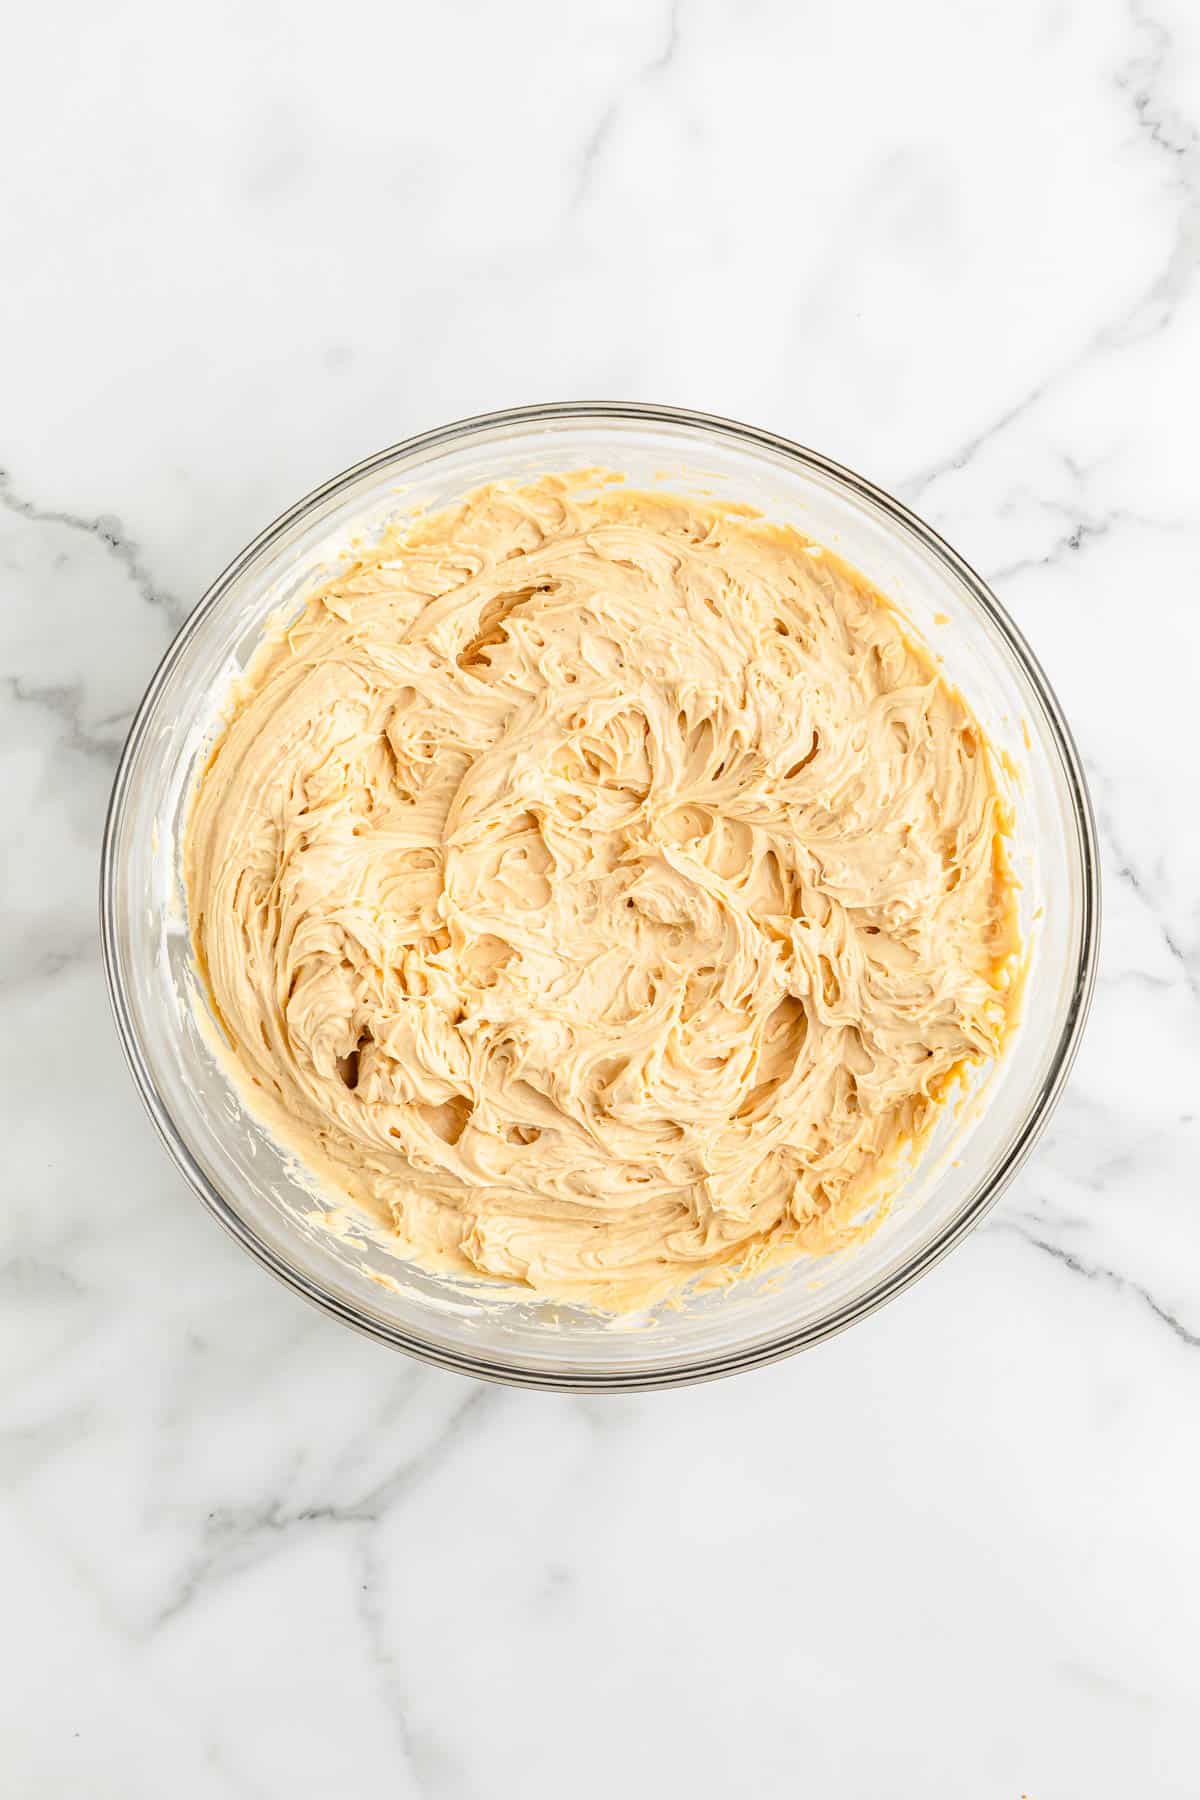
Mix until well incorporated. Be sure to scrape the sides of the bowl, not leaving any of that delicious cream cheese mixture behind.
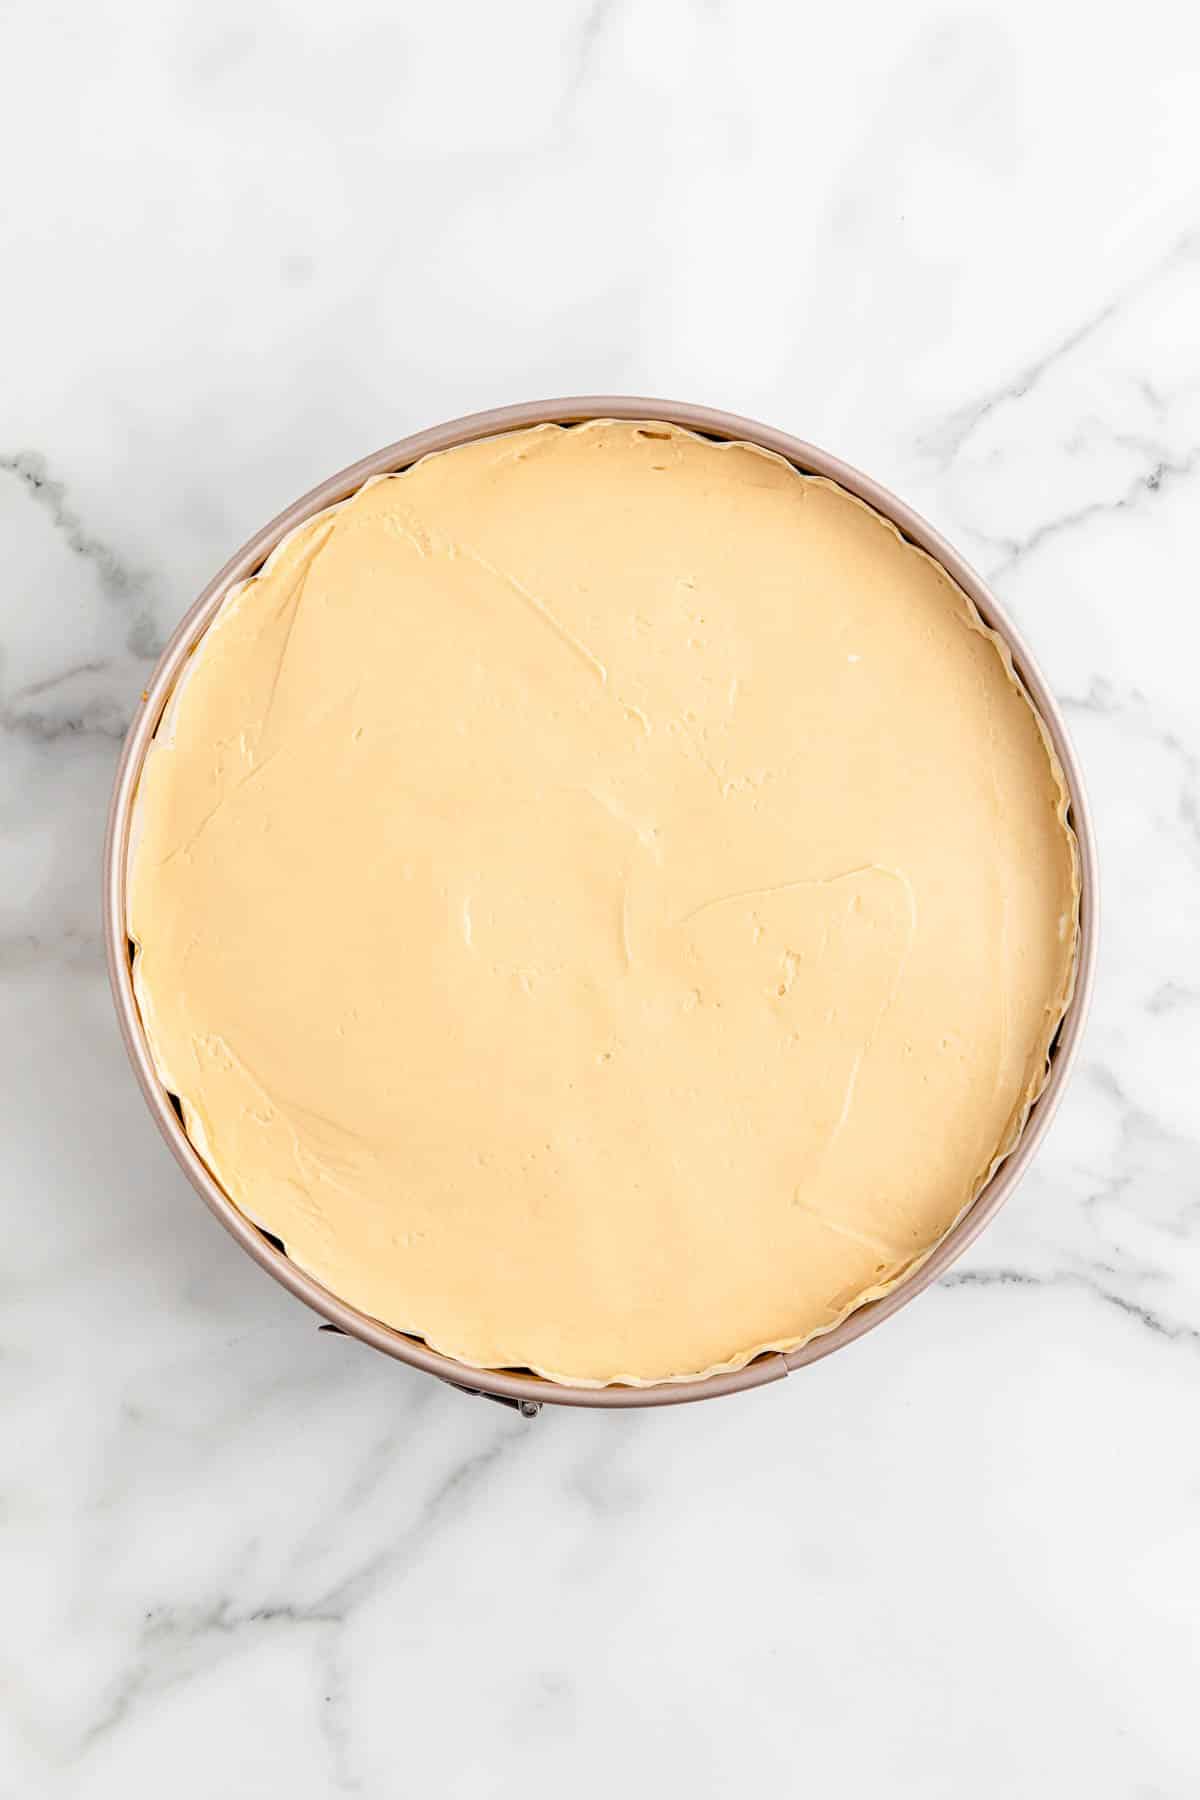
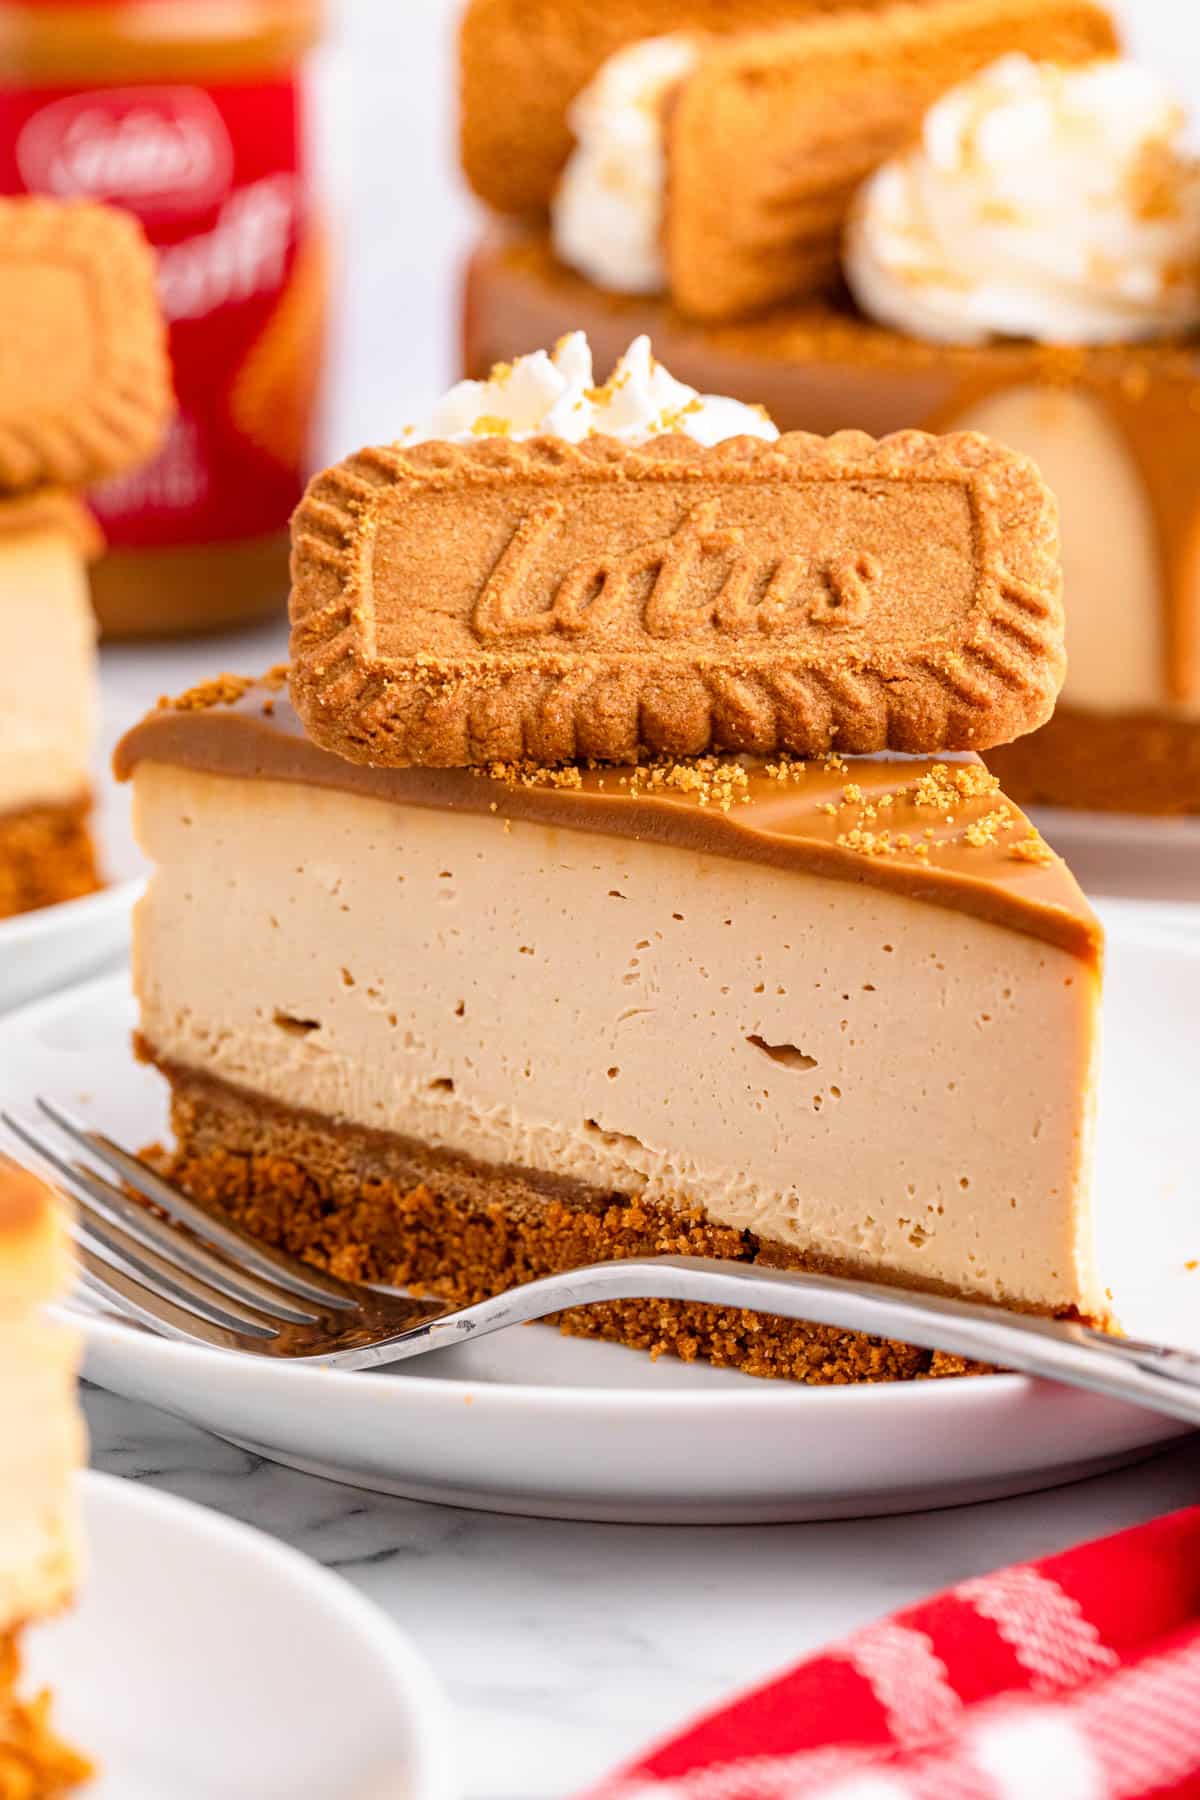
Take the crust out of the freezer. Slowly pour the cheesecake batter over the crust, spreading evenly with a spoon or spatula. Press the cheesecake mixture into the crust to make sure there are no air pockets.
Chill the cheesecake in the refrigerator for at least 4 hours, ideally overnight. This is the best way to make sure the creamy Biscoff cheesecake filling is set.
Checking to make sure the cheesecake is set, remove it from the fridge. Carefully remove the parchment paper sides of the springform pan.
Add 2/3 cup of Biscoff cookie butter spread into a small microwave-safe bowl. Using low or defrost, melt in 20-second increments, stirring often.
Once the spread is completely melted, let it cool for a few minutes before pouring over the cheesecake, spreading lightly with the back of a spoon.
Don’t rush this as the spread really should not be put on the cheesecake while it’s hot.
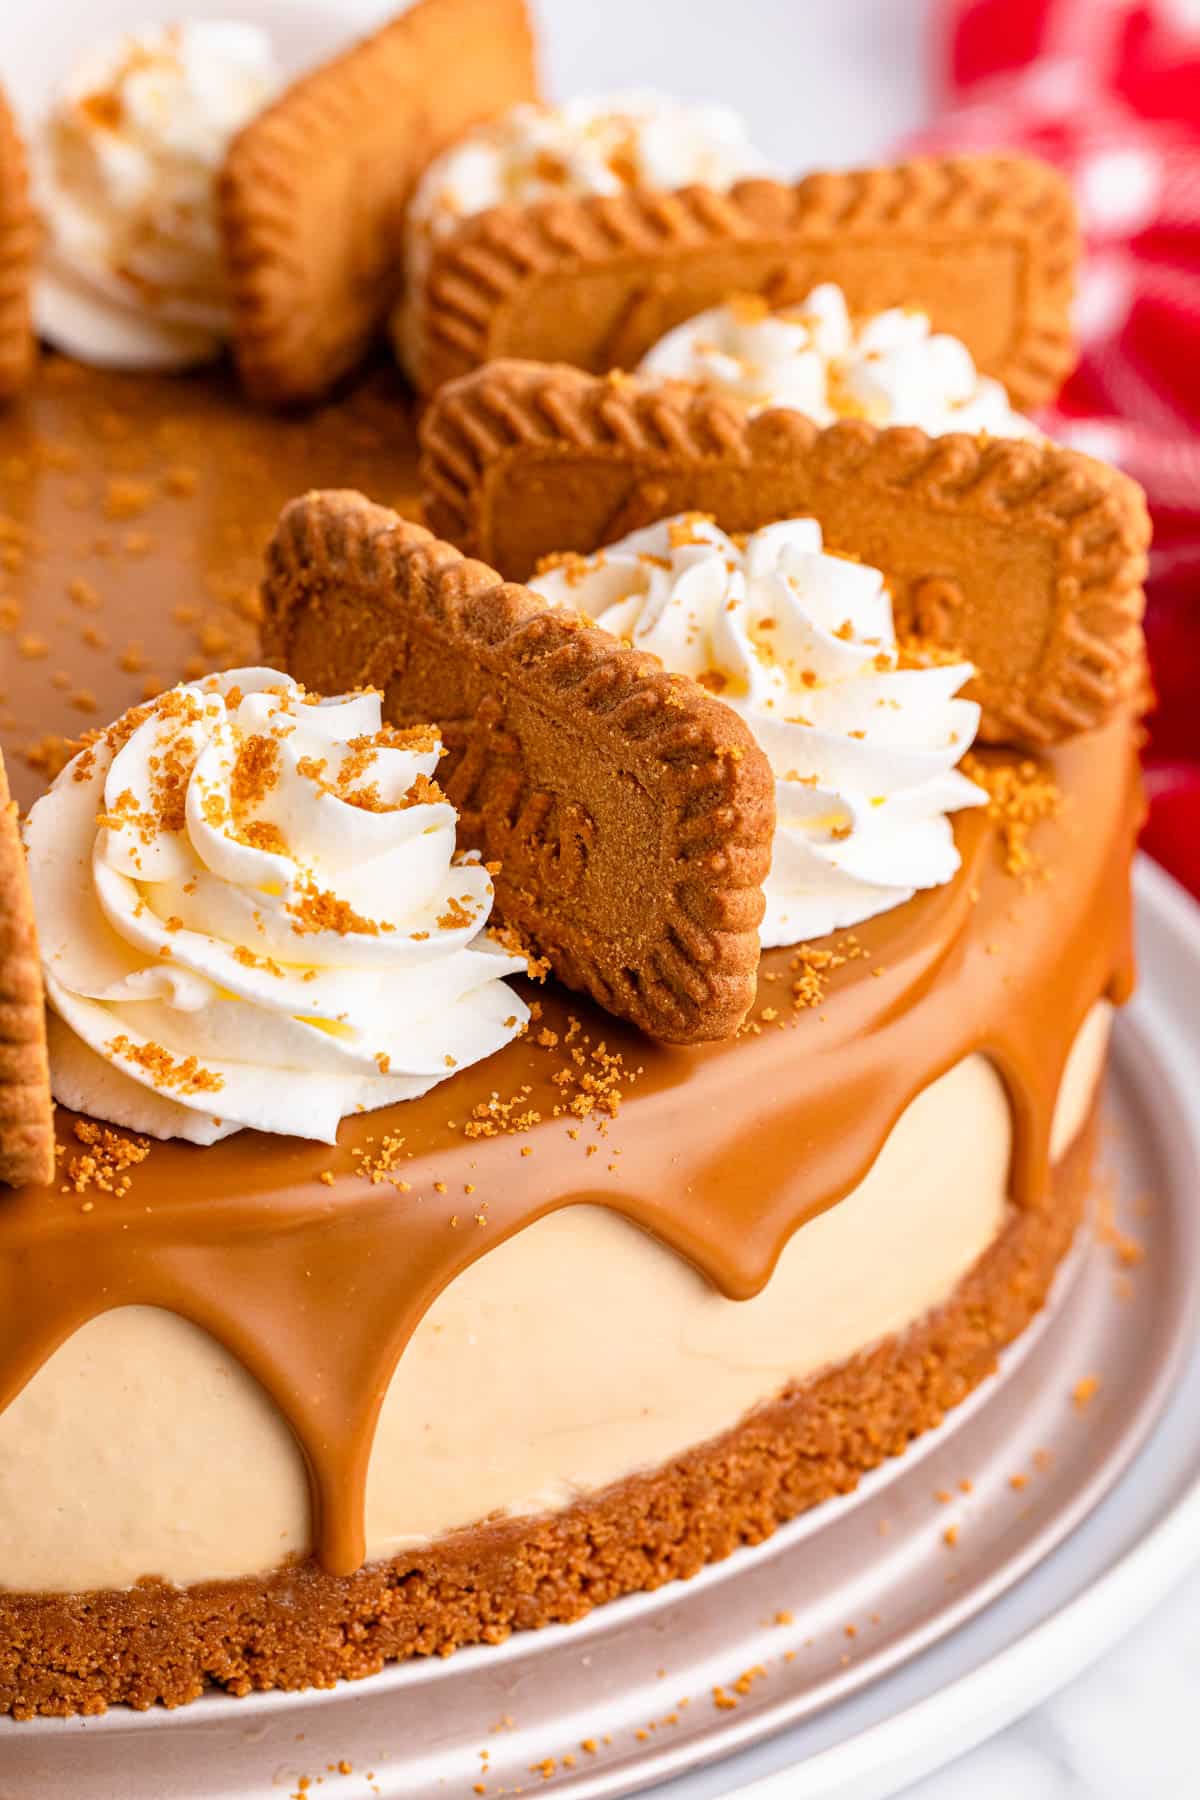
Push the spread close to the edge, allowing it to trickle down the sides of the cheesecake. Look at the photo for inspiration.
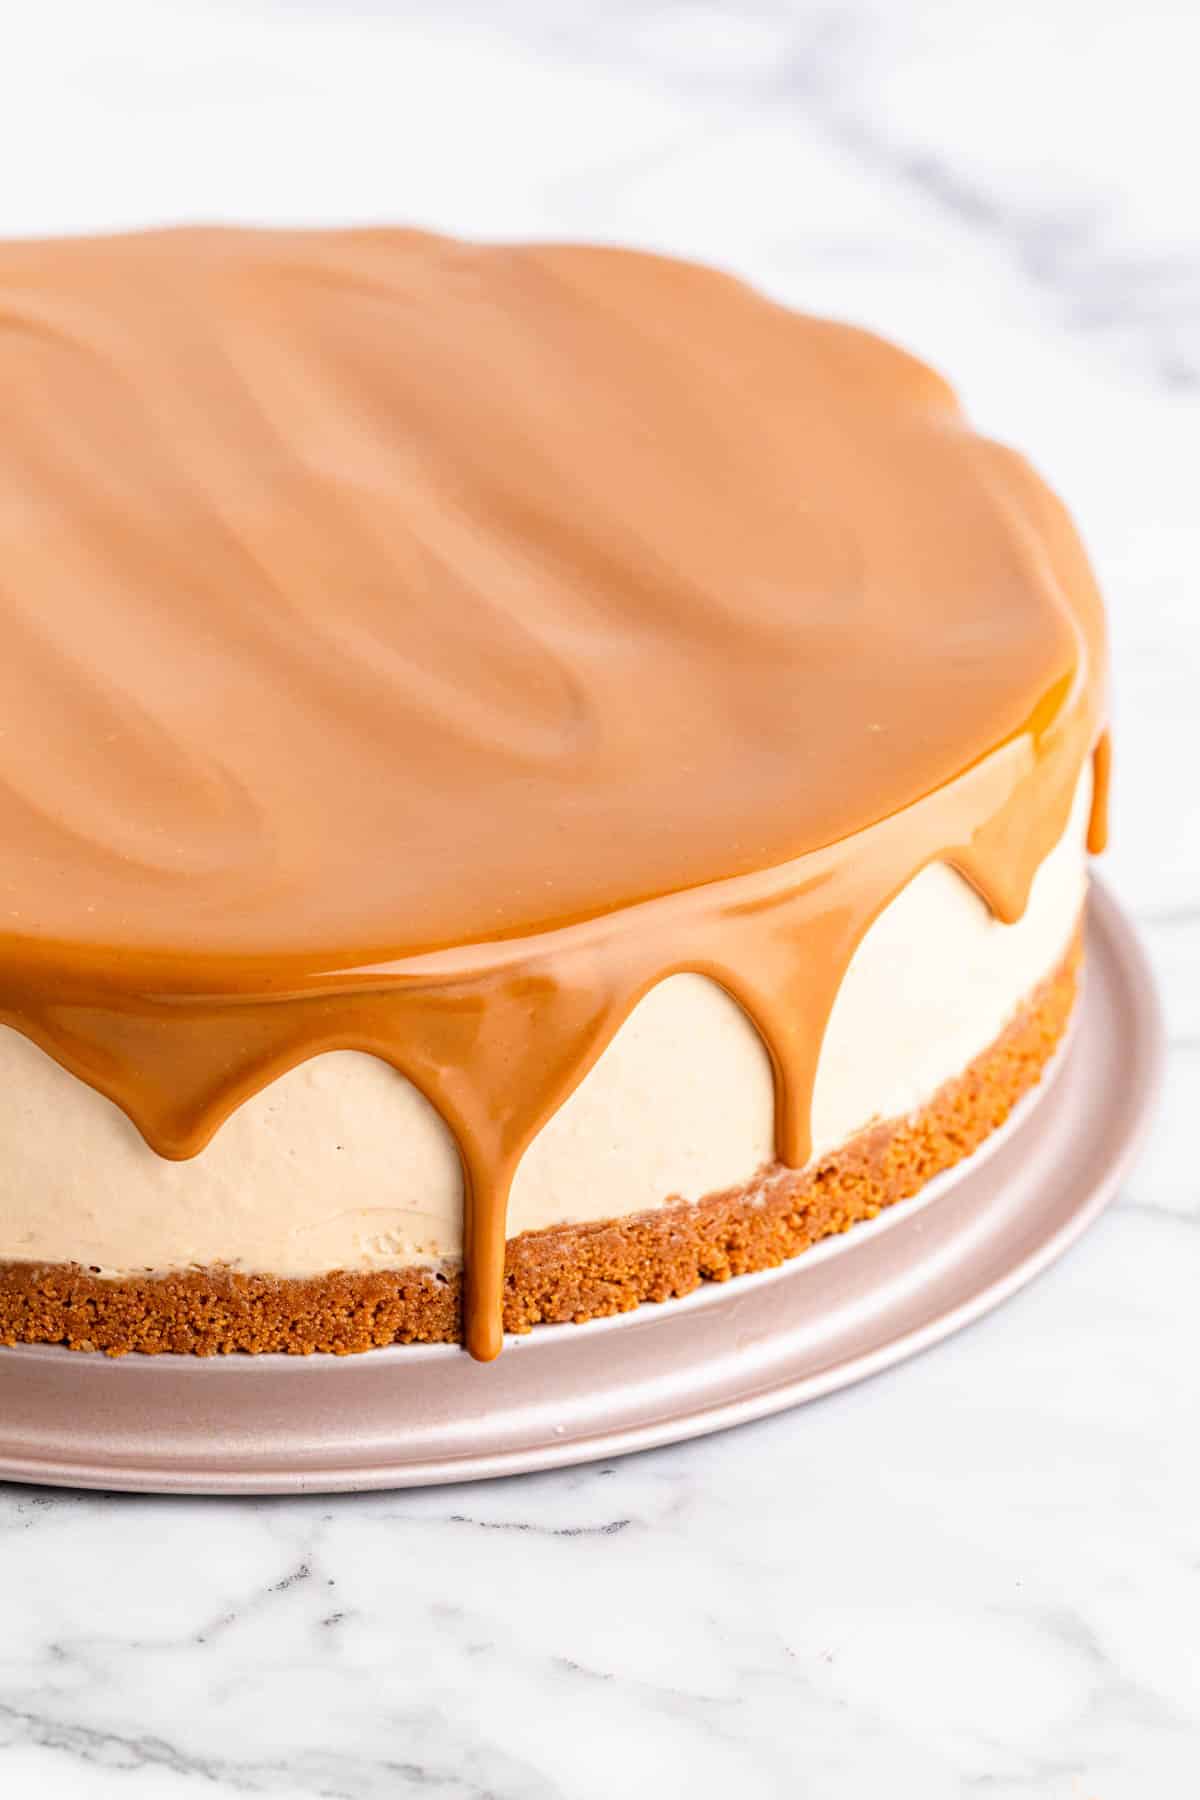
Refrigerate the cheesecake again, for about 30 minutes, to set the topping.
Decorate the top of the cheesecake with stabilized whipped cream made with heavy cream. Make sure you know the difference between whipped cream vs whipping cream. Our recipe is included and it’s easy!
Add pretty whole Biscoff cookies set between the dollops of whipped cream.
Crumble a couple of cookies to sprinkle on top.
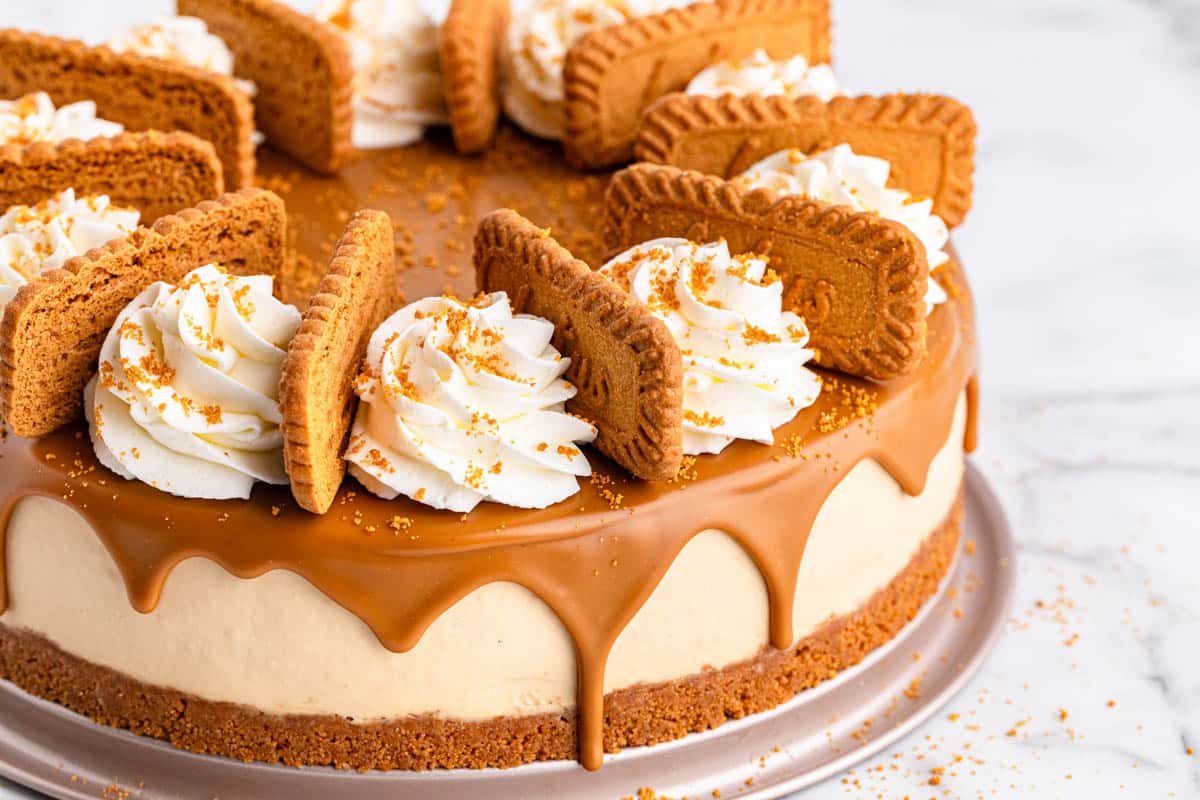
Serve chilled. Consider marking off your slices so you have the 16 servings.
Frequently Asked Questions
Cheesecake generally keeps for 3-4 days in the refrigerator. It’s probably fine to eat after that, but the texture will not be as good.
You can freeze this cheesecake, but it will change the texture. This freezes for about 3 months in an airtight container. If you’re planning to freeze the whole cheesecake, adding the topping and decorations when you’re ready to serve it might be a better option as the cookies will lose their crunch in the freezer.
No. Biscoff Cookies do not contain nuts. Perhaps this is one of the reasons they are so popular with airlines.
Top Tips
You can also use a high speed blender to crumb the cookies if you don’t have a food processor.
As much as you’ll want to show off this creamy cheesecake, it really shouldn’t sit out at room temperature for too long. Two hours is the maximum, but it’s best to stick it back in the fridge just after everyone has grabbed a serving.
Cheesecake is all about the texture, and though you can freeze it, the longer it’s kept in the freezer, the more the texture will change. Wrap it in plastic wrap before storing it in an airtight container for best results.
More Cheesecake Recipes
No Bake Biscoff Cheesecake Recipe
Equipment
- Springform pan
- Food processor or blender
Ingredients
Crust
- 1 ½ packages Biscoff cookies 250 grams
- 10 tablespoons unsalted butter
- ¼ teaspoon ¼ teaspoon salt Not required, but will balance sweetness.
Filling
- 32 oz full fat cream cheese 4 blocks, softened to room temperature
- 1 C Biscoff cookie butter we used creamy
- 1 C confectioners’ sugar
- 10 oz sour cream
- ½ tablespoon pure vanilla extract
Toppings
- ⅔ C Biscoff cookie butter spread we used the creamy version
- Homemade whipped cream
- Biscoff Cookies for topping
Instructions
- Melt butter and set it aside to cool.
- Spray a 9-inch springform pan lightly with Pam or your favorite cooking spray.
- Line the bottom of the pan with a round of parchment paper. Use parchment cake pan side liners to line the sides of the pan.
- Add Biscoff Cookies into a food processor and run on pulse until you have a fine crumb.
- Place the cookie crumbs into a medium mixing bowl, combining with the melted butter and salt until the ingredients are combined.
- Add the crumb mixture into the bottom of the prepared springform pan, pressing firmly until the crust comes together. A glass or other item with a bottom can help to press the crust down.
- Once you’re happy with the crust, place the pan into the freezer for about ten minutes to set.
- Add the cream cheese to a large mixing bowl. Using a hand mixer or stand mixer set to medium high speed, beat the cream cheese until it’s creamy and smooth.
- Slowly add the Lotus Biscoff spread, powdered sugar, sour cream, and vanilla extract to the cream cheese until it’s well combined.
- Be sure to scrape the sides of the bowl, not leaving any of that delicious cream cheese mixture behind.
- Take the crust out of the freezer. Slowly pour the cheesecake batter over the crust, spreading evenly with a spoon or spatula. Press the cheesecake mixture into the crust to make sure there are no air pockets.
- Chill the cheesecake in the refrigerator for at least 4 hours, ideally overnight. This is the best way to make sure the creamy Biscoff cheesecake filling is set.
- Checking to make sure the cheesecake is set, remove from the fridge.
- Carefully remove the parchment paper sides of the springform pan.
- Add 2/3 cup of Biscoff cookie butter spread into a small microwave-safe bowl. Using low or defrost, melt in 20 second increments, stirring often.
- Once the spread is completely melted, let it cool for a few minutes before pouring over the cheesecake, spreading lightly with the back of a spoon.
- Push the spread close to the edge, allowing it run down the sides of the cheesecake. Look at the photo for inspiration.
- Refrigerate the cheesecake again, for about 30 minutes, to set the topping.
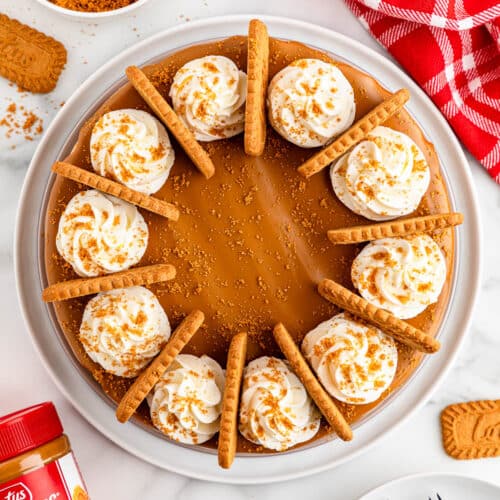
- Decorate the top of the cheesecake with stabilized whipped cream made with heavy cream and whole Biscoff cookies. This Biscoff Cheesecake serves 16 slices.
Notes
Nutrition





This does sound like it would be amazing. However, I am wondering if this can be baked? I prefer baked cheesecake, this is why I am wondering. 🙂 I would LOVE to try this recipe!
This is a no bake recipe. You could try it, but I think you’d be better off to look for a baked cheesecake recipe. Thank you!