Rosemary Garlic Bread Recipe
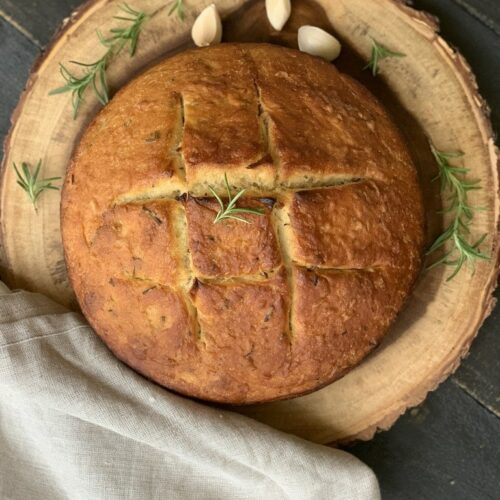
I’ve wanted to make this rosemary garlic bread recipe for ages. What’s not to love about bread? Fill it with rosemary and roasted garlic and I’m in heaven.
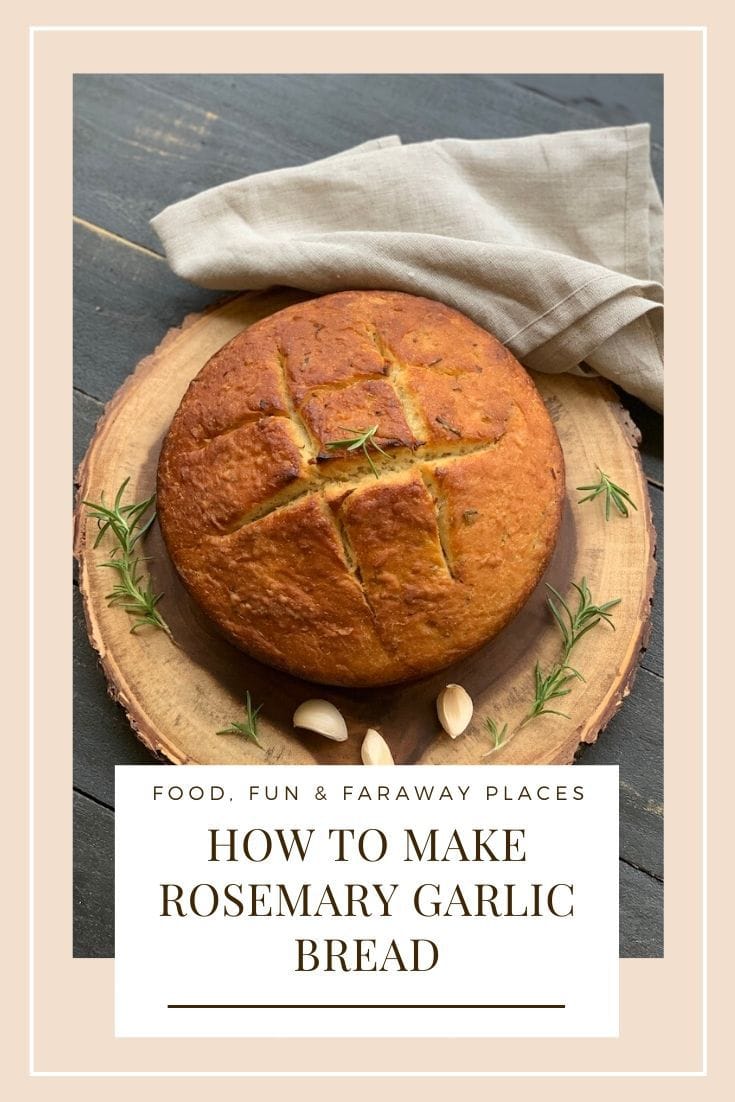
One food we always use a lot of is bread. Eggs on toast for breakfast, sandwiches for lunch, and a crusty loaf for dinner are commonplace in our home. We also love this Cornbread Recipe Without Buttermilk (perfect for allergies or if you’re out of buttermilk) and this Easy Cheddar No Knead Overnight Bread.
Because we live in Florida, bread doesn’t last long outside of the fridge. We do have a breadbox, but I still have to put bread in the fridge after a couple of days.
Of course, the more preservatives in the bread, the longer it lasts. I’d rather eat fresh. How about you?
Though refrigerated bread is still good once it’s warmed up or toasted, it doesn’t taste the same as it does within the first couple of days after baking.
The solution? Bake more! Once you discover how easy it is, you might just give up purchasing bread at the grocery store!
Rosemary Garlic Bread Recipe
This rosemary garlic bread is so fantastic, you’ll be eating it with everything!
Granted, I probably wouldn’t make French toast with it, but poach a couple of eggs and use this bread for sopping up the runny yolks and you’ll be hooked.
Can you imagine how good this would be for making grilled cheese? It’s also one of the best sides for French Onion soup!
I love round loves of bread and they bake so well in a cast iron dutch oven. My sister gave me a Dutch oven a few years ago and I use it all the time! I love that they clean up like new, too.
What You Need for this Rosemary Garlic Bread Recipe
This recipe is super easy and you only need six ingredients! You’ll need flour, yeast, and water, of course.
We just got a Costco near our house and my husband went to the store and came home with a 25-pound bag of flour! Let the baking begin!
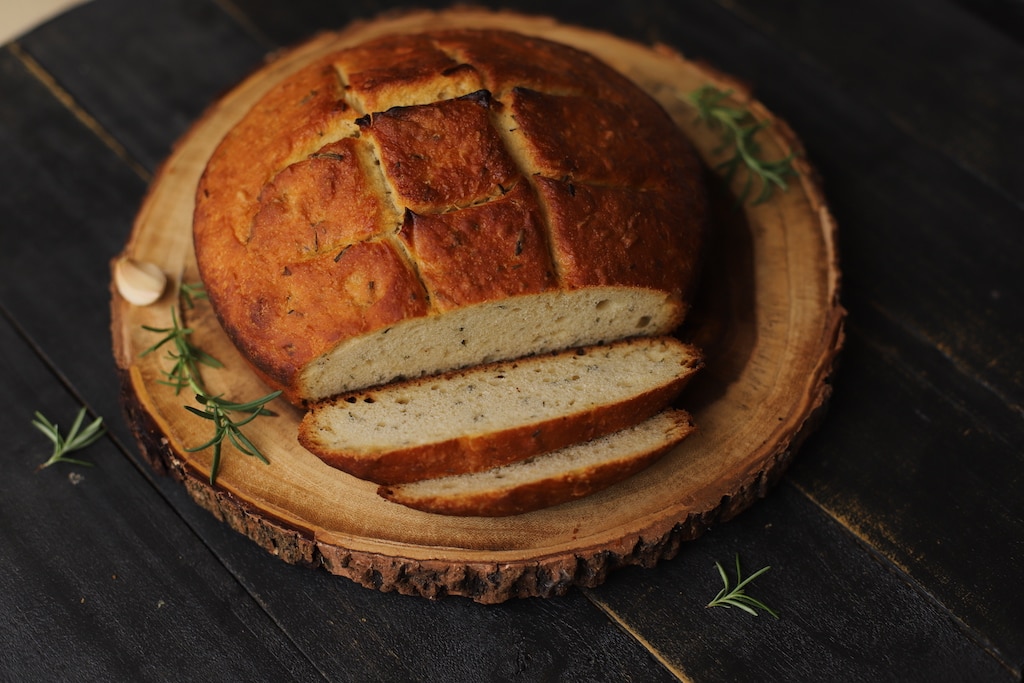
After the flour and yeast, you’ll need a good quality olive oil. Don’t send me on a rant about olive oil! You know it should be fresh (meaning not open on a shelf in the pantry for six months!)
While it’s true that an unopened bottle of olive oil can be stored for 18-24 months, once you expose that oil to air, you really should use it within a couple of months.
Finally, you will need kosher salt. I only use kosher salt in cooking and Maldon salt for finishing salt.
If you want to learn more about salt, and cooking in general, read Salt, Fat, Acid, Heat by Samin Nosrat. It’s a life-changing exploration into great cooking.
Because I’ve added rosemary and garlic into this bread, you will, of course, need both. I have a rosemary plant on my lanai. Growing our favorite fresh herbs means we always have them on hand. Check out this post if you need a primer on how to roast garlic cloves.
Though you can certainly make this bread with a stand mixer, we didn’t this time. We did all the mixing and kneading by hand, so if you don’t have a stand mixer, not to worry!
How to Make Rosemary Garlic Bread
Gather your bread ingredients.
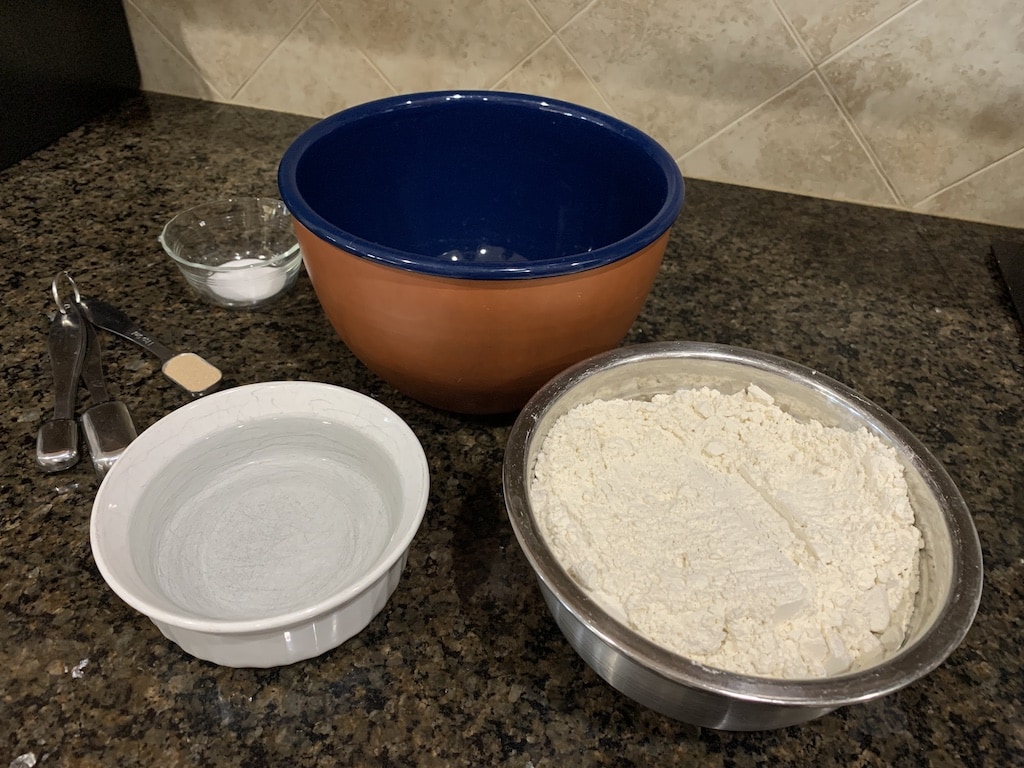
Combine the flour, yeast, and salt in a large mixing bowl.
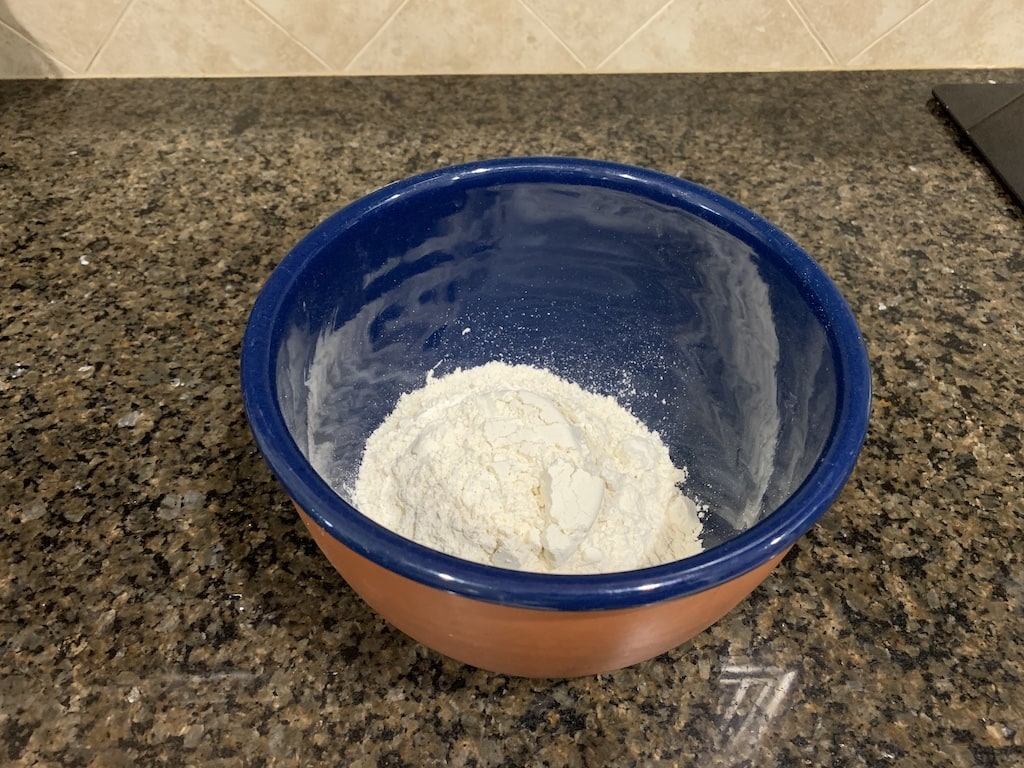
Add water to the mix and stir until combined.
Gradually add the rest of the flour and continue to stir until all the flour is absorbed into the dough.
At this point, I get my hands into the dough to make sure it’s mixed well. This usually takes 5 to 10 minutes.
If the dough is sticking to your hands, just wet them a little.
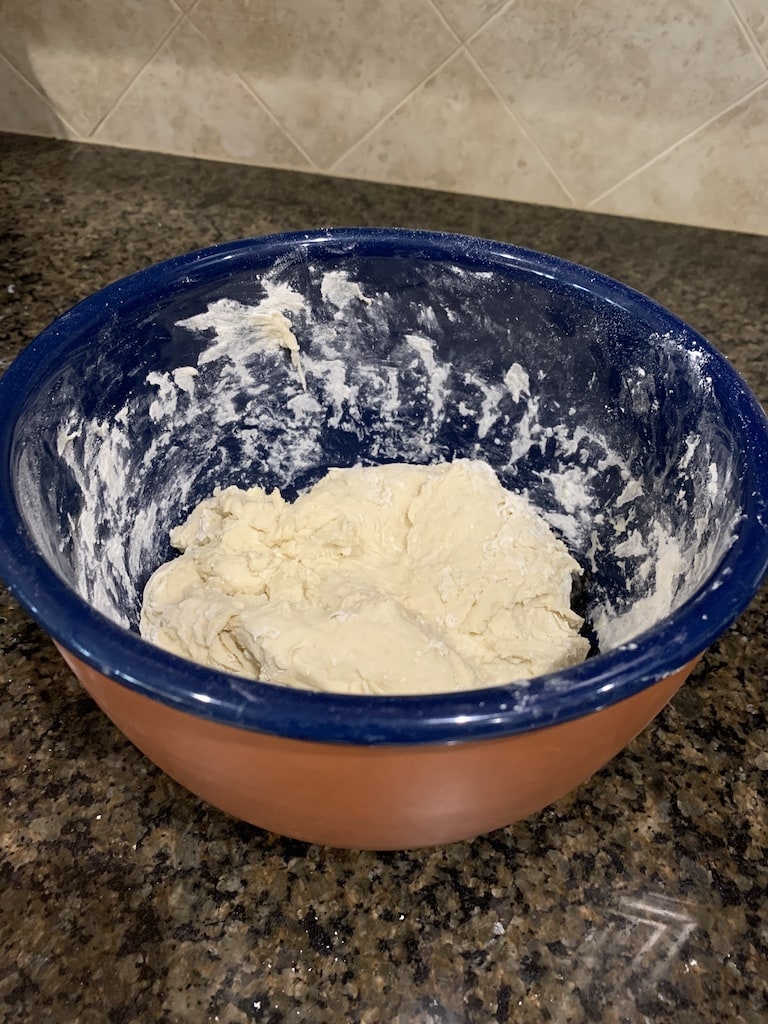
Add chopped rosemary and roasted garlic to the dough. We used a lot of garlic! Remember it will soften and shrink down a lot.
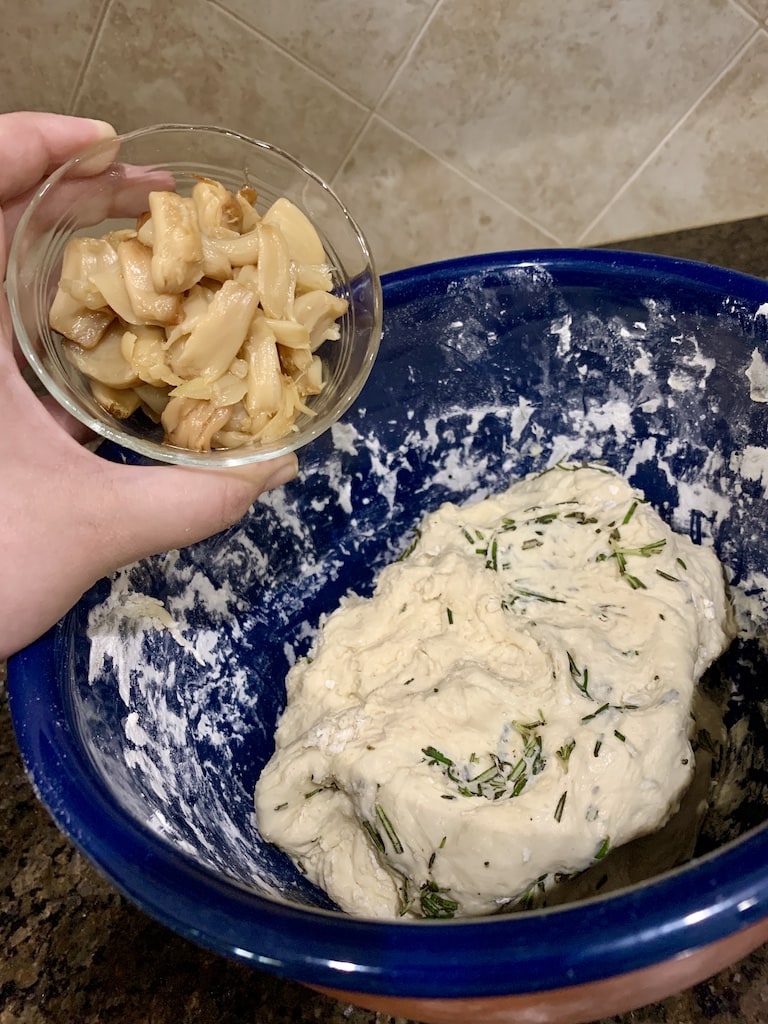
As you mix the garlic in, it will dissolve, spreading that garlicky goodness throughout the bread.
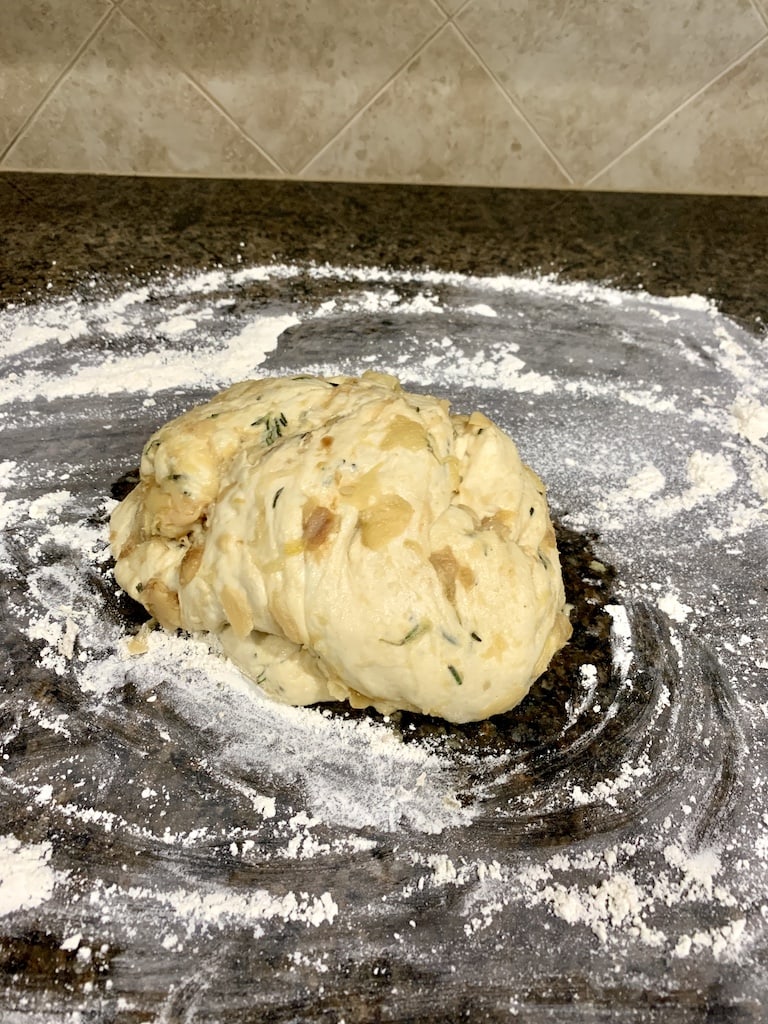
If you would prefer to have chunks of garlic in the bread, wait until just before the bread goes in the oven and poke the garlic into the bread.
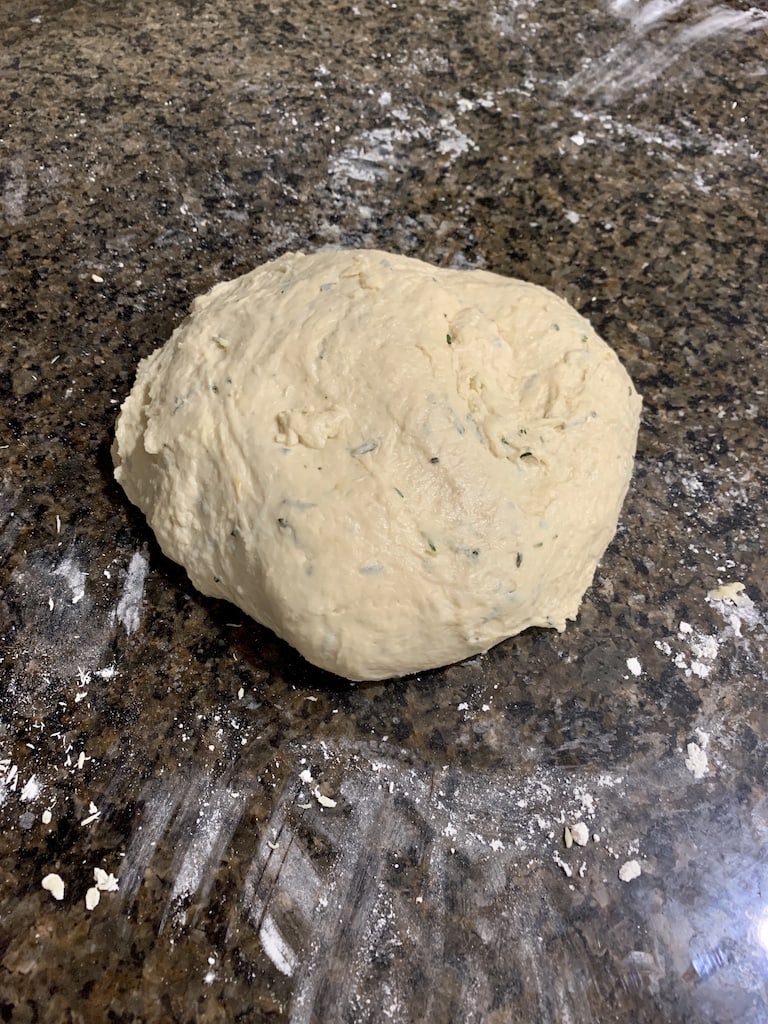
Put the dough back in the bowl and cover with plastic wrap.
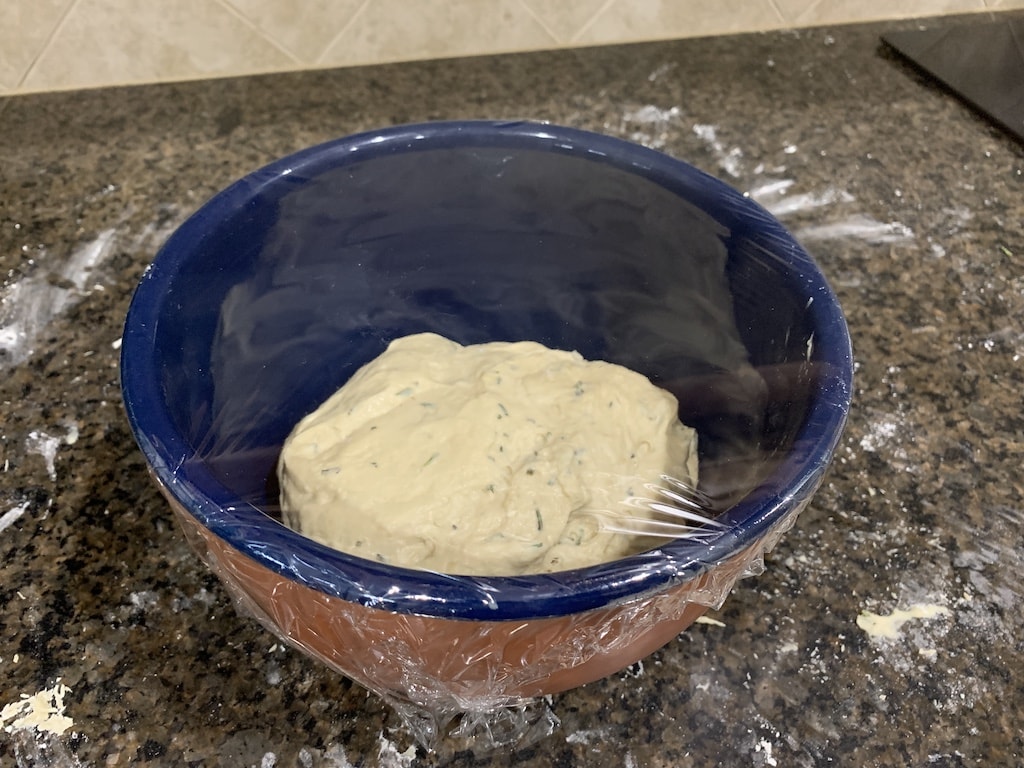
Let dough rise in a warm place for 2 hours. It can rise longer, so if you have things to do, it’s okay to leave the dough for up to about 4 hours.
After this first rise, pull the dough out of the bowl and knead.
The kneading creates elasticity in the dough thanks to the yeast that captures the gases.
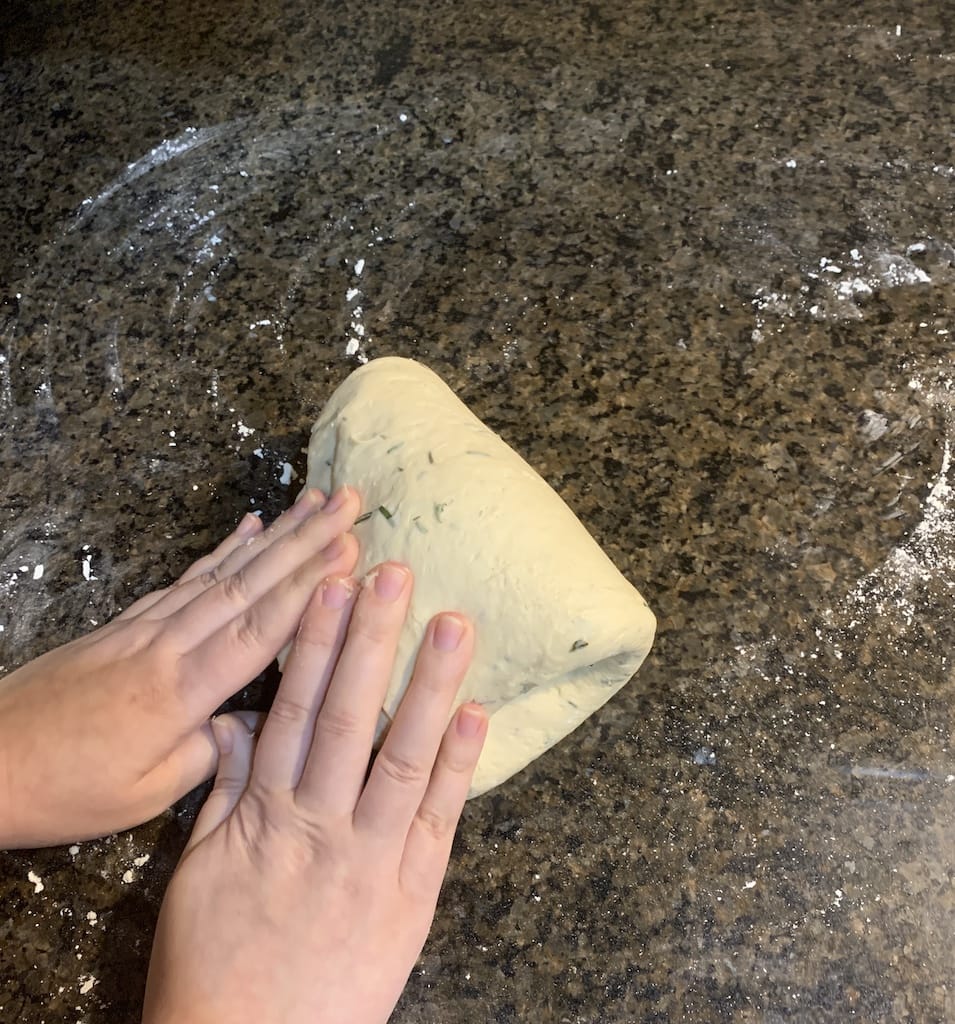
You should knead for at least 10 minutes, but it may take longer to pass the windowpane test.
Take off a good piece of the dough and slowly stretch it. If it pulls apart, add that piece back in and get back to the business of kneading for another 2-3 minutes.
Keep repeating this process until the bread stretches to the point that if you hold it up to a light you can see the light shining through it. See the light? Great! Let’s move on.
Leave the dough on the counter and place a clean dish towel over it. Let the dough sit for about 10 minutes.
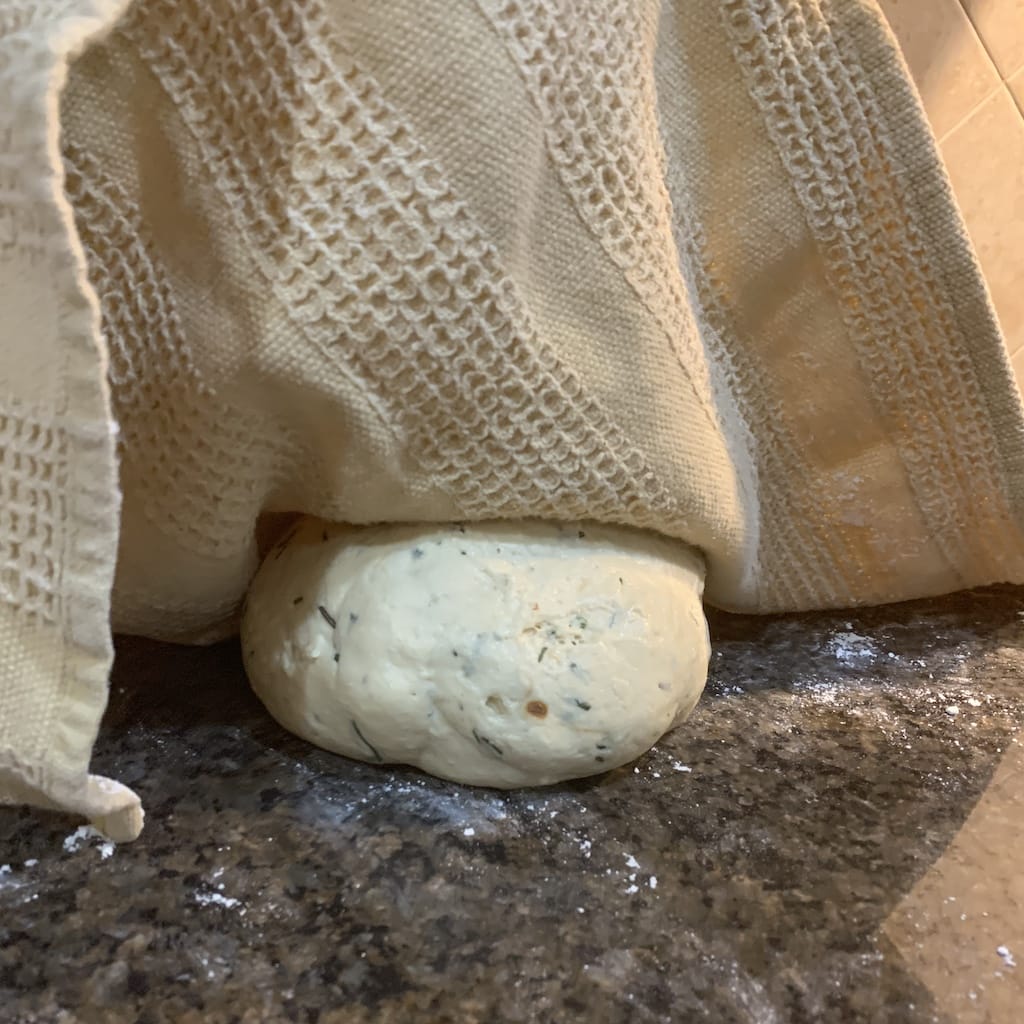
Roll dough into a tight ball. Pour about a tablespoon of oil into your dutch oven and coat bottom and sides.
Place dough in the center of the pan and cover with the lid.
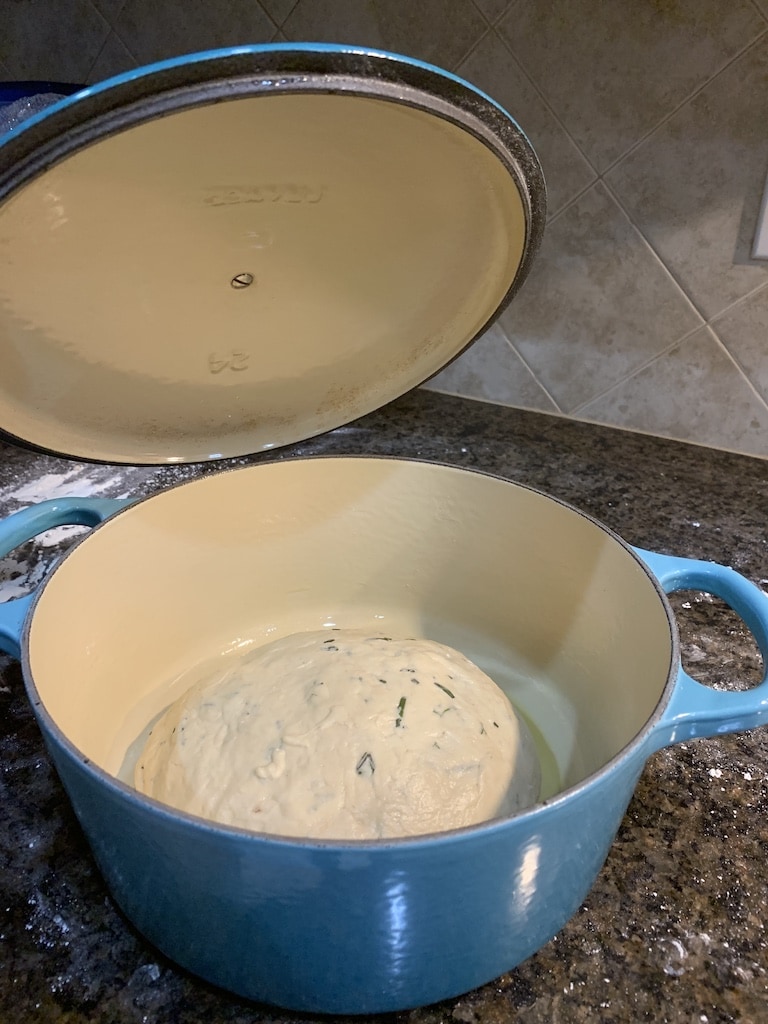
Let the dough rise again for about 45 minutes.
Preheat oven to 450º.
Pour about a tablespoon of olive oil over the bread and smooth it over the entire exposed surface.
Score the bread. Sprinkle with kosher salt to your liking. (We used about 1/2 tablespoon)
Replace the lid and place the Dutch oven in the oven.
Bake for 30 minutes with the lid on. After 30 minutes, remove the lid and bake for another 12-15 minutes to get a good brown crust on the bread.
Once you take the bread out, give it a quick knock to make sure the sound is hollow.
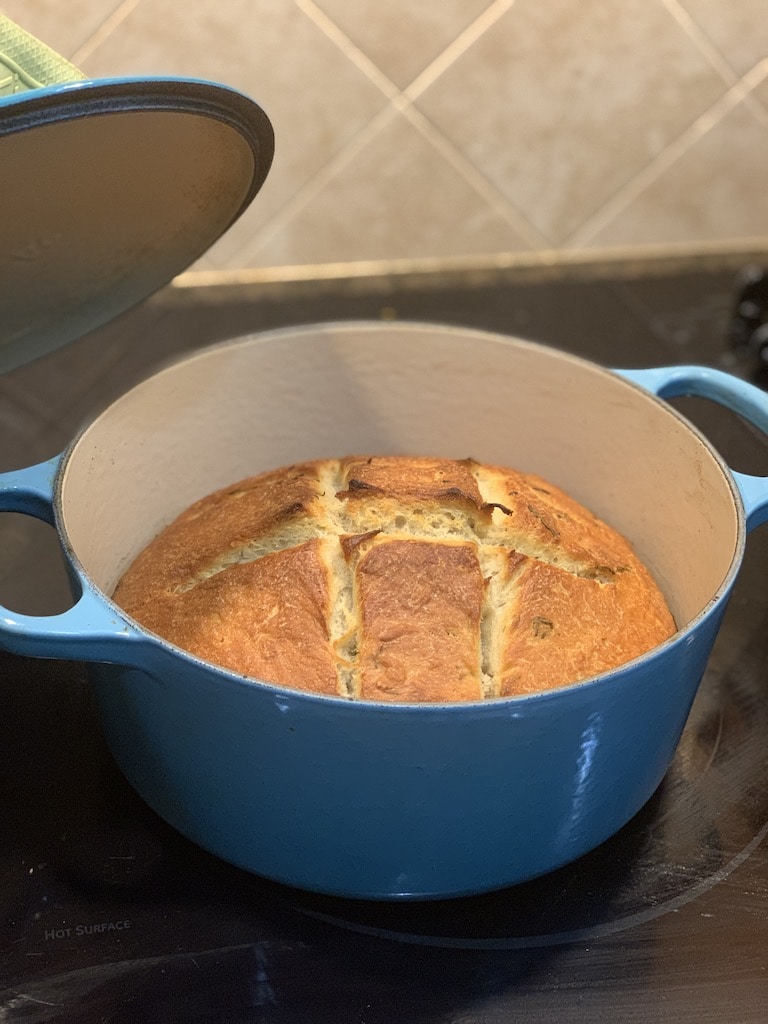
Let the bread rest for 30 minutes on a rack.
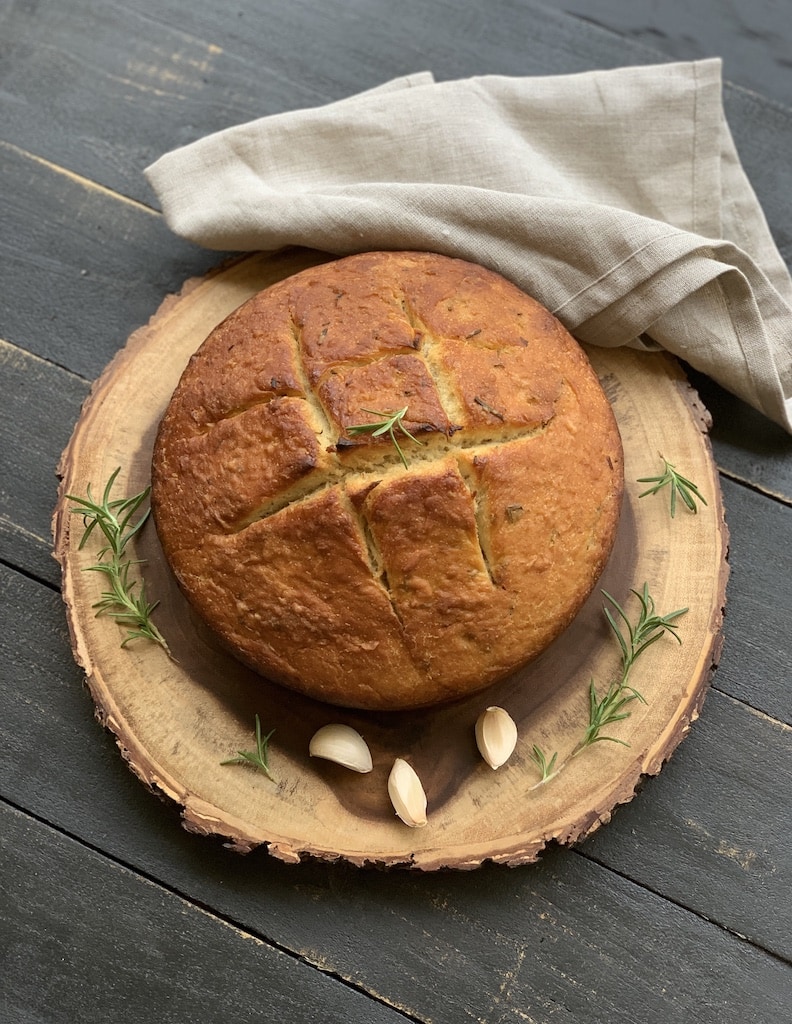
Enjoy!
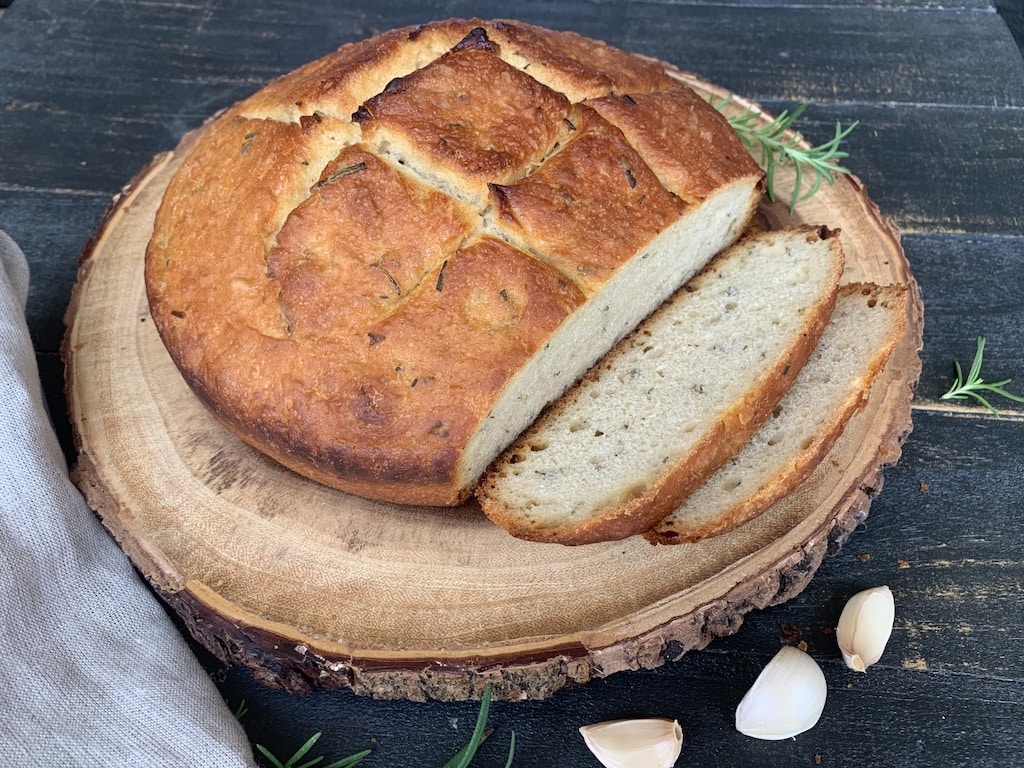
Serve the bread with butter or a small plate of olive oil and Italian spices. It would make a perfect pairing to this Italian Bean Soup or this Lazy Lasagna.
My husband is so happy when I make a big pot of soup and we enjoy a simple supper of soup, bread, and wine. Always wine!
I recently made a pot of chicken immune boosting soup, and my whole family devoured it.
This bread would have been wonderful with it, too. I love sopping up the soup with the bread. Now I’m suddenly hungry for soup. And bread. This bread is also one of the best sides for French Onion soup!
I’ve been enjoying being home and cooking more. If you’ve tried any good bread recipes, please let me know as I’m experimenting.
I brought back a large bag of za’atar from Jordan and I’m thinking that might be next. Stay tuned!
Frequently Asked Questions
450º is the best temperature to get the crunchy crust for this bread recipe.
It really depends on your oven. I usually go for the middle rack. If the bread isn’t browning on top, raise it up to the top rack.
If the bread is sticky or gummy, it is probably undercooked. This can usually be fixed by putting the bread back in the oven for a few minutes.
More Bread Recipes
Rosemary Garlic Bread Recipe
Ingredients
- 4 cups bread all-purpose flour plus extra for kneading
- 1 tsp yeast
- 1 1/2 tsp kosher salt plus more for topping
- 1 1/2 C water
- 3 T olive oil
- 1/4 C fresh rosemary chopped
- 4 bulbs garlic roasted
Instructions
- Combine the flour, yeast, and salt in a large mixing bowl.
- Add water to the mix and stir until combined.
- Gradually add the rest of the flour and continue to stir until all the flour is absorbed into the dough. At this point, I get my hands into the dough to make sure it’s mixed well. This usually takes 5 to 10 minutes. If the dough is sticking to your hands, just wet them a little.
- Add chopped rosemary and roasted garlic to the dough. We used a lot of garlic! Remove garlic cloves from the bulbs before adding. Remember it will soften and shrink down a lot.
- As you mix the garlic in, it will dissolve, spreading that garlicky goodness throughout the bread. If you would prefer to have chunks of garlic in the bread, wait until just before the bread goes in the oven and poke the garlic into the bread.
- Put the dough back in the bowl and cover with plastic wrap.
- Let dough rise in a warm place for 2 hours. It can rise longer, so if you have things to do, it’s okay to leave the dough for up to about 4 hours.
- Pull the dough out of the bowl and knead. The kneading creates the elasticity in the dough thanks to the yeast that captures the gases.
- You should knead for at least 10 minutes, but it may take longer to pass the windowpane test. Take off a good piece of the dough and slowly stretch it. If it pulls apart, add that piece back in and get back to the business of kneading for another 2-3 minutes. Keep repeating this process until the bread stretches to the point that if you hold it up to a light you can see the light shining through it. See the light? Great! Let’s move on.
- Roll dough into a tight ball.
- Pour about a tablespoon of oil into your dutch oven and coat bottom and sides.
- Place dough in the center of the pan and cover with the lid.
- Let the dough rise again for about 45 minutes.
- Preheat oven to 450º.
- Pour about a tablespoon of olive oil over the bread and smooth it over the entire exposed surface.
- Score the bread.
- Sprinkle with kosher salt to your liking. (We used about 1/2 tablespoon)
- Replace the lid and place the dutch oven in the oven.
- Bake for 30 minutes with the lid on.
- After 30 minutes, remove the lid and bake for another 12-15 minutes to get a good brown crust on the bread.
- Once you take the bread out, give it a quick knock to make sure the sound is hollow.
- Let the bread rest for about 30 minutes.
Nutrition
You may be thinking, I adore fresh baked bread but I just don’t have the time! Most of us don’t have time!
I don’t have time to make this bread very often either!
But I have an idea for you. I ordered from Wildgrain and I am in LOVE! Wildgrain delivers bread, pasta, and pastries to your door that is frozen and ready for the oven.
Their sourdough breads are some of the best I’ve ever eaten and the pasta is incredible!
Try Wildgrain for yourself and give them the code KASTILWELL when you order to get $10 off the first box + FREE Sourdough Rolls in every box for the life of your subscription!
More Bread Recipes
If you love bread, too, you’ll love these Irish soda bread scones. And for something sweet, try this ultimate moist banana bread straight from my mom’s recipe box.
If you’ve ever worked with dough from the freezer section of the grocery store, you know how easy it is to make all kinds of bread recipes.
Try this cranberry brie braid the next time you want to impress friends at a party. It only looks like it took all day!
Let’s Keep in Touch!
FACEBOOK PINTEREST INSTAGRAM TWITTER







If you don’t have a ceramic dutch oven how do you recommend baking the bread?
Sally – I’m sorry I’m just seeing this. You could form it and shape it the same way and bake on a baking sheet, but it just won’t be as pretty. Enjoy.